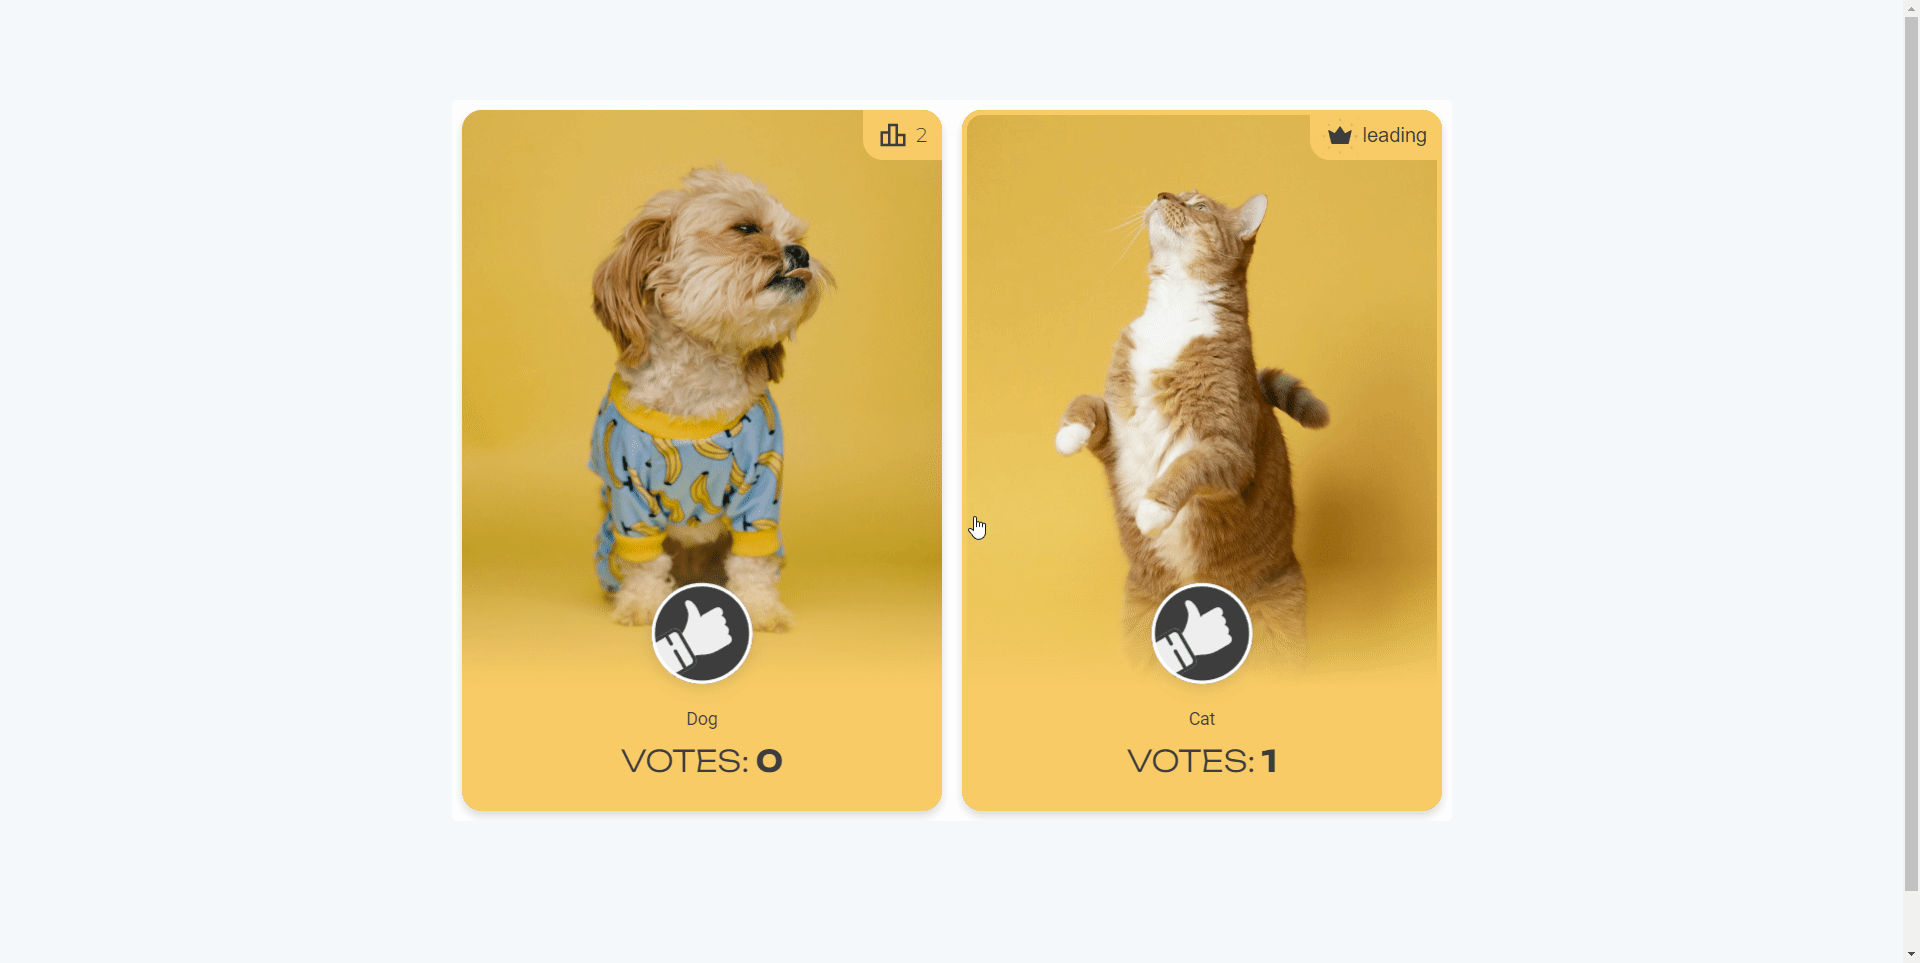
In this tutorial, you'll master crafting a rank battle, also widely recognized as image polls (or head to head poll) using our polls maker feature on Interacty. These choice matchups allow you to easily compare photos of popular celebrities, different product designs, vacation destinations, or movie posters. Creating versus polls is a lot of fun and takes just a few minutes using our Interacty editor. Once completed, you can embed your finished surveys on your website or even share them with a friend via link.
Learn to create an Image Poll with this video tutorial:
Step 1: Sign In
To begin, head over to interacty.me. If you already have an account, log in. If not, sign up to create a new Interacty profile.

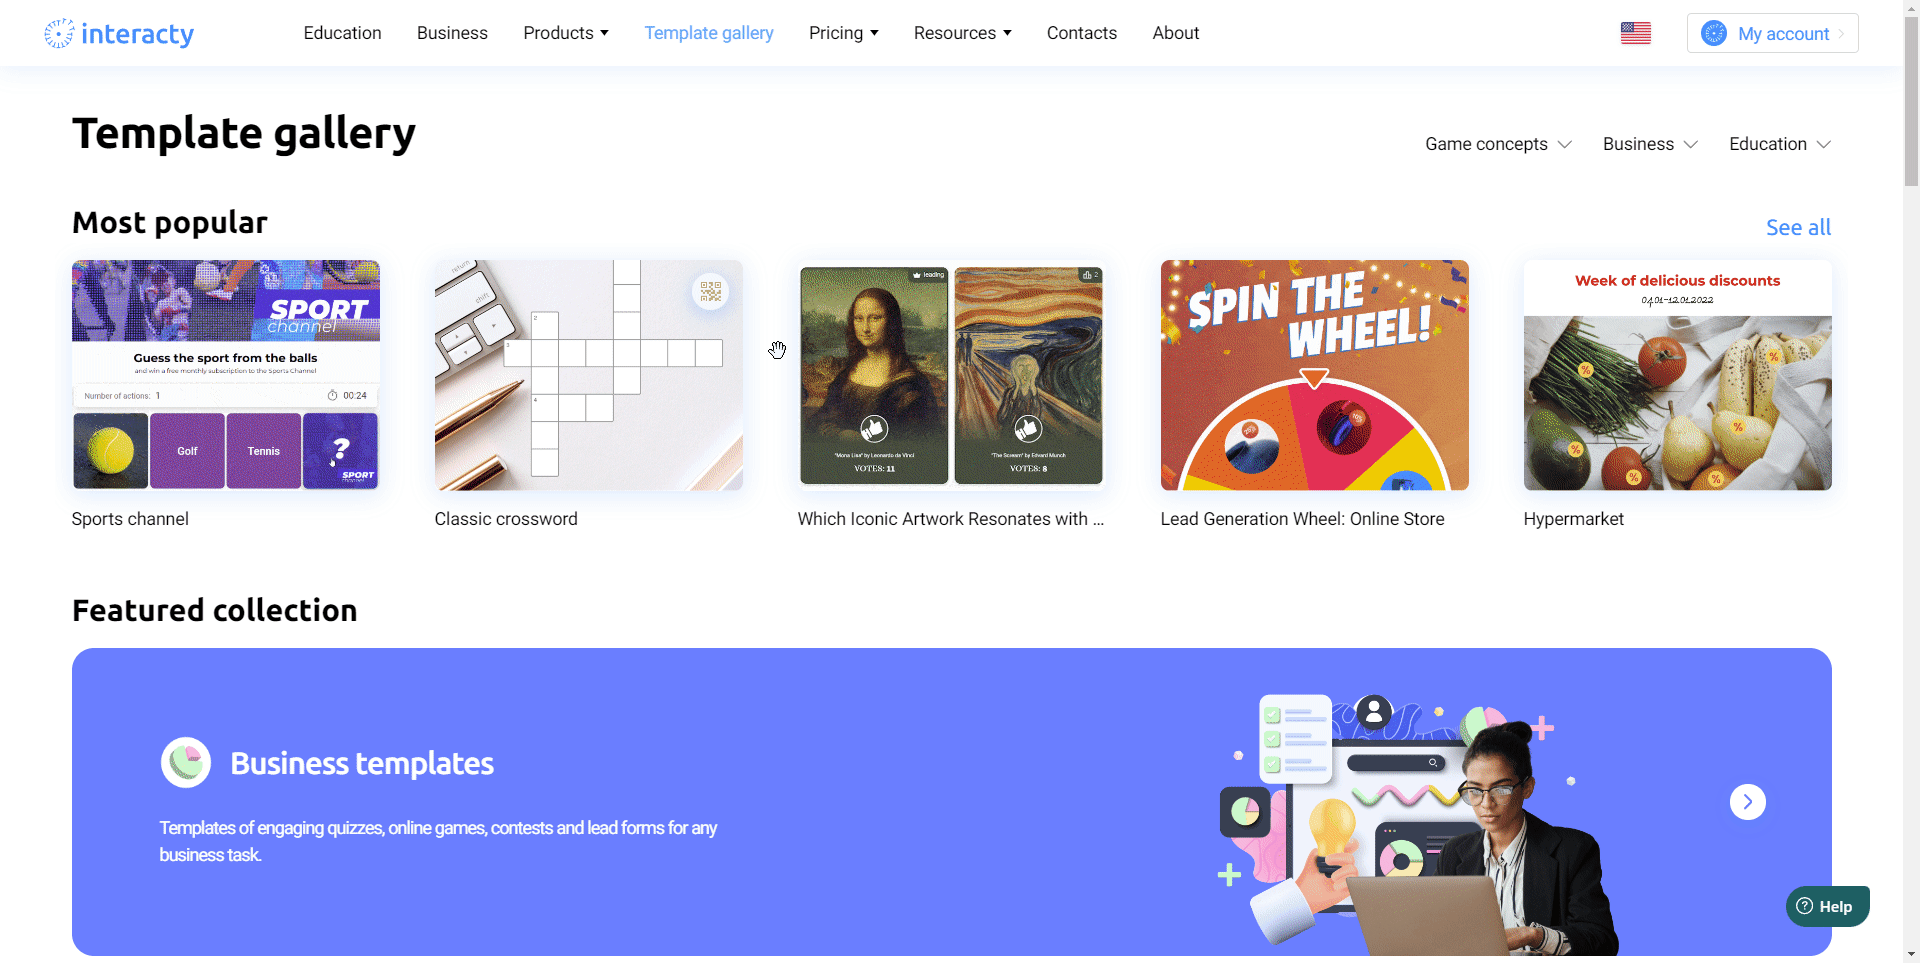
Step 2: Access the Template Gallery
Once logged in, click on the 'Template Gallery' button at the top of the screen.

Look for the 'Rank Battle' feature and select it.
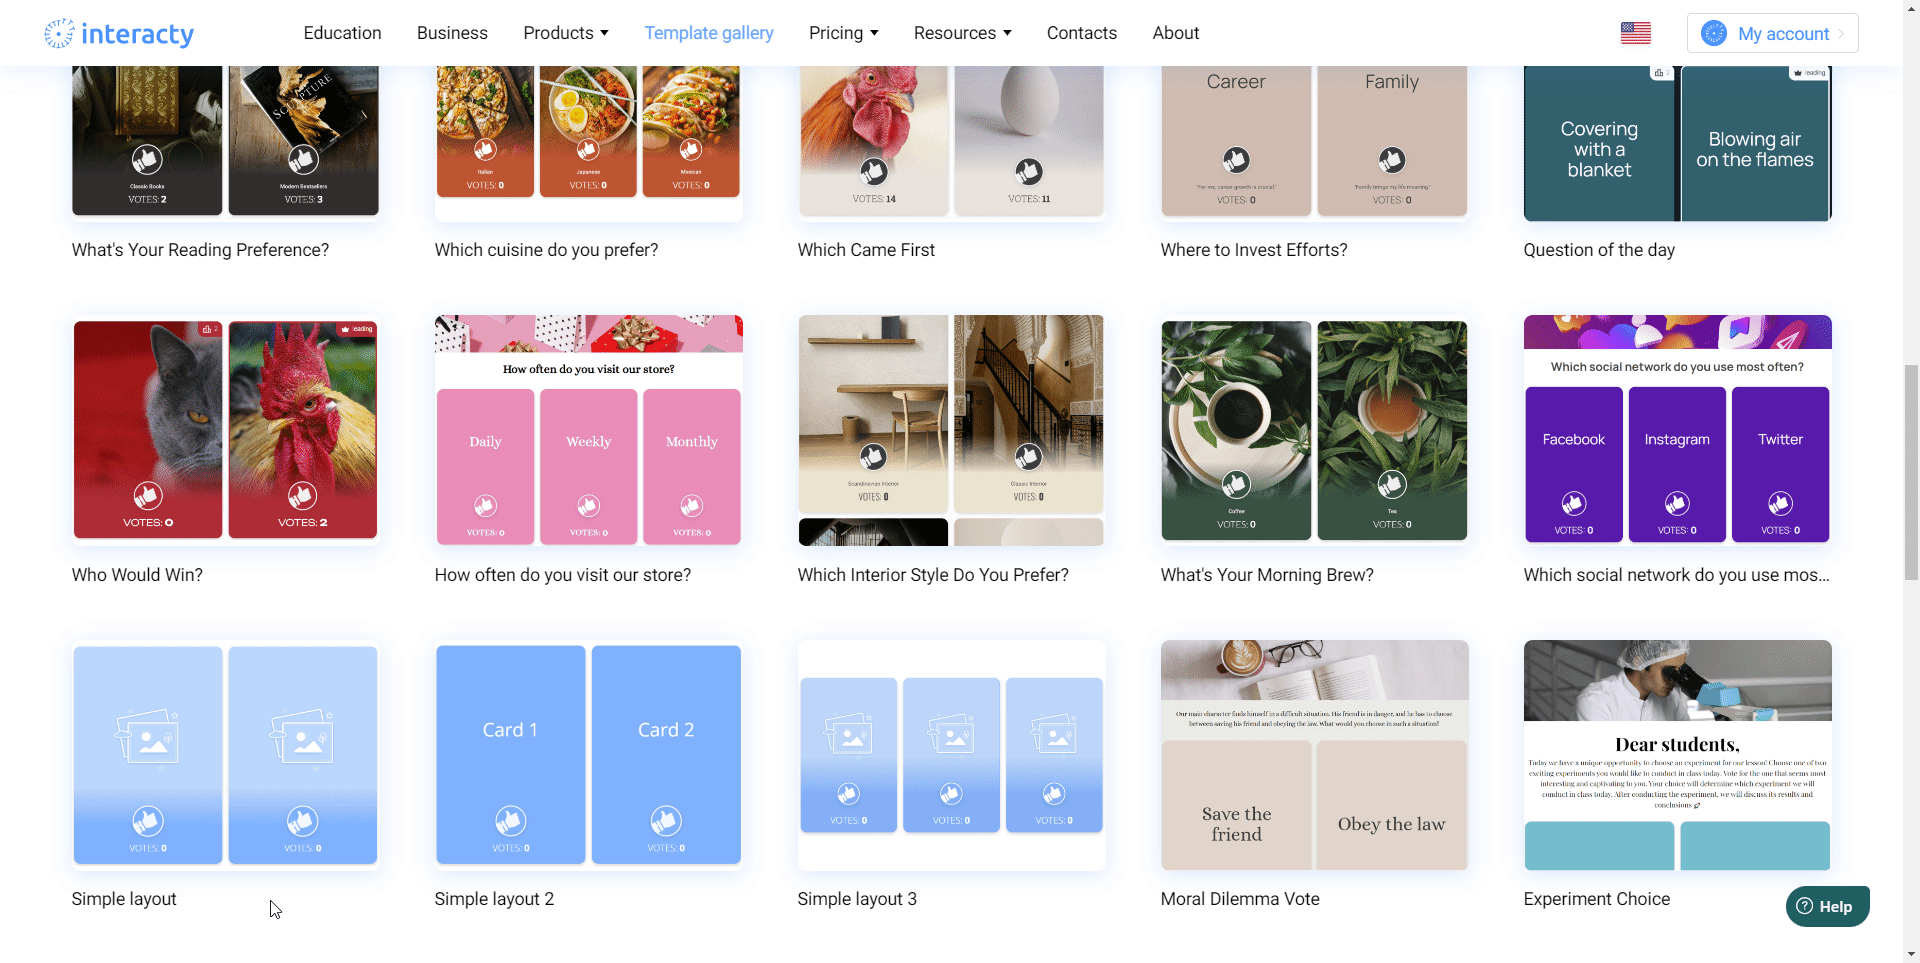
Step 3: Choose a Template
You'll see a page with various templates. You can start with a blank template or choose a pre-made one and customize it. For this tutorial, let's start from scratch with a simple template. Click 'Use this template.'
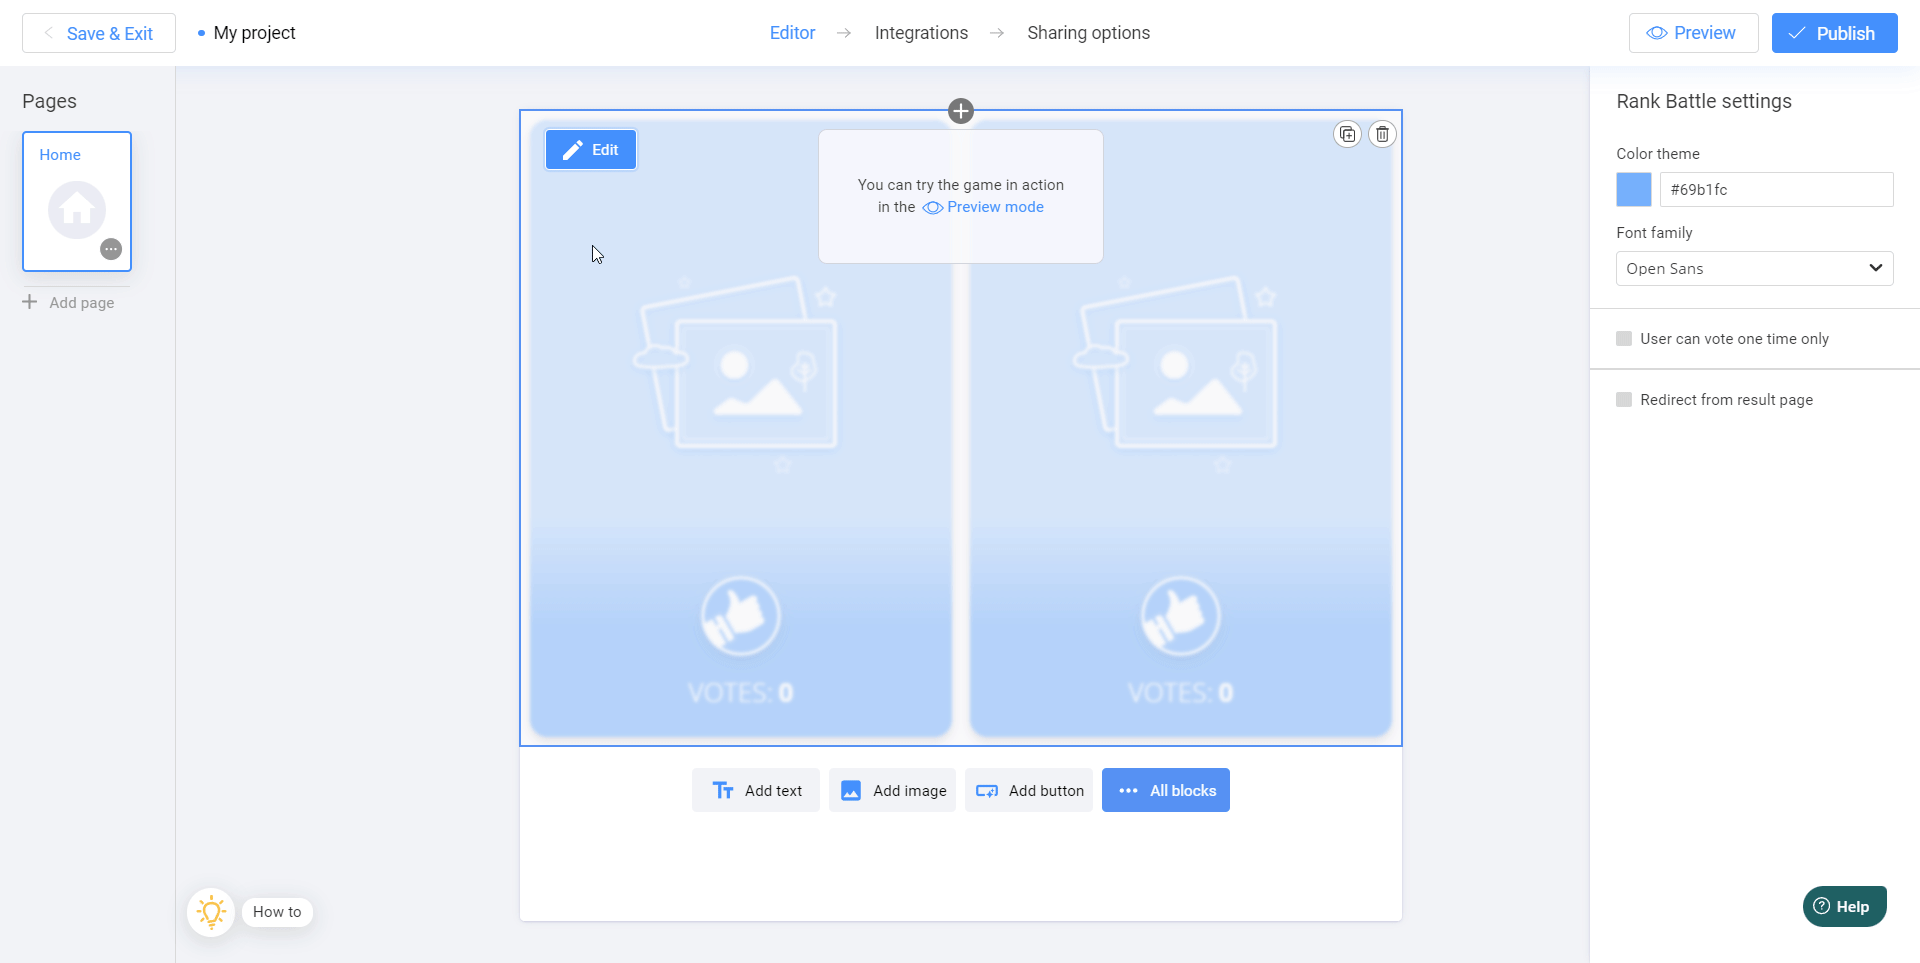
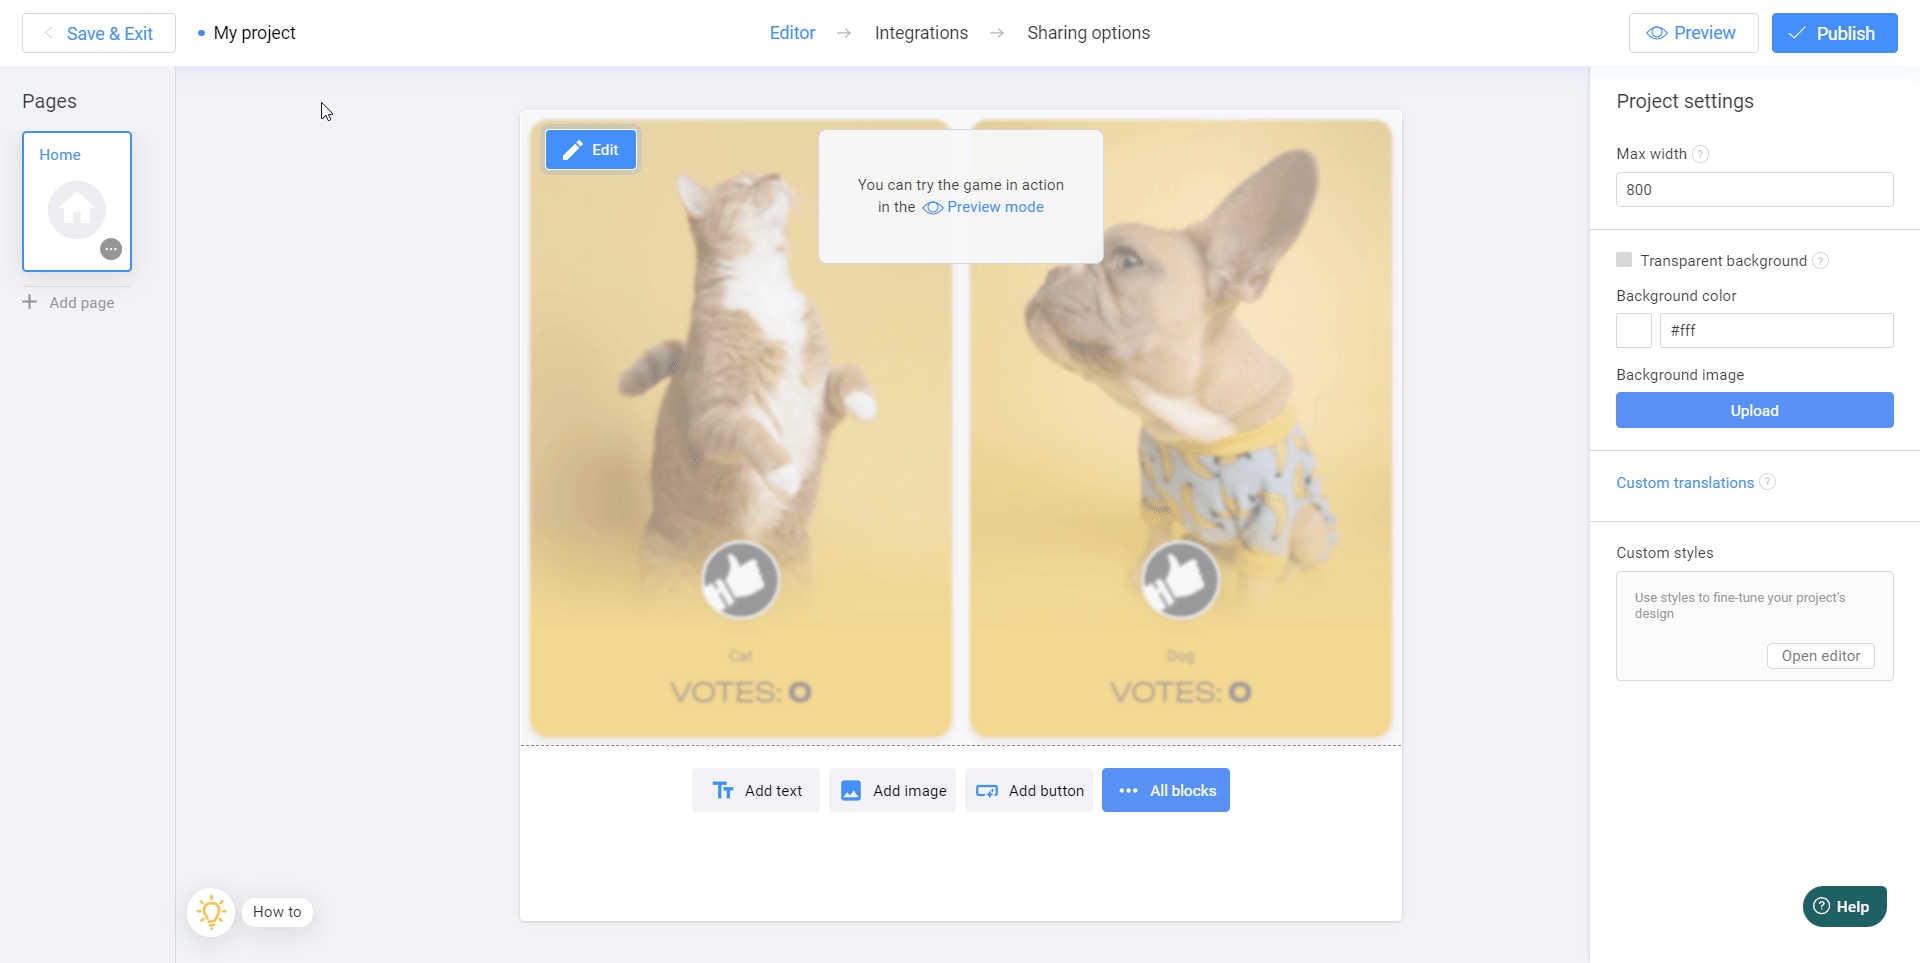
Step 4: Enter the Editor
Excellent! You're now in the editor. To start editing your poll, click “Edit.”
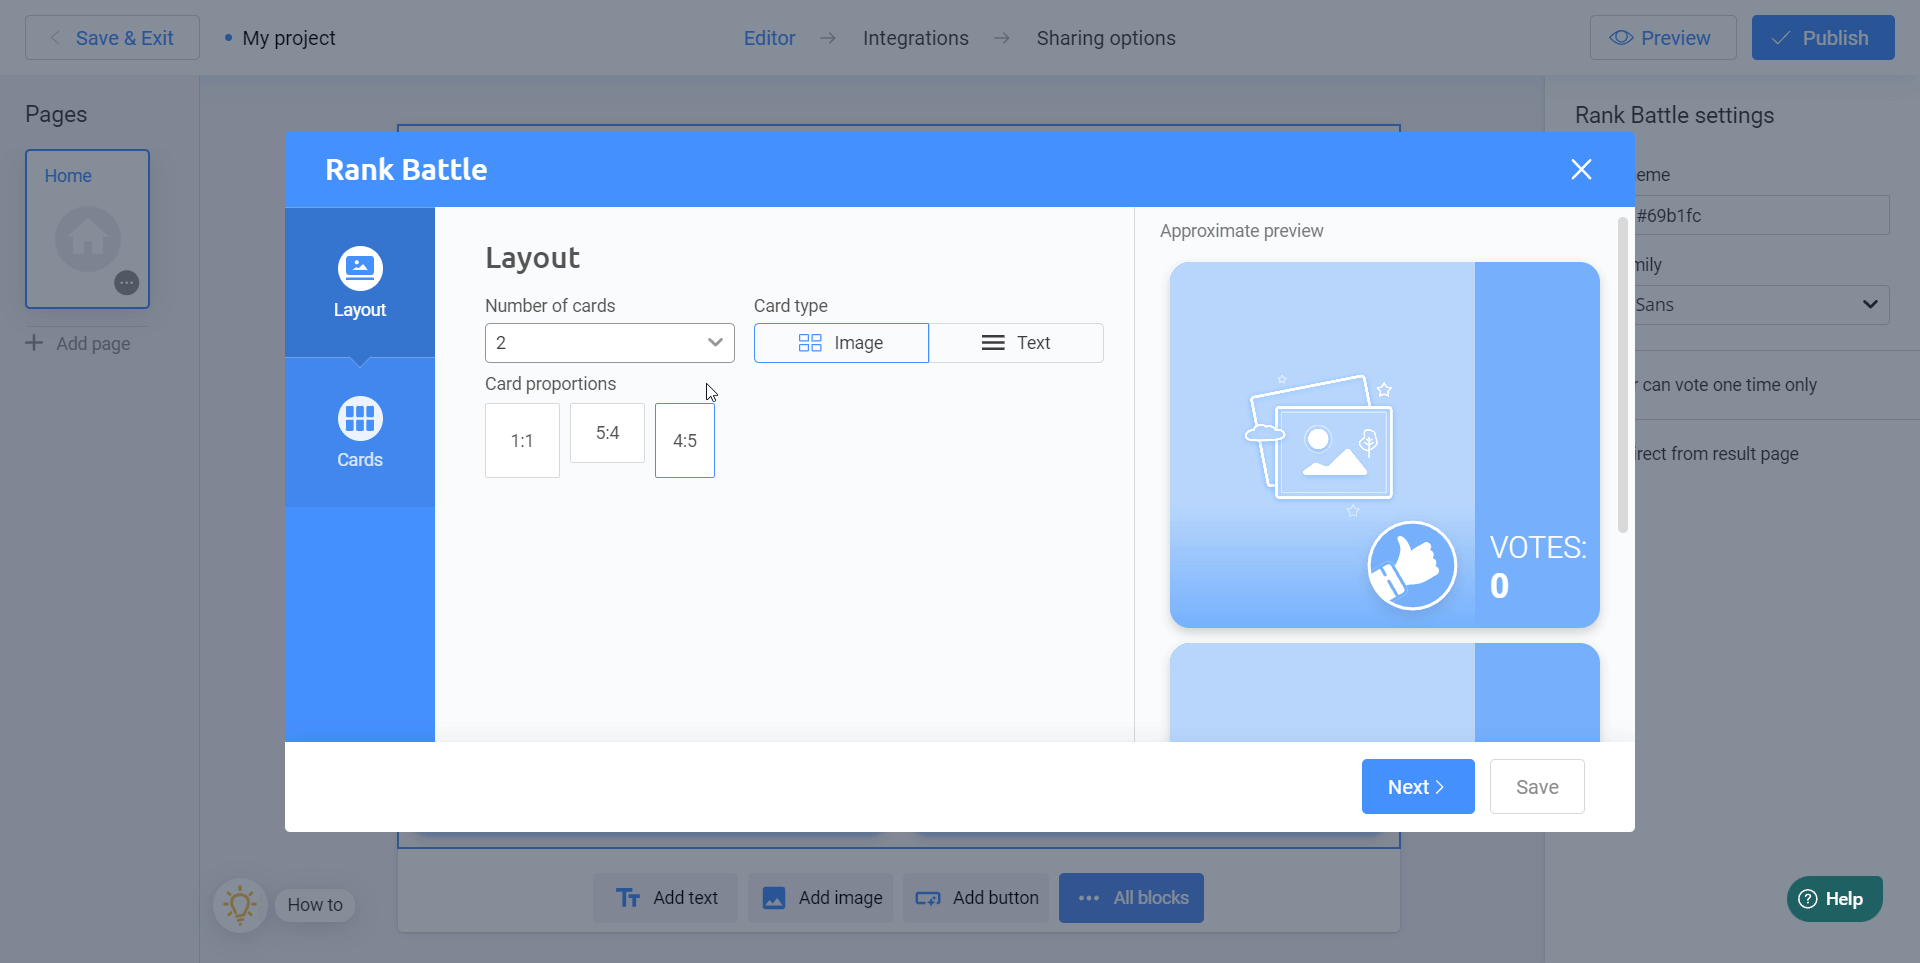
Step 5: Set Up Your Poll Cards
In the “Number of cards” section, select the number of cards you want in your poll. Then, choose between the “image” or “text” options to define whether your card will consist of an image or just text. Adjust the proportions of your card to ensure it looks its best on your website. Then, click “Next.”
Step 6: Add Images
Now, let's add images to our poll. If you have them on your computer, click the 'Upload image' button and upload them. If not, use the free image library built into our website.
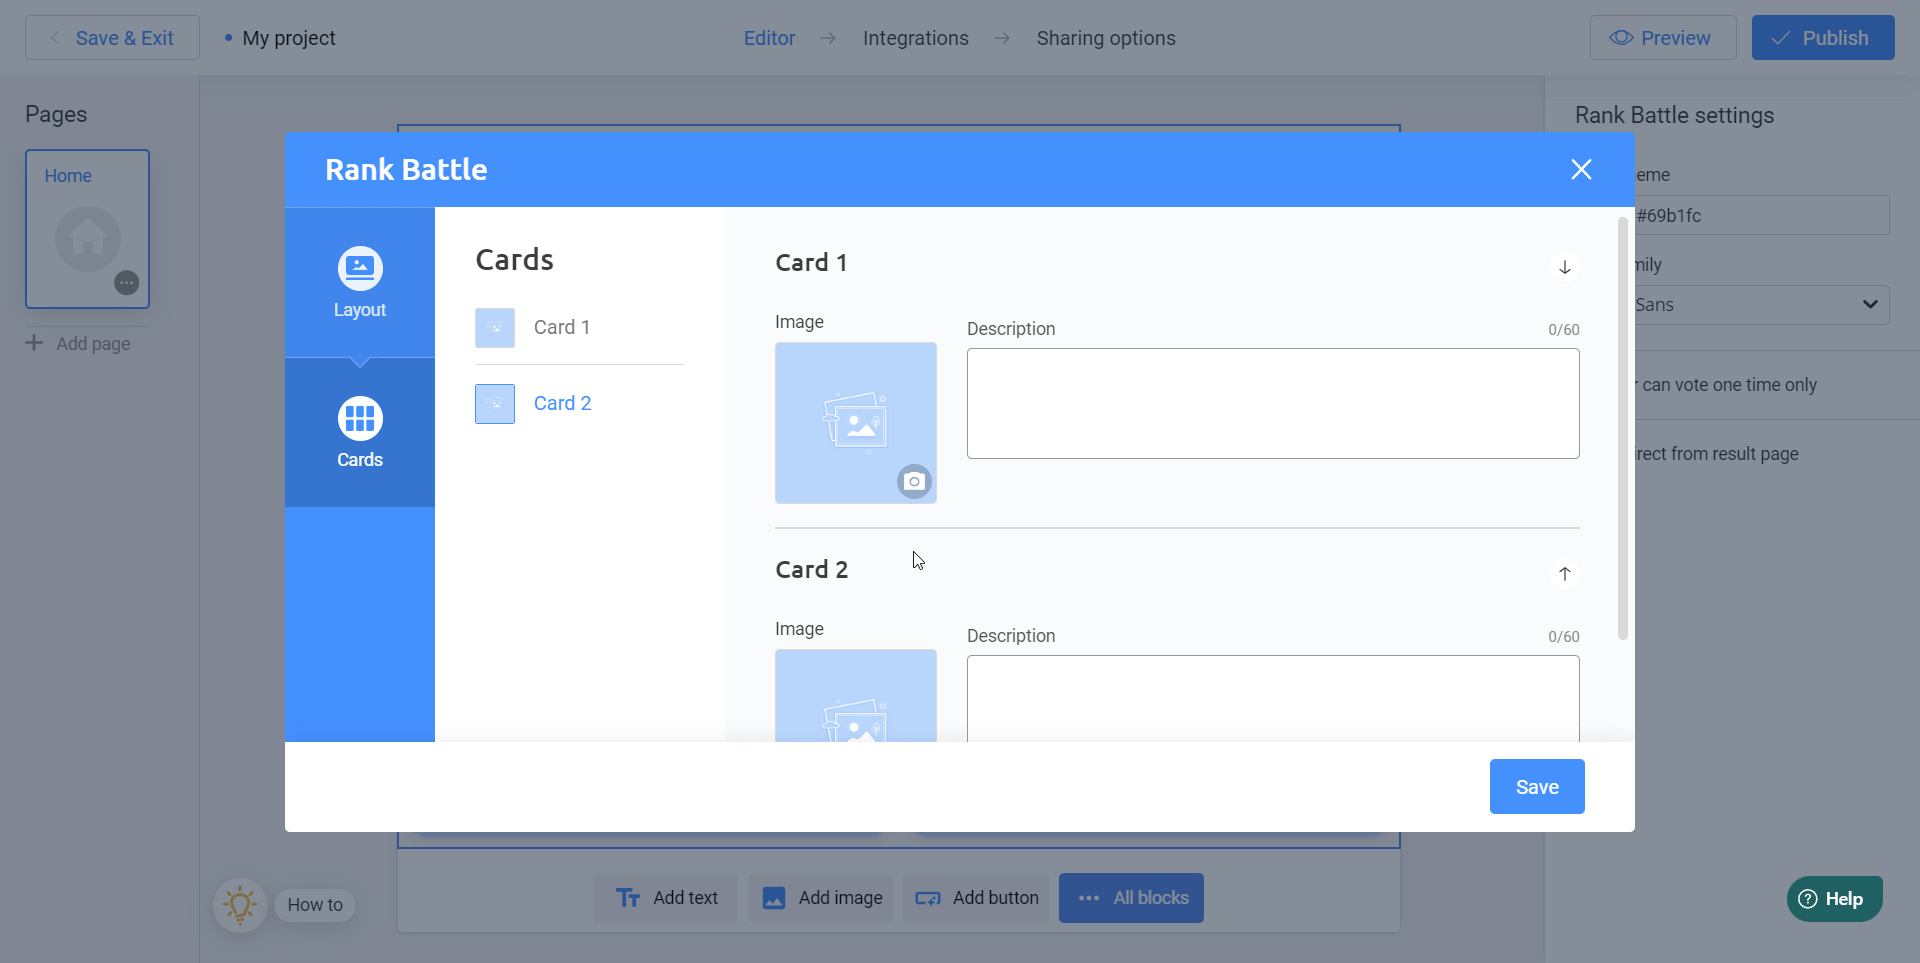
Step 7: Customize Each Card
Add an image to each card and, if necessary, include a description. Once you're finished, save your changes.
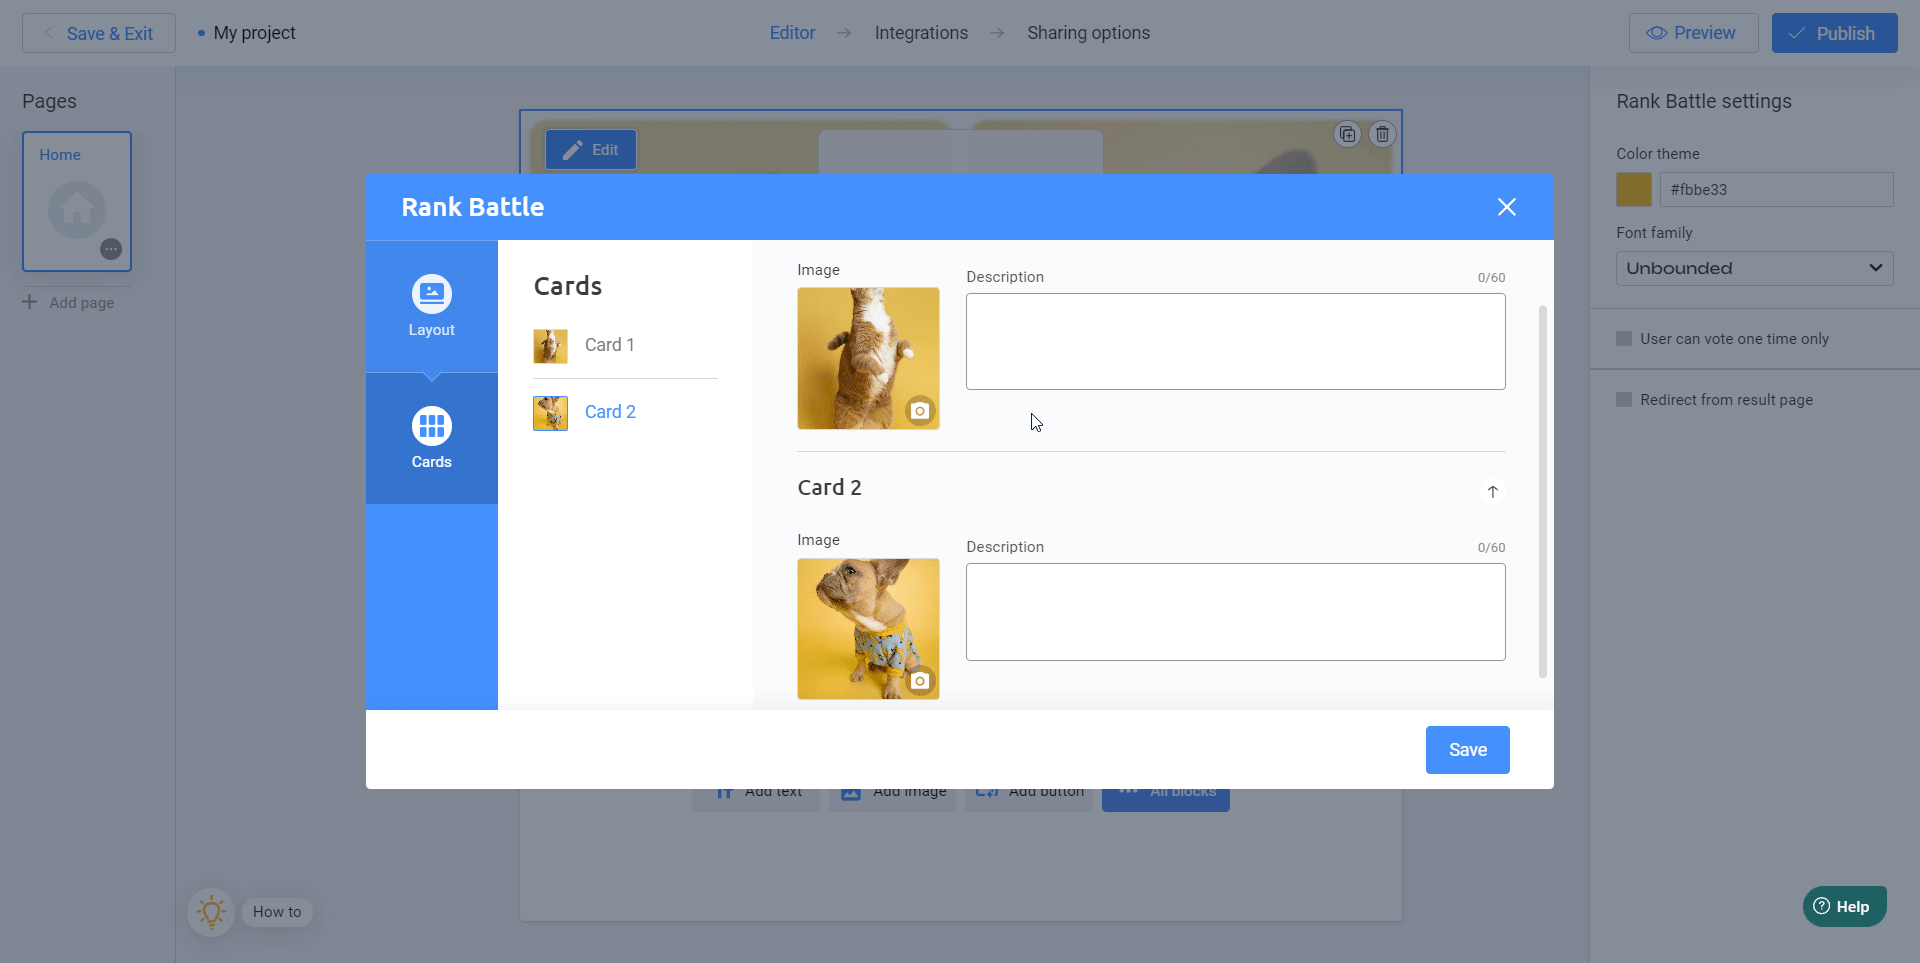
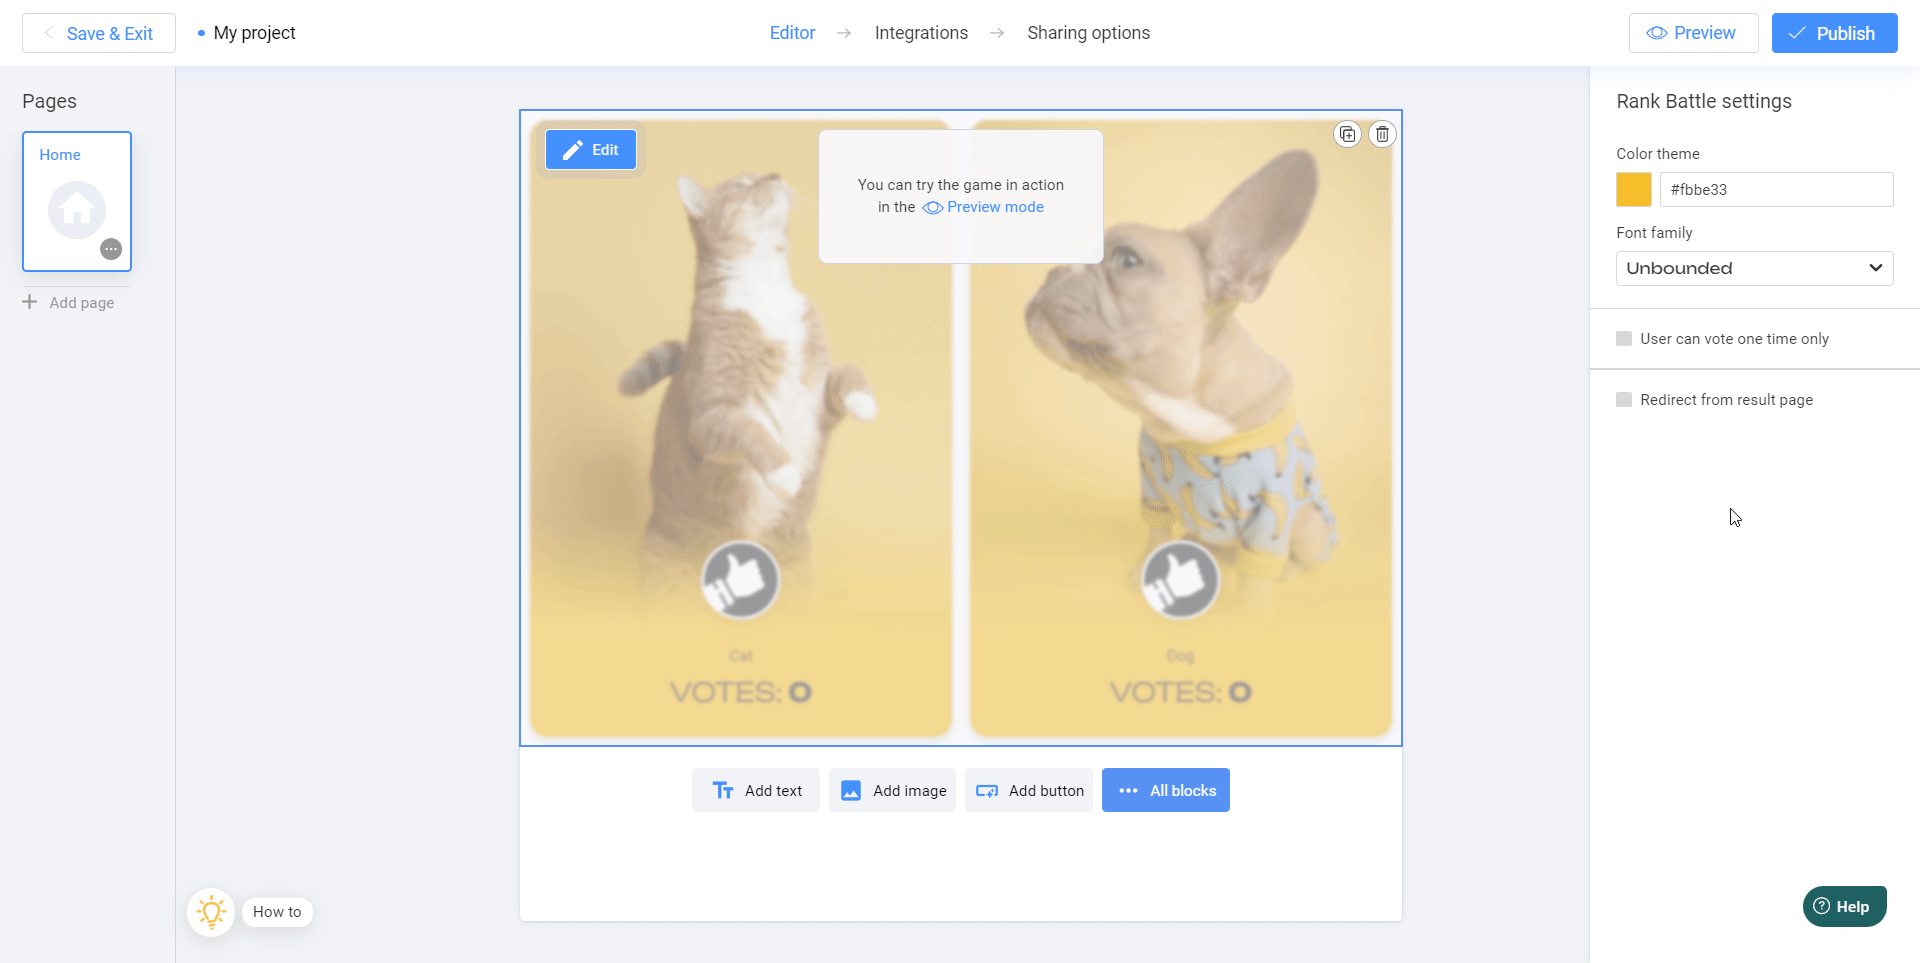
Step 8: Make Adjustments
You can make several minor adjustments, such as changing the color theme of your cards and the font.

Check the box if you want users to be able to vote only once. Otherwise, they can vote multiple times. You can also use the 'Redirect from result page' feature to set up an automatic redirect to your site after the voting is completed.
Step 9: Finalize and Publish
We're finished! Give your project a title. Then, click 'Publish' to make your project live!
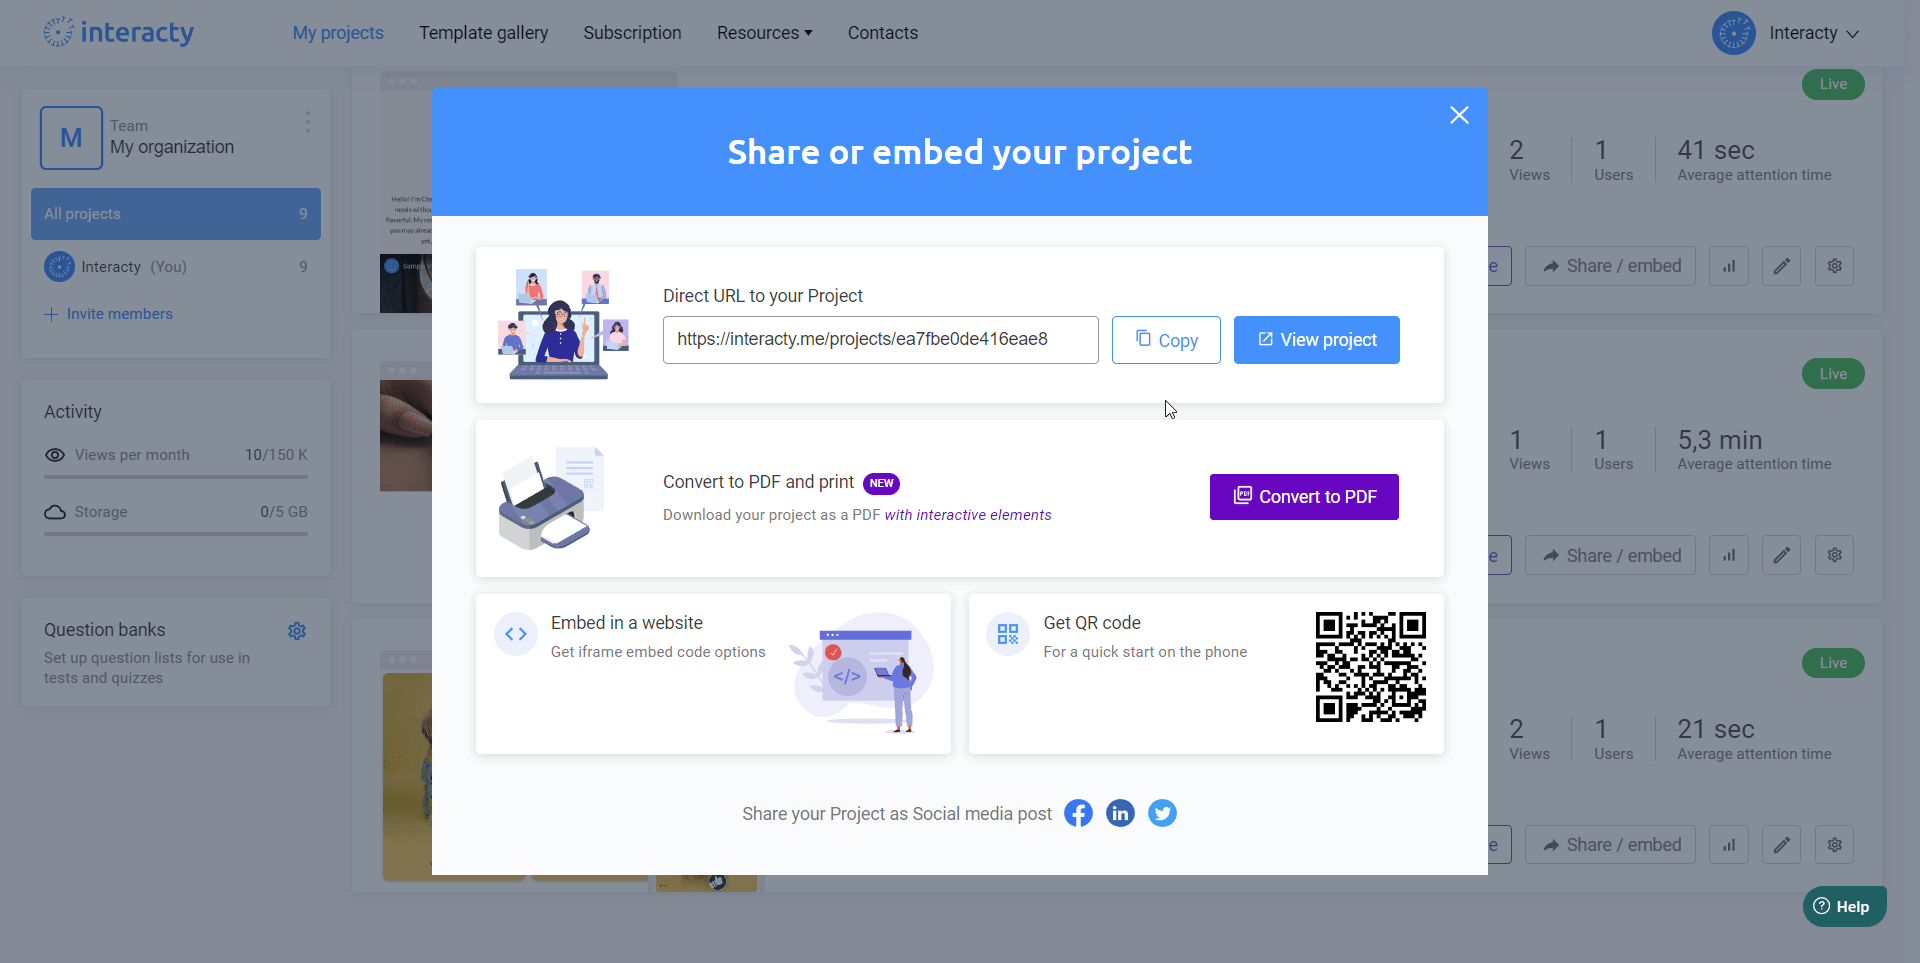
Step 10: Share Your Poll
Your image poll is ready! You can now share it with your audience by copying a link to your poll or embedding it on your website.
Conclusion
We've reached the end of our tutorial! Now, you can create polls on any topic that interests you. They'll look great on both PCs and smartphones. Best of luck!