Timeline is a stunning interactive mechanic that visually shows the chronology of events. The Interacty timeline builder allows you to create a beautiful timeline without the help of a programmer and designer in a convenient editor.
Learn to create a Timeline with this quick video tutorial:
Create a template
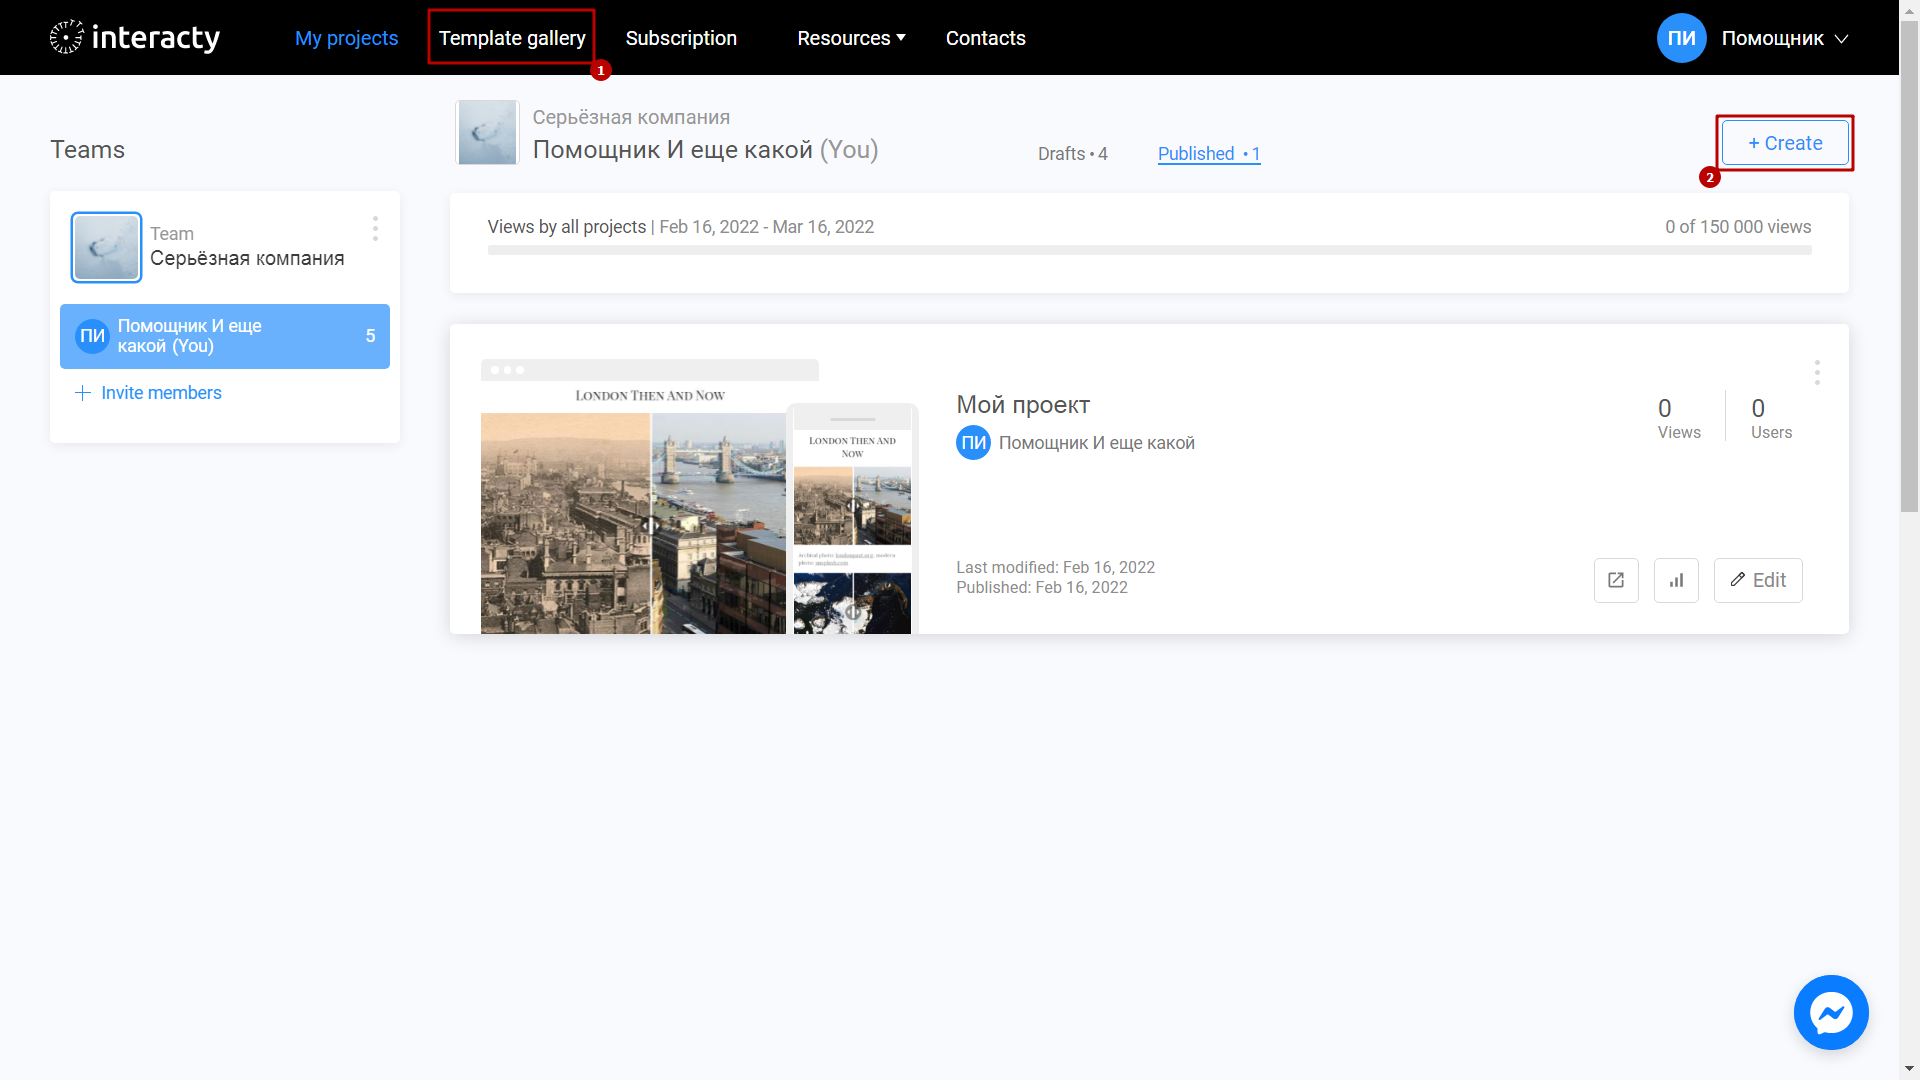
Sign in to your profile on interacty.me. To create a Timeline, click Template Gallery (1) or Create (2) button.
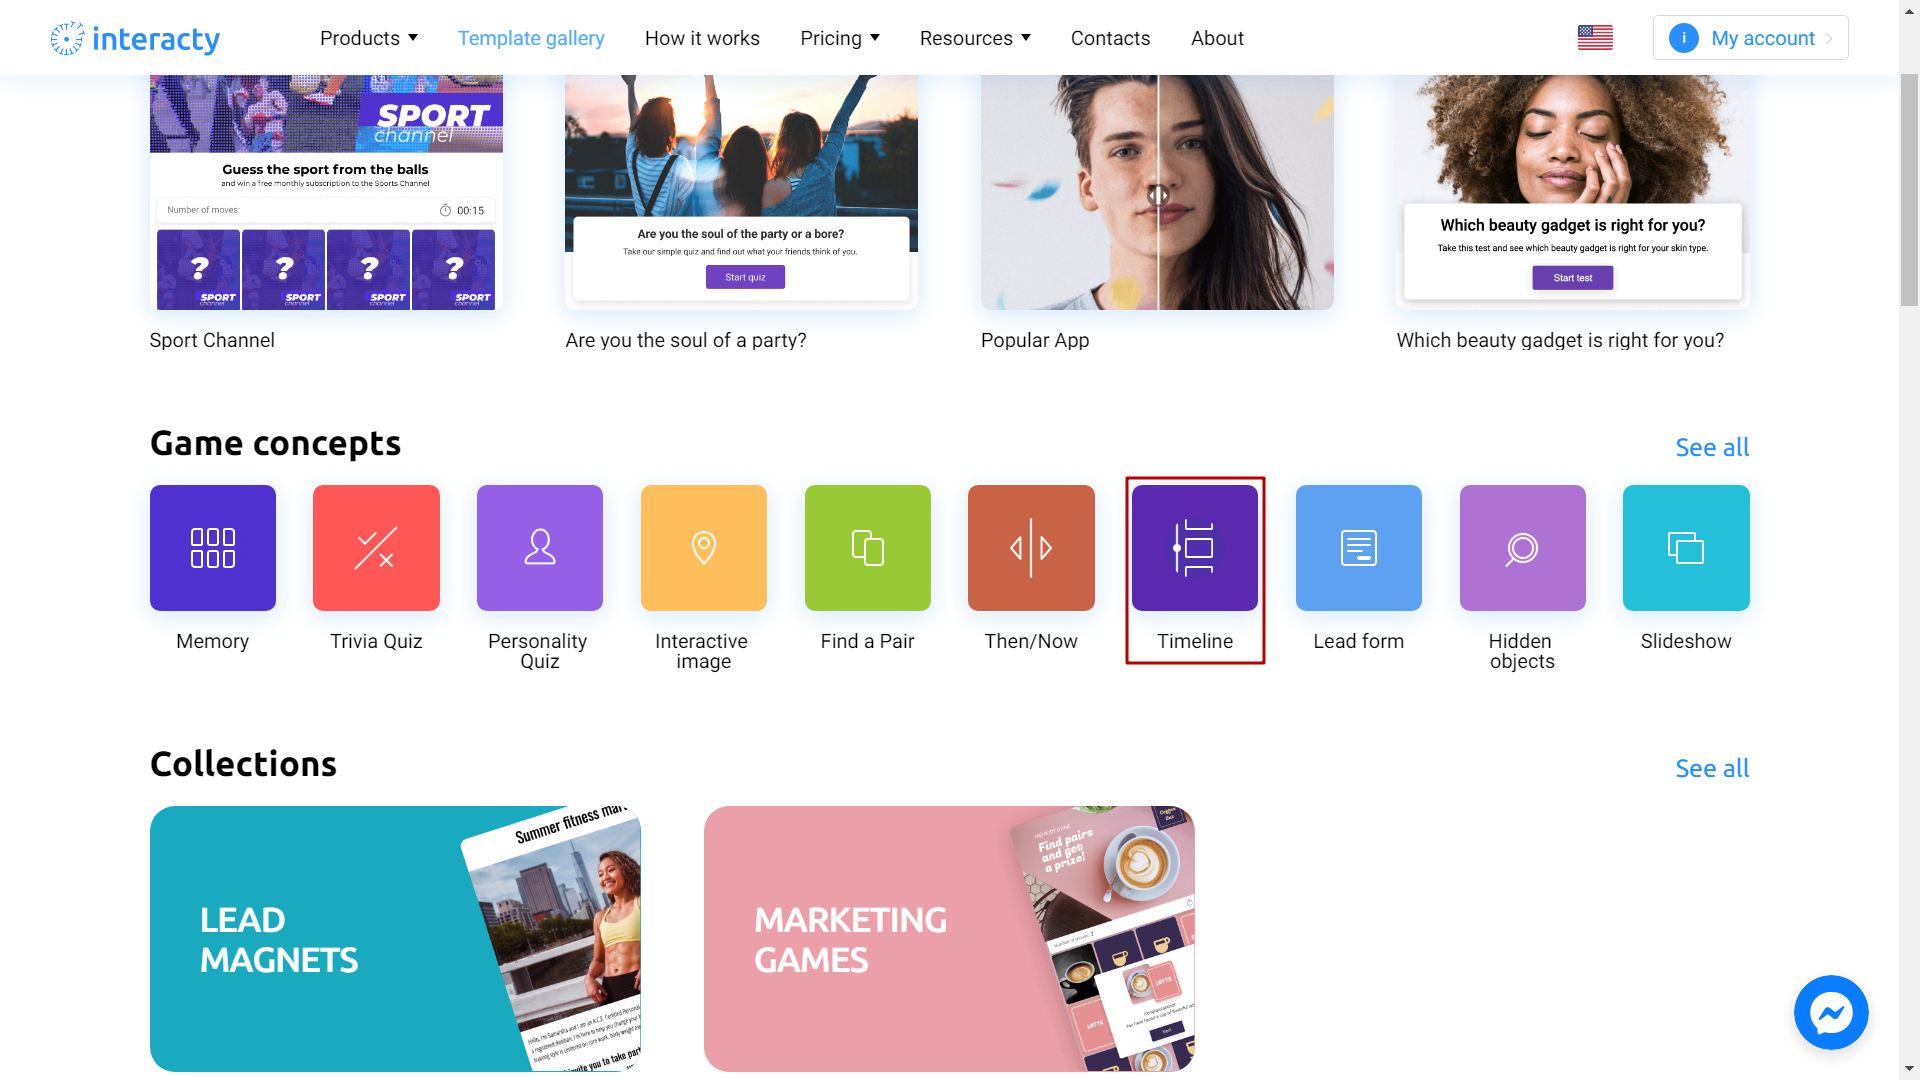
Select Timeline.
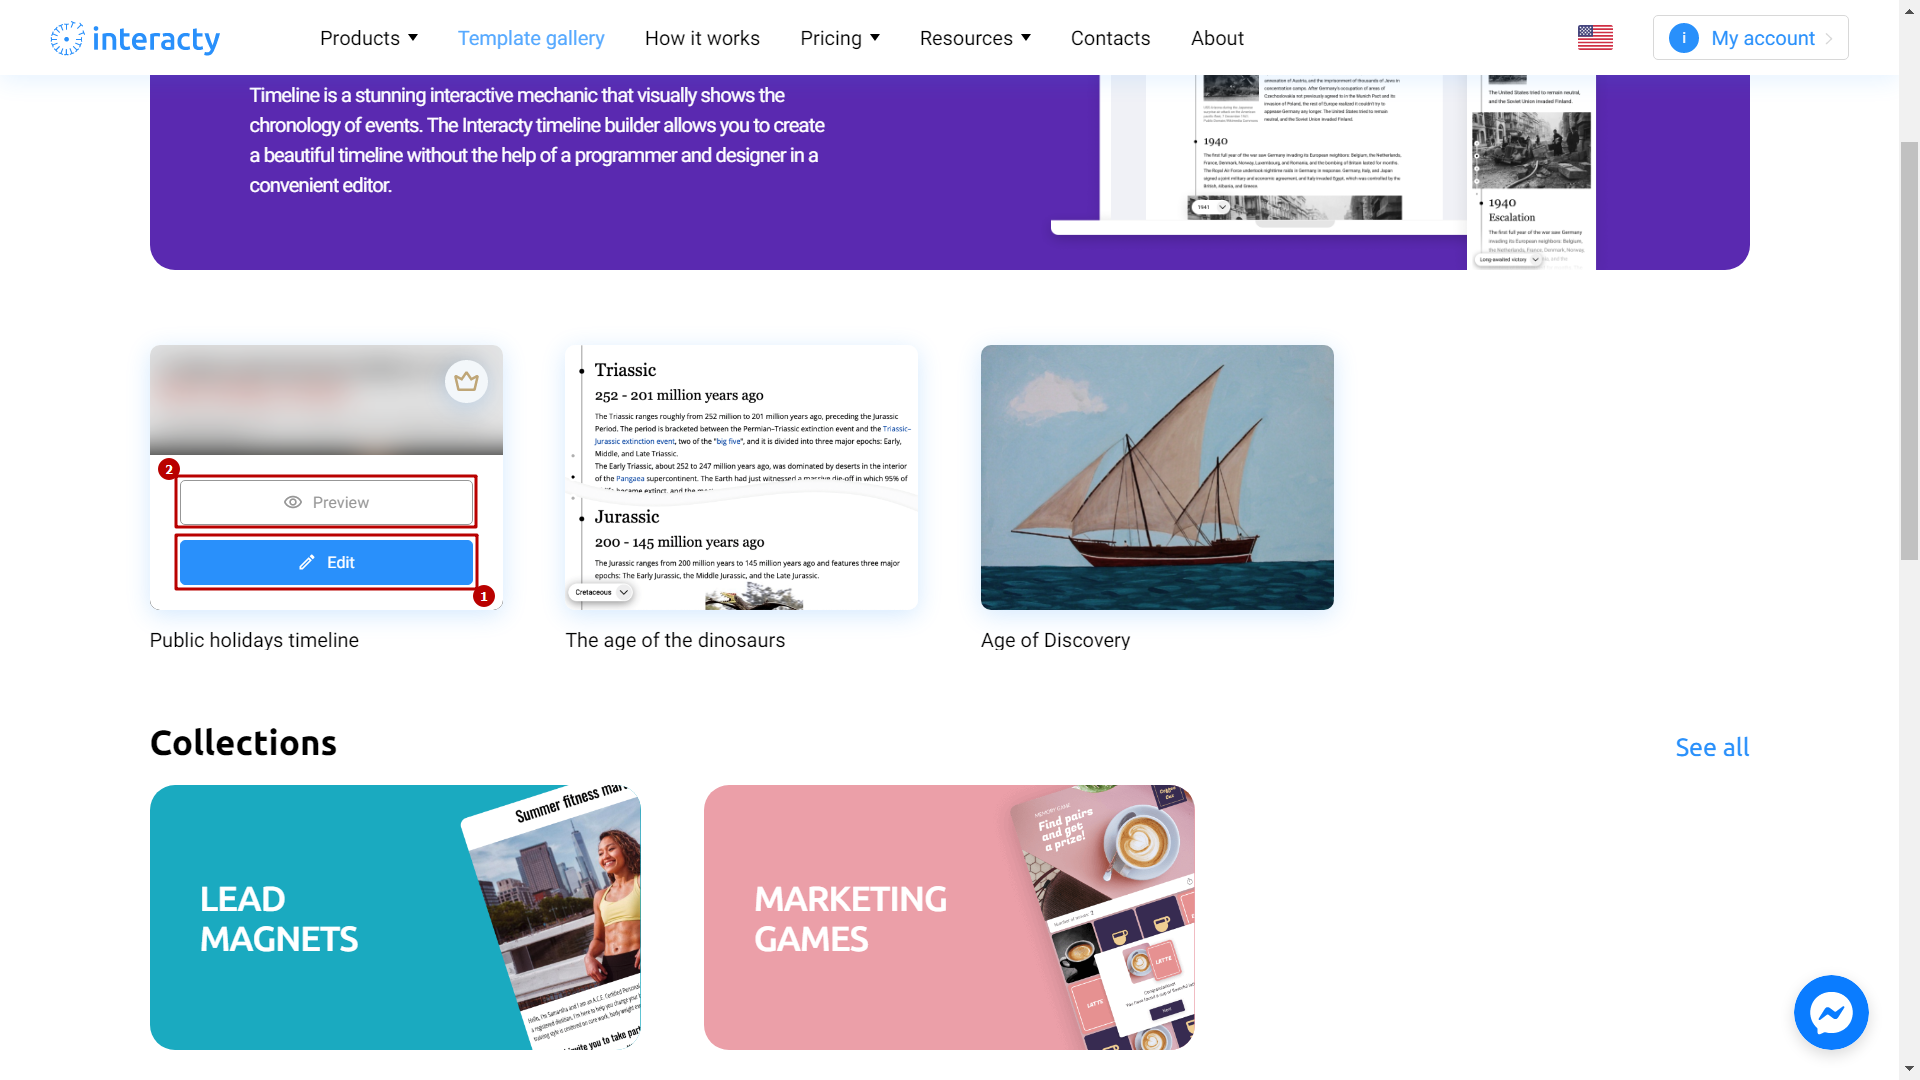
Select the template you like from the list by clicking the Edit (1). The Preview (2) button will allow you to preview the template.
Template editing
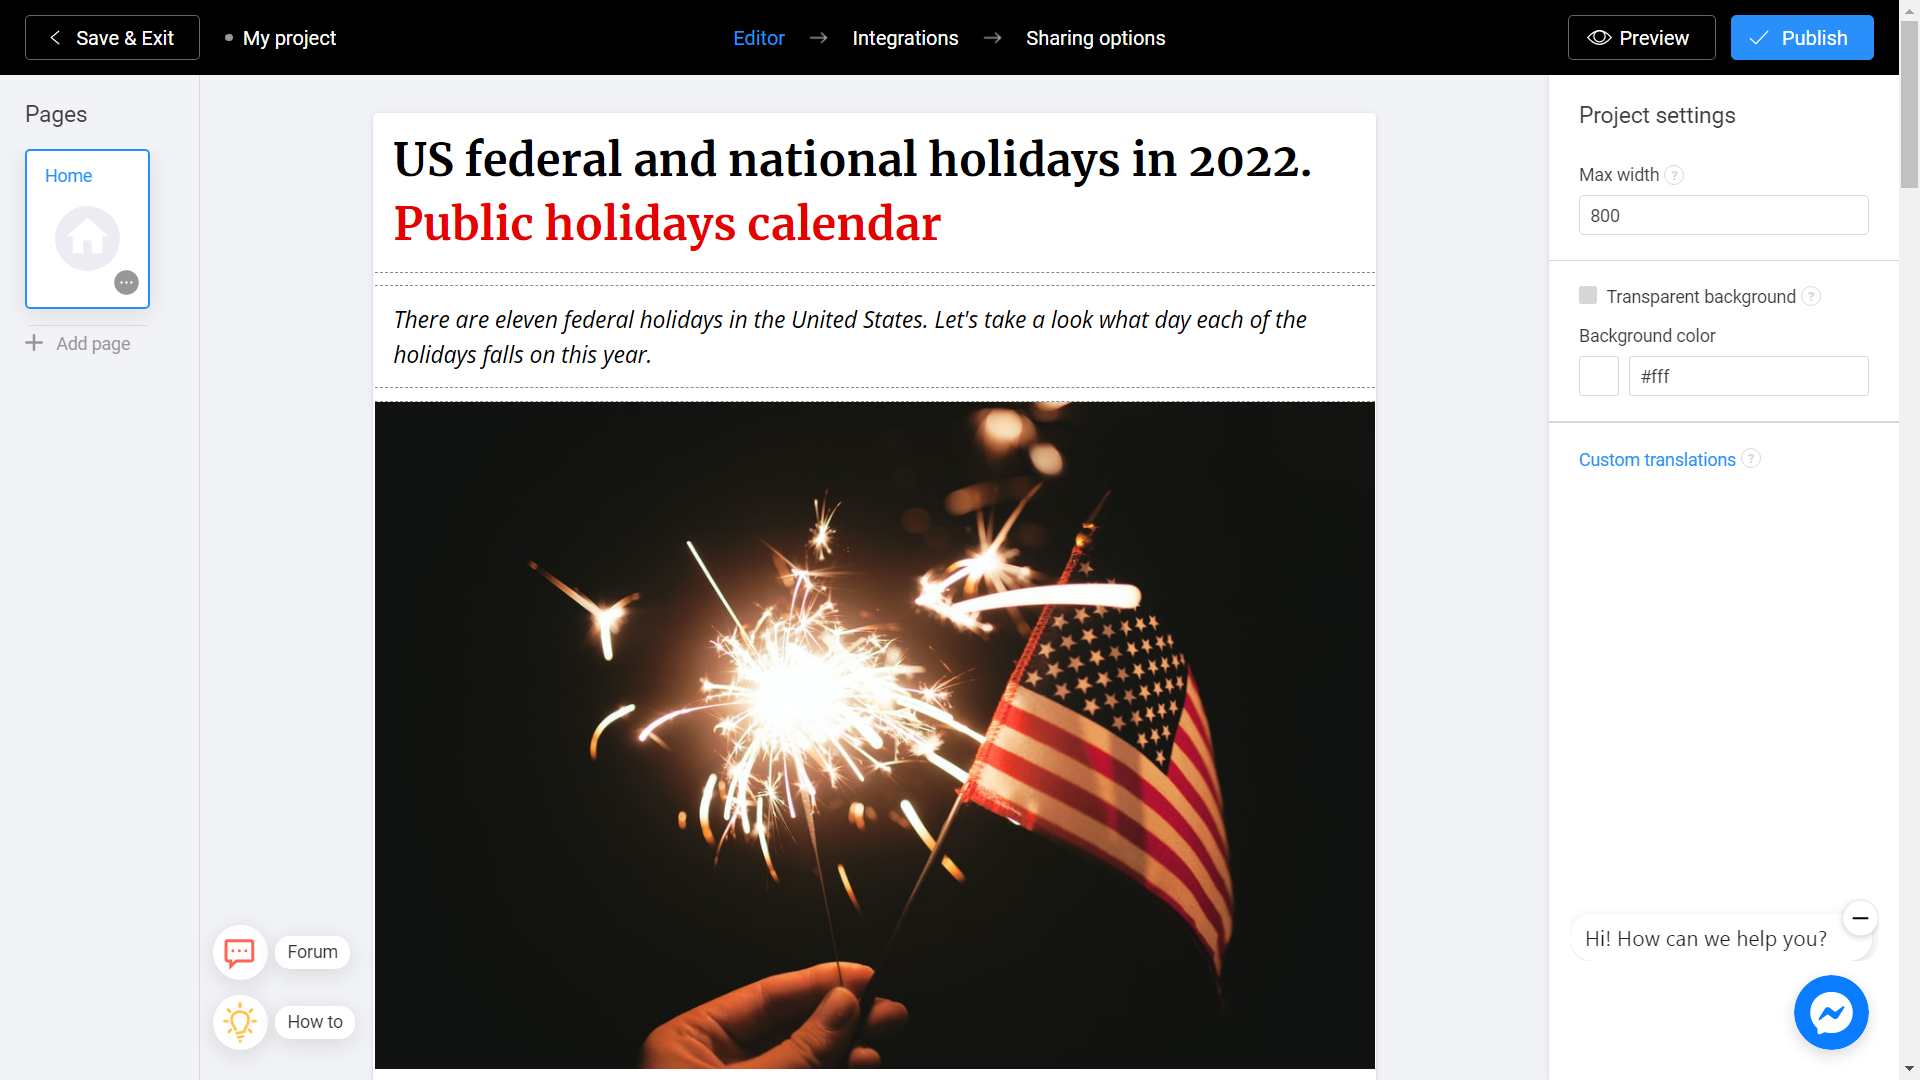
You will see the text blocks.
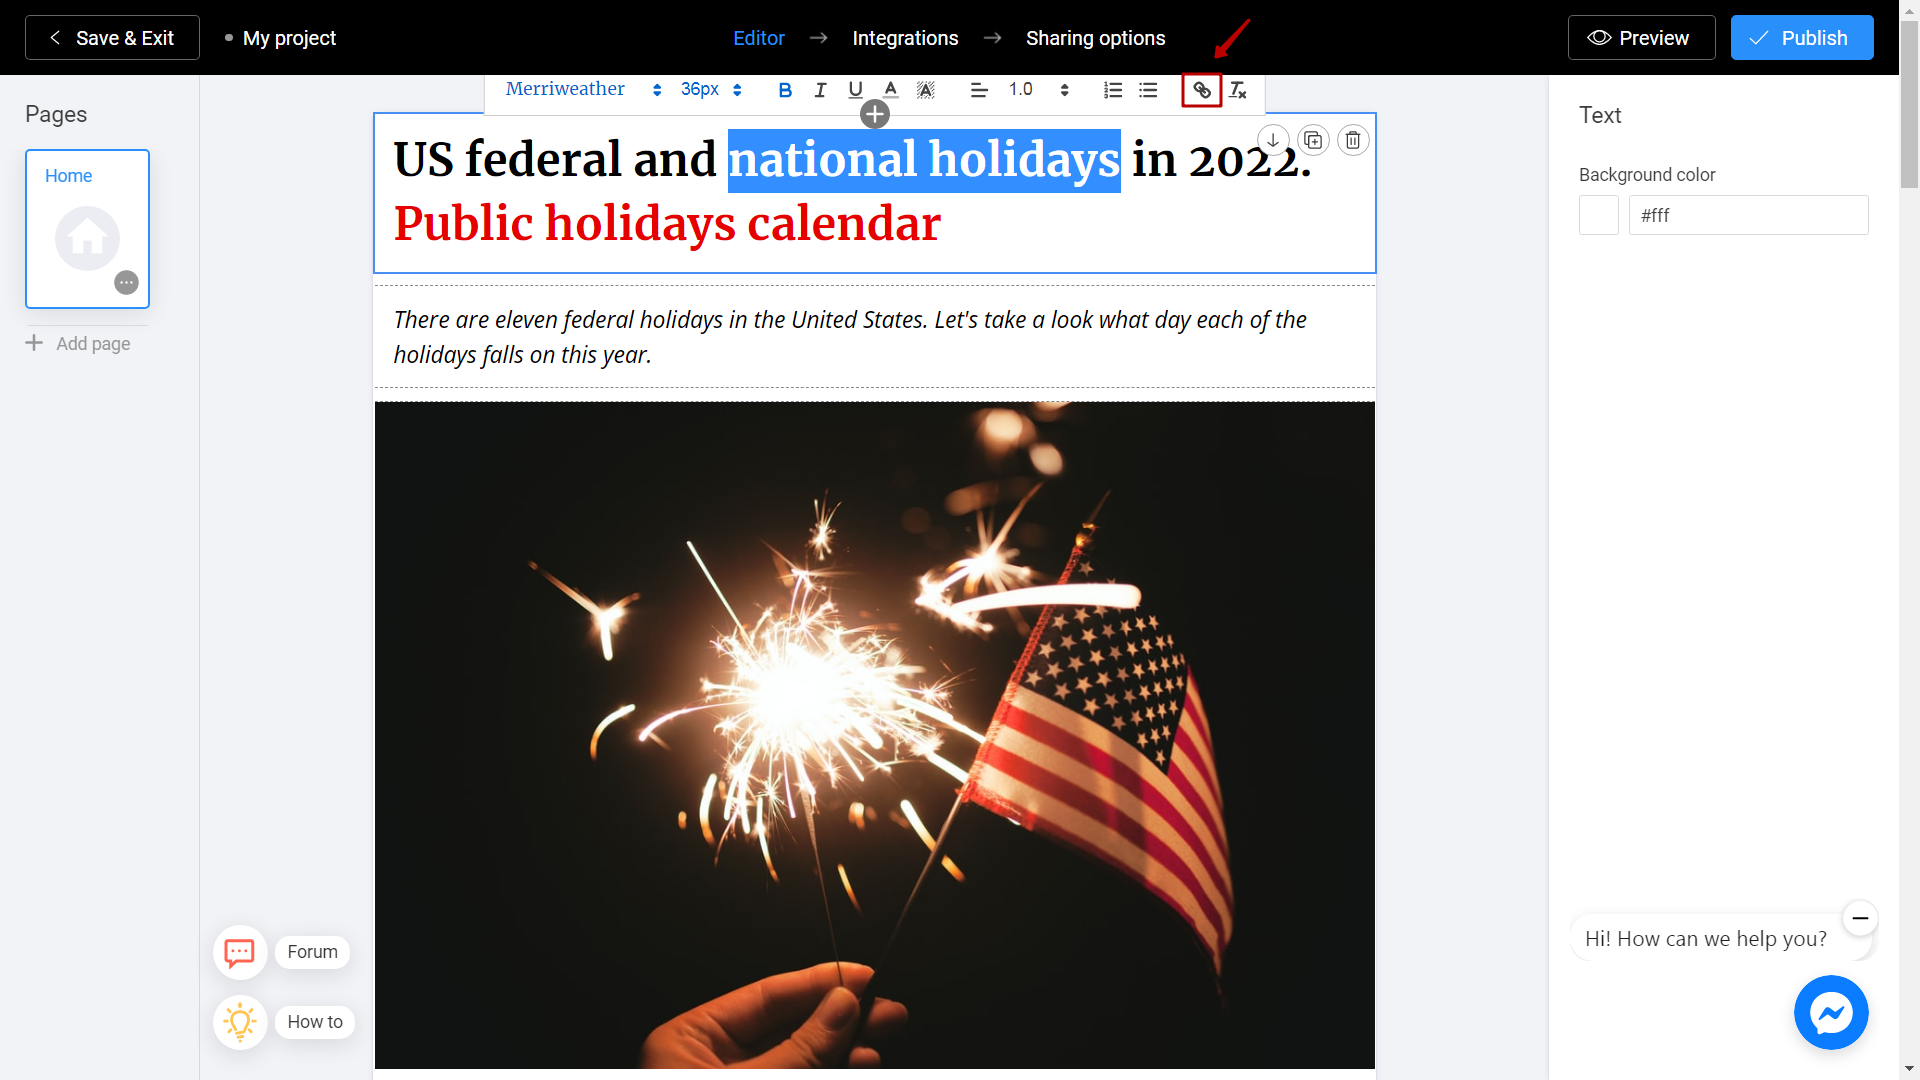
When you are working with large amount of information, it is necessary to indicate a detailed response to a specific event or term. In the Timeline Editor, this feature is available by hyperlink a text. Enter the text, highlight the necessary word or phrase. To create a hyperlink, click on the chain icon in the text editor's horizontal menu.
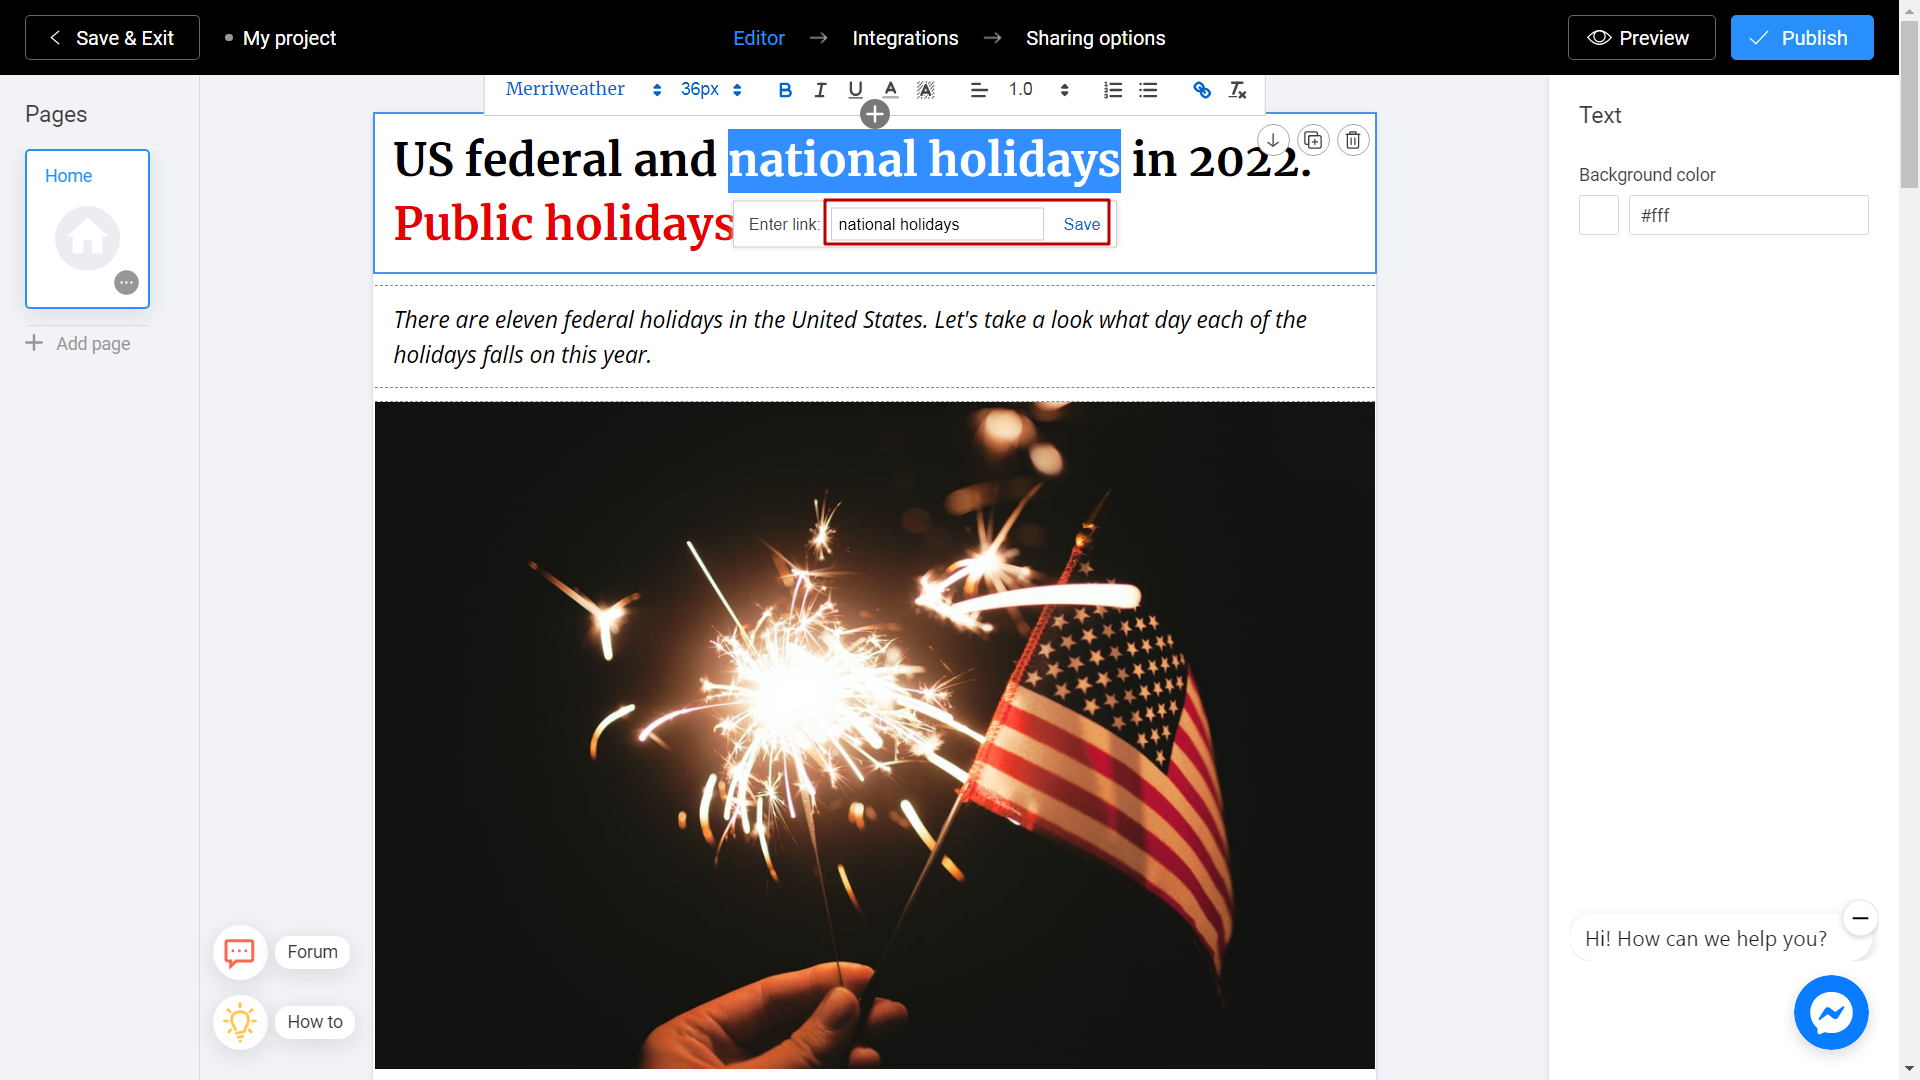
Copy the link to the source and paste it into the field. Click Save.
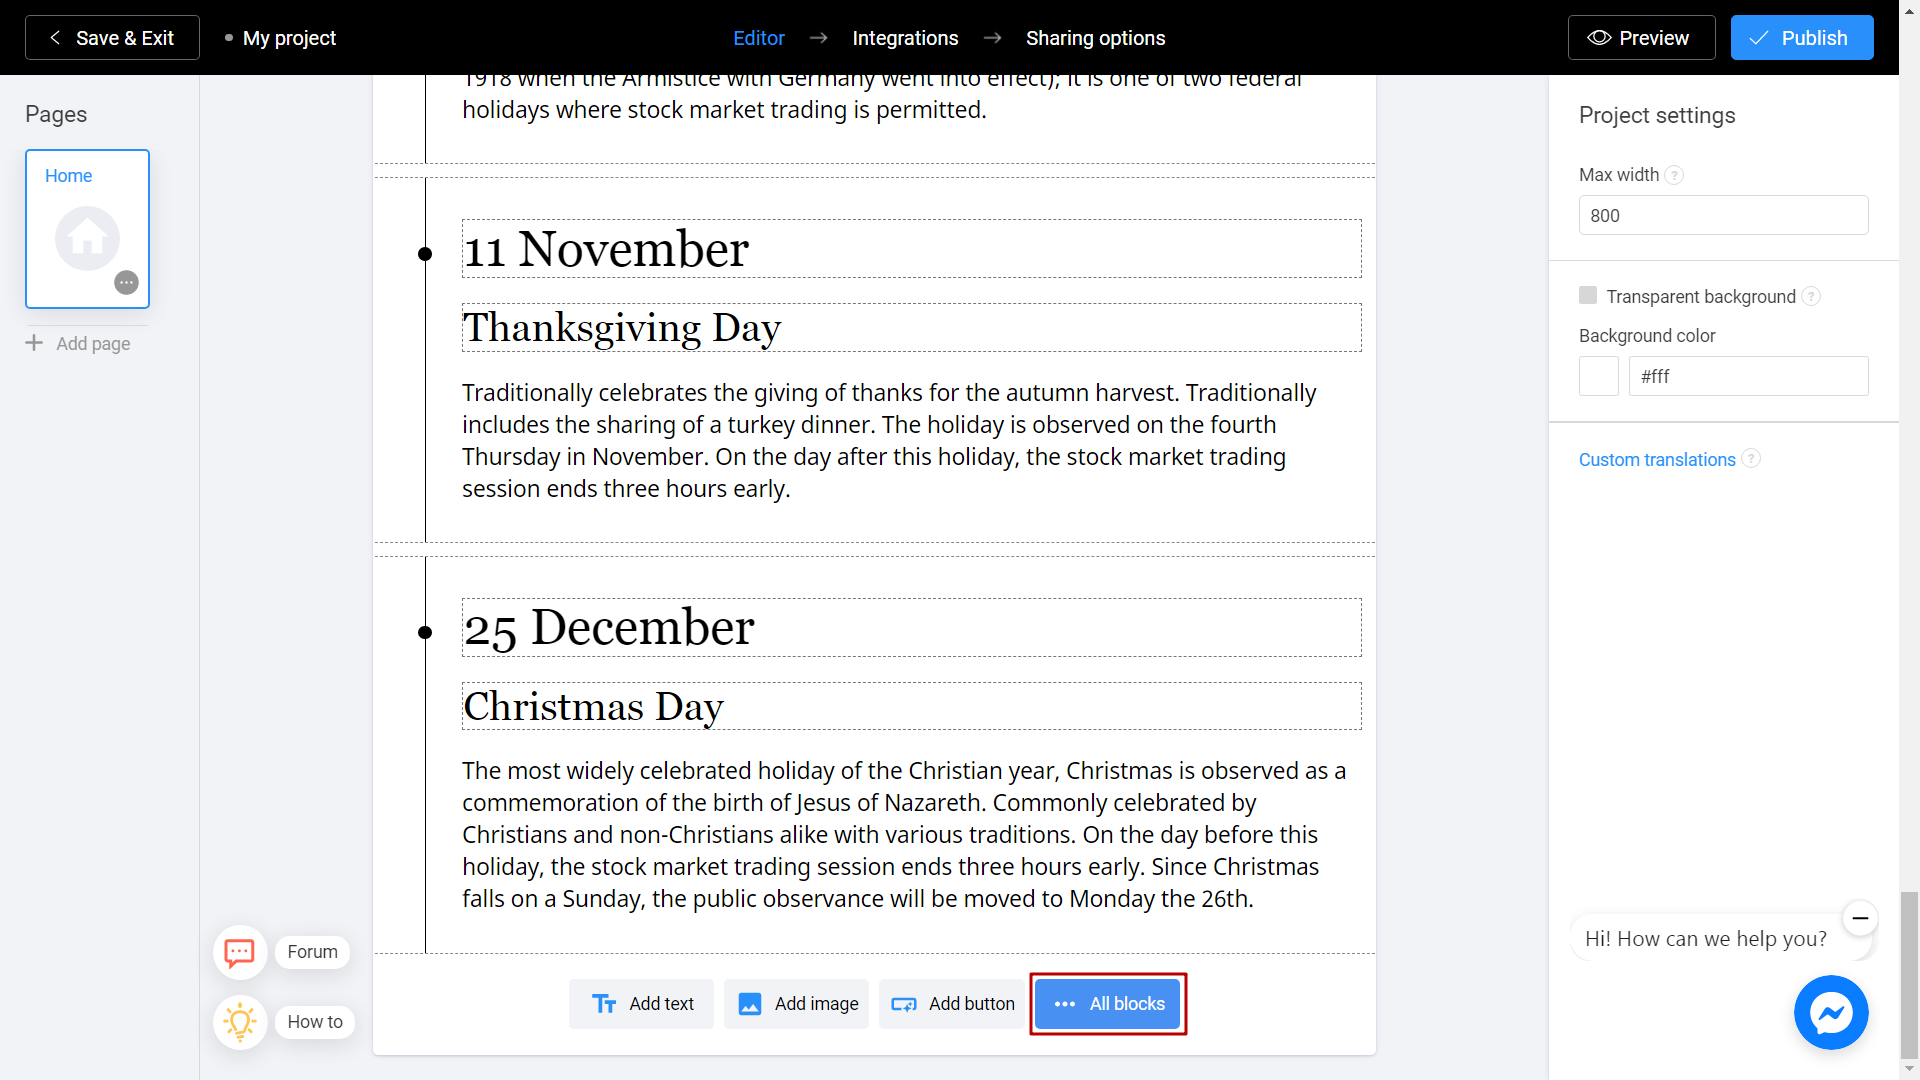
To add another Timeline block, select All Blocks section or click on Plus icon.
In the left menu, find the Timeline template. Select it.
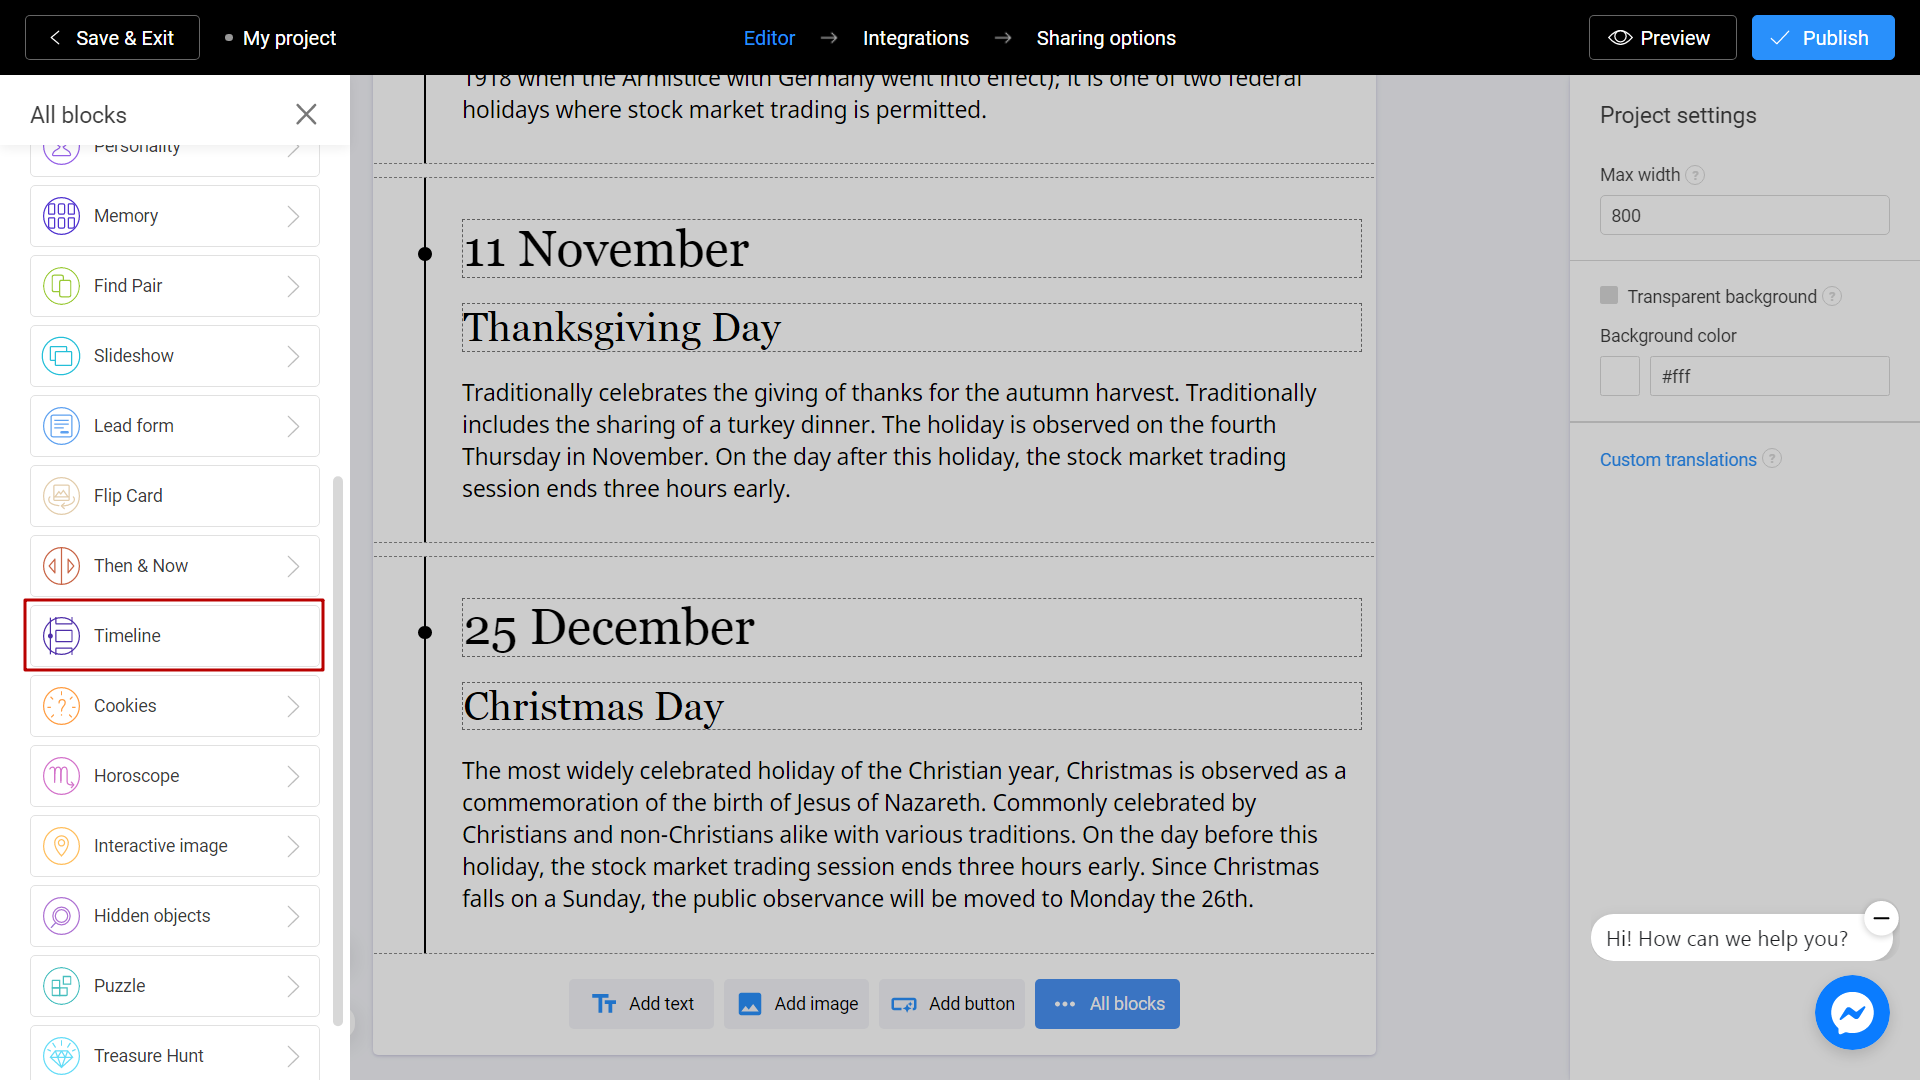
The new block will appear in your project. To replace the image, use the Change button.
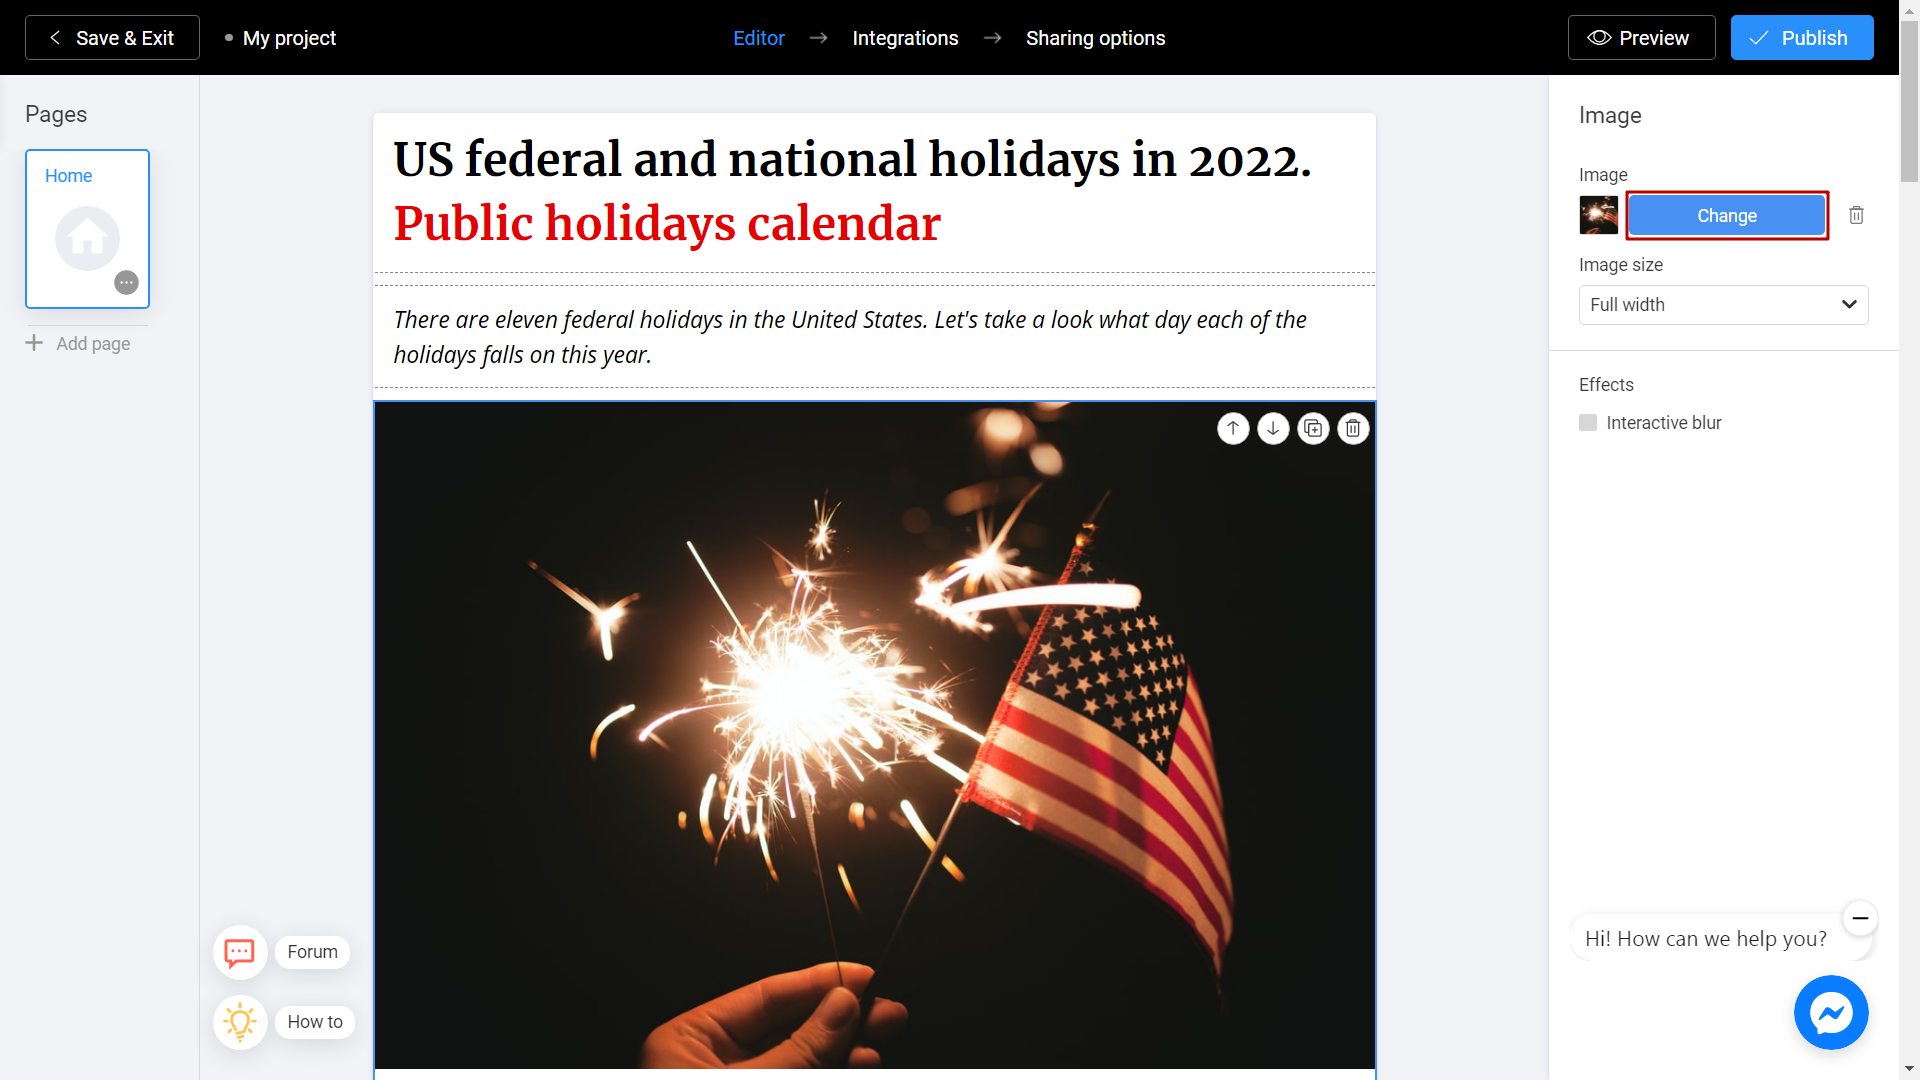
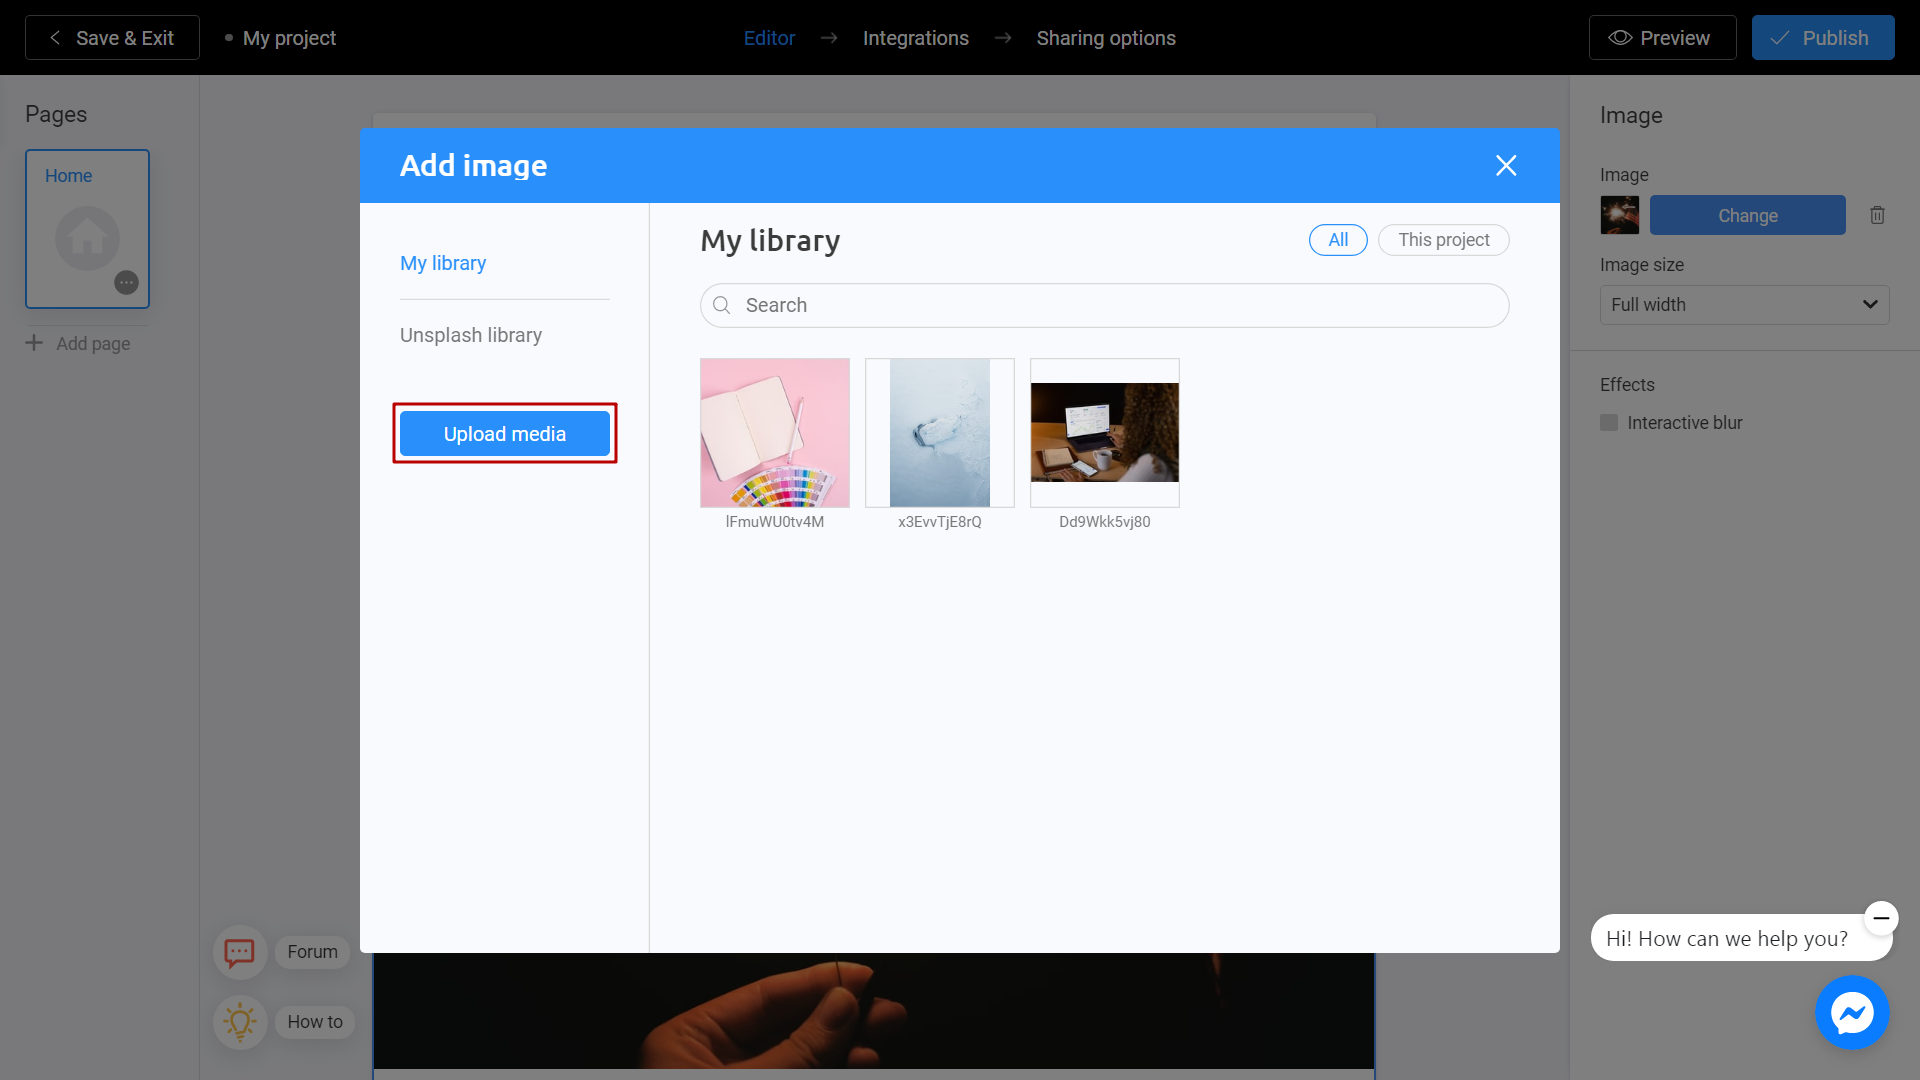
There are 2 ways to upload a new image. Directly from your computer or using the Unsplash Library.
My Library - Images you previously used in other templates. They can be downloaded from Unsplash or from your computer. To add an image from your device, click Upload Media.
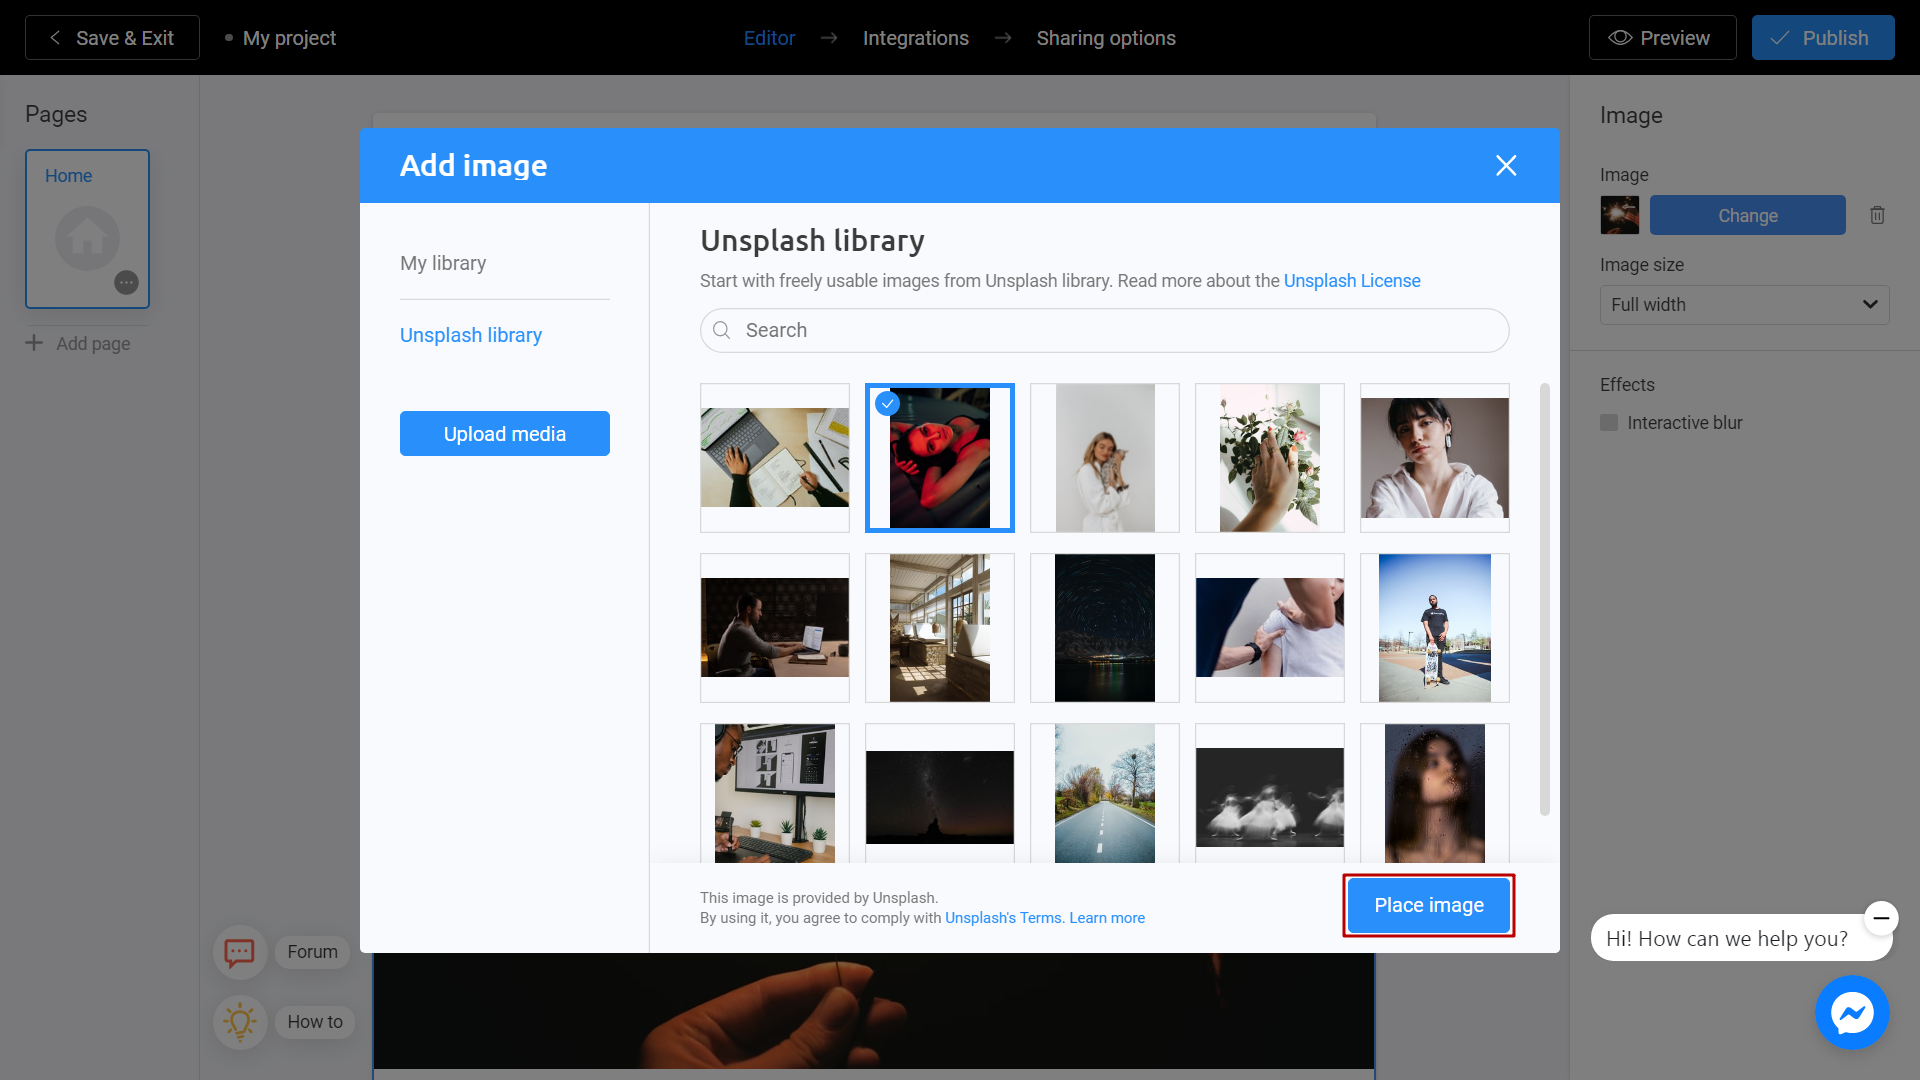
Unsplash Library - Direct access to the Unsplash stock photo service. Enter a subject into the search and select the image you like. Click Place Image.
Save and Share
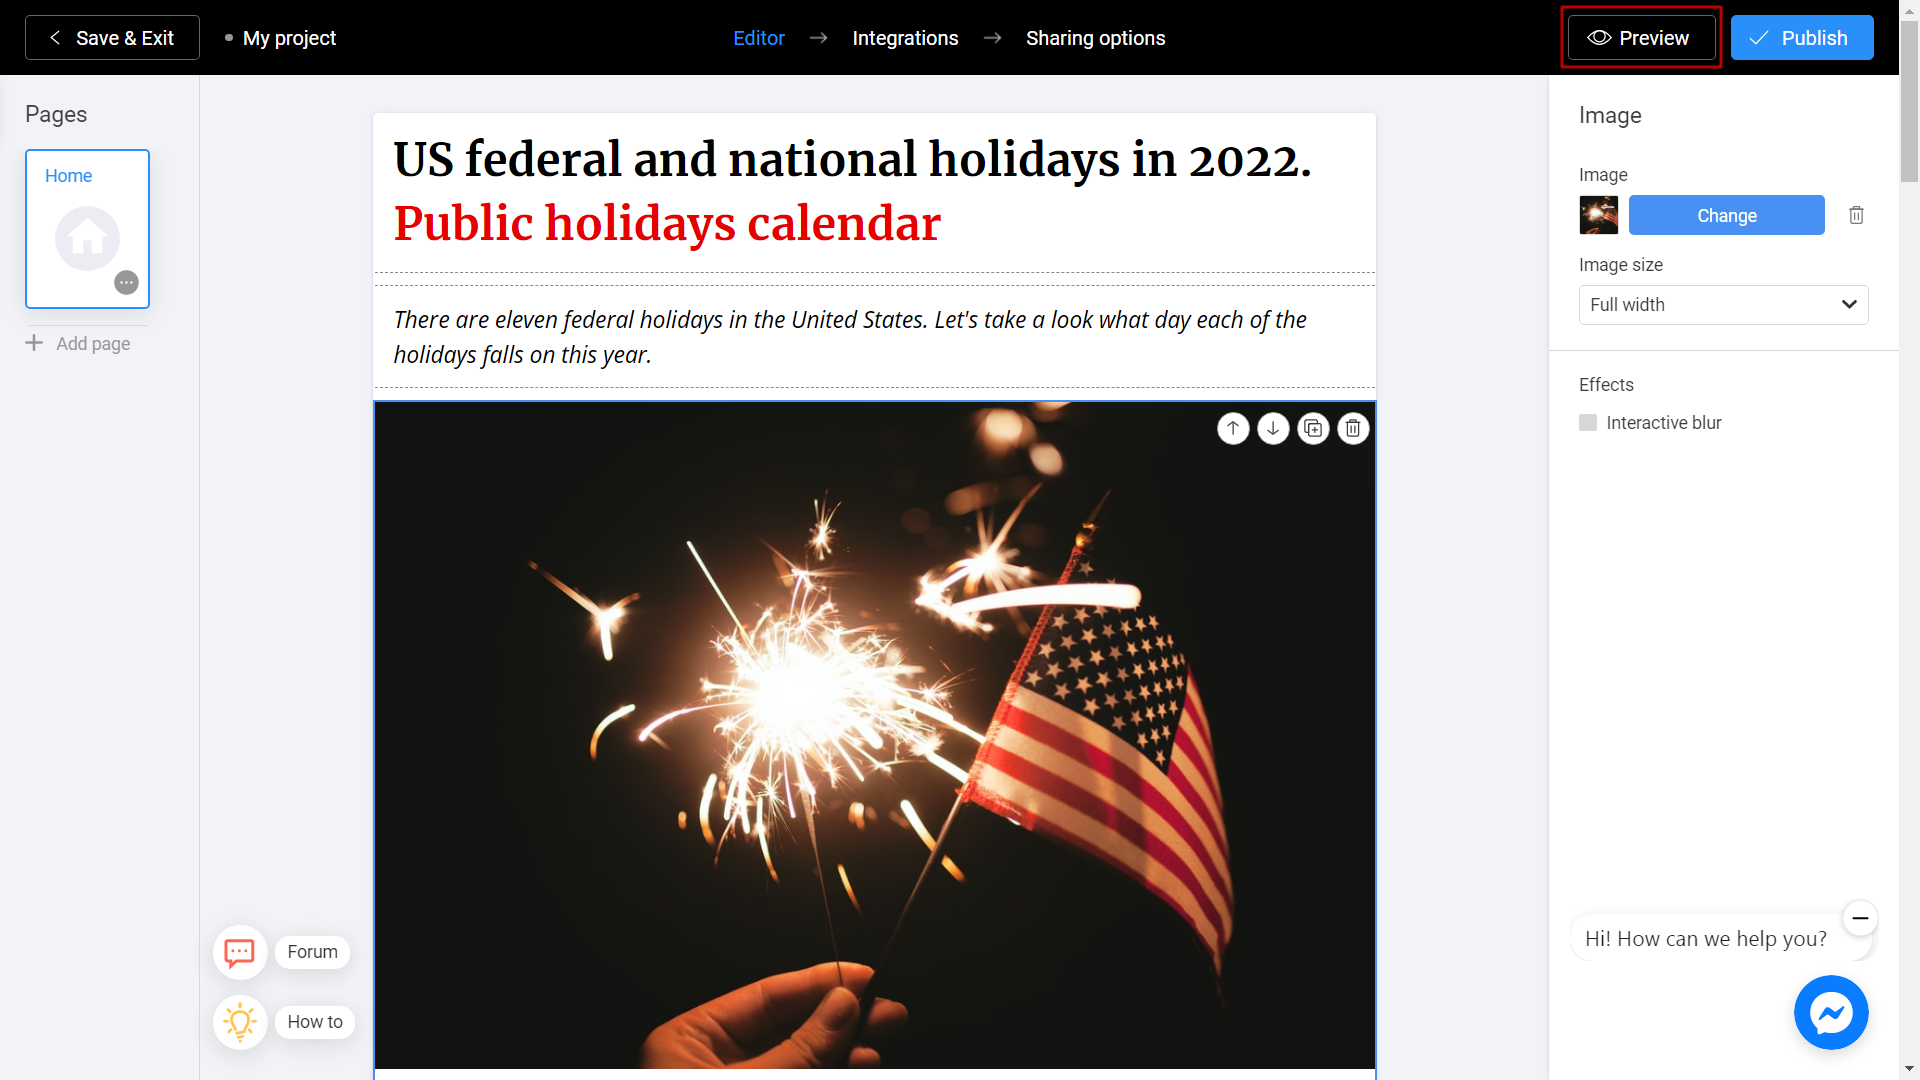
Click the Preview and evaluate the current state of your project.
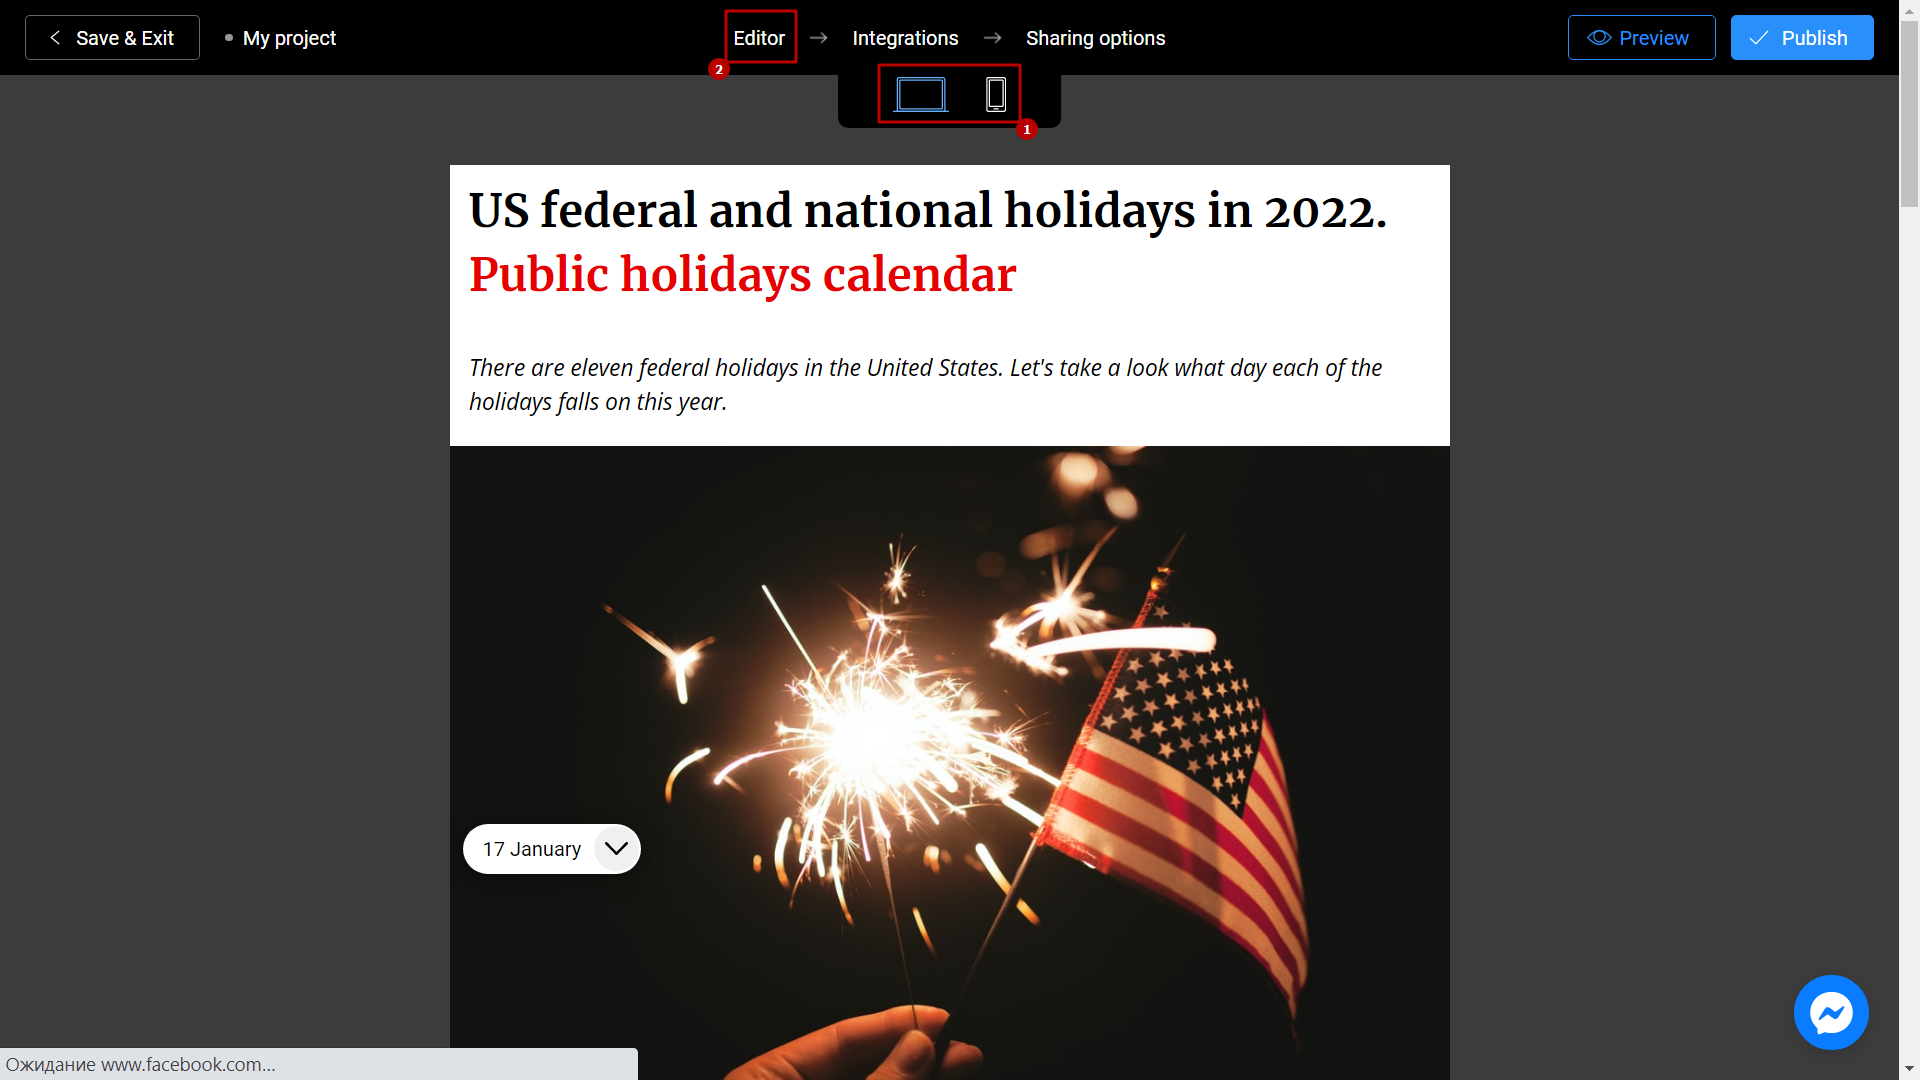
Try your slideshow and don't forget to rate how it looks on different devices. To do this, switch between the phone and personal computer (1) icons. If you notice an error or decide to fix anything, return to the Editor (2) by selecting the appropriate menu item.
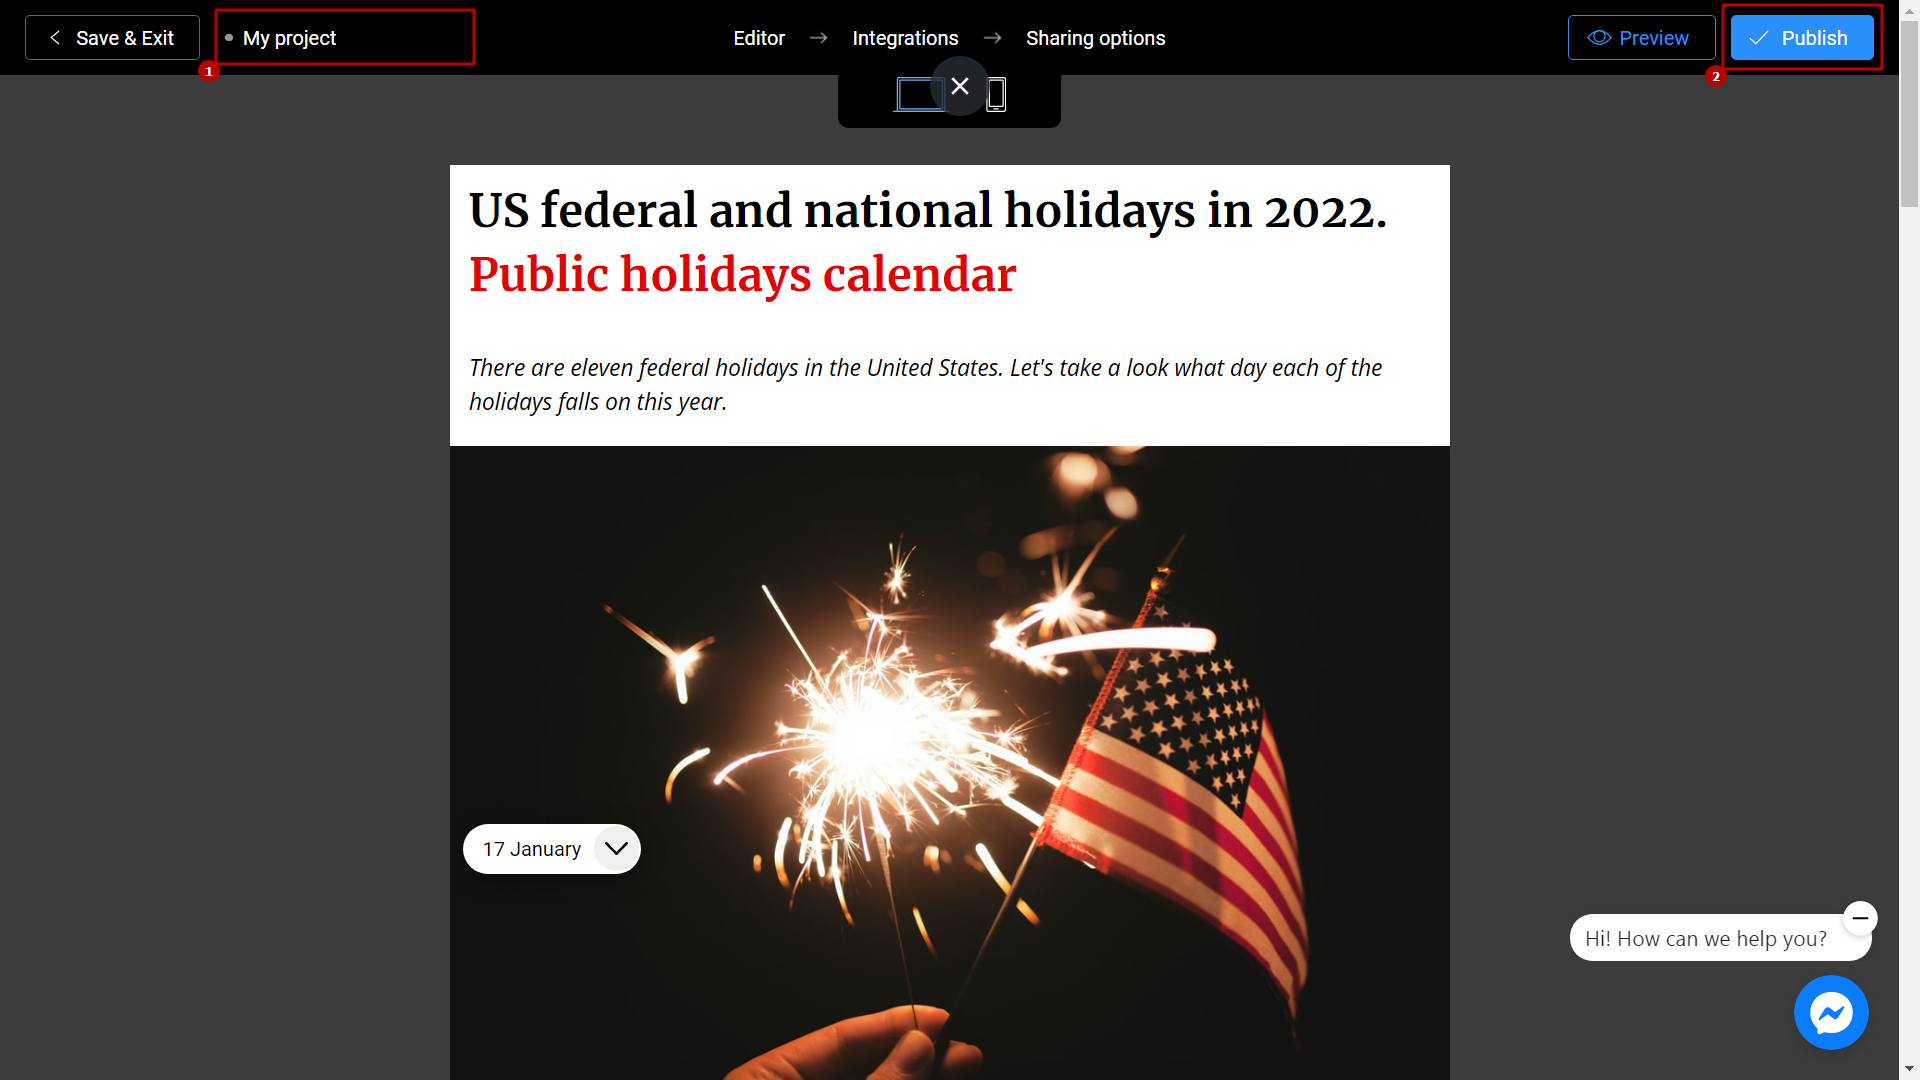
Don't forget to select a Title (1) for your project. This will make it easier to find him. After that, you can safely click the Publish (2) button.
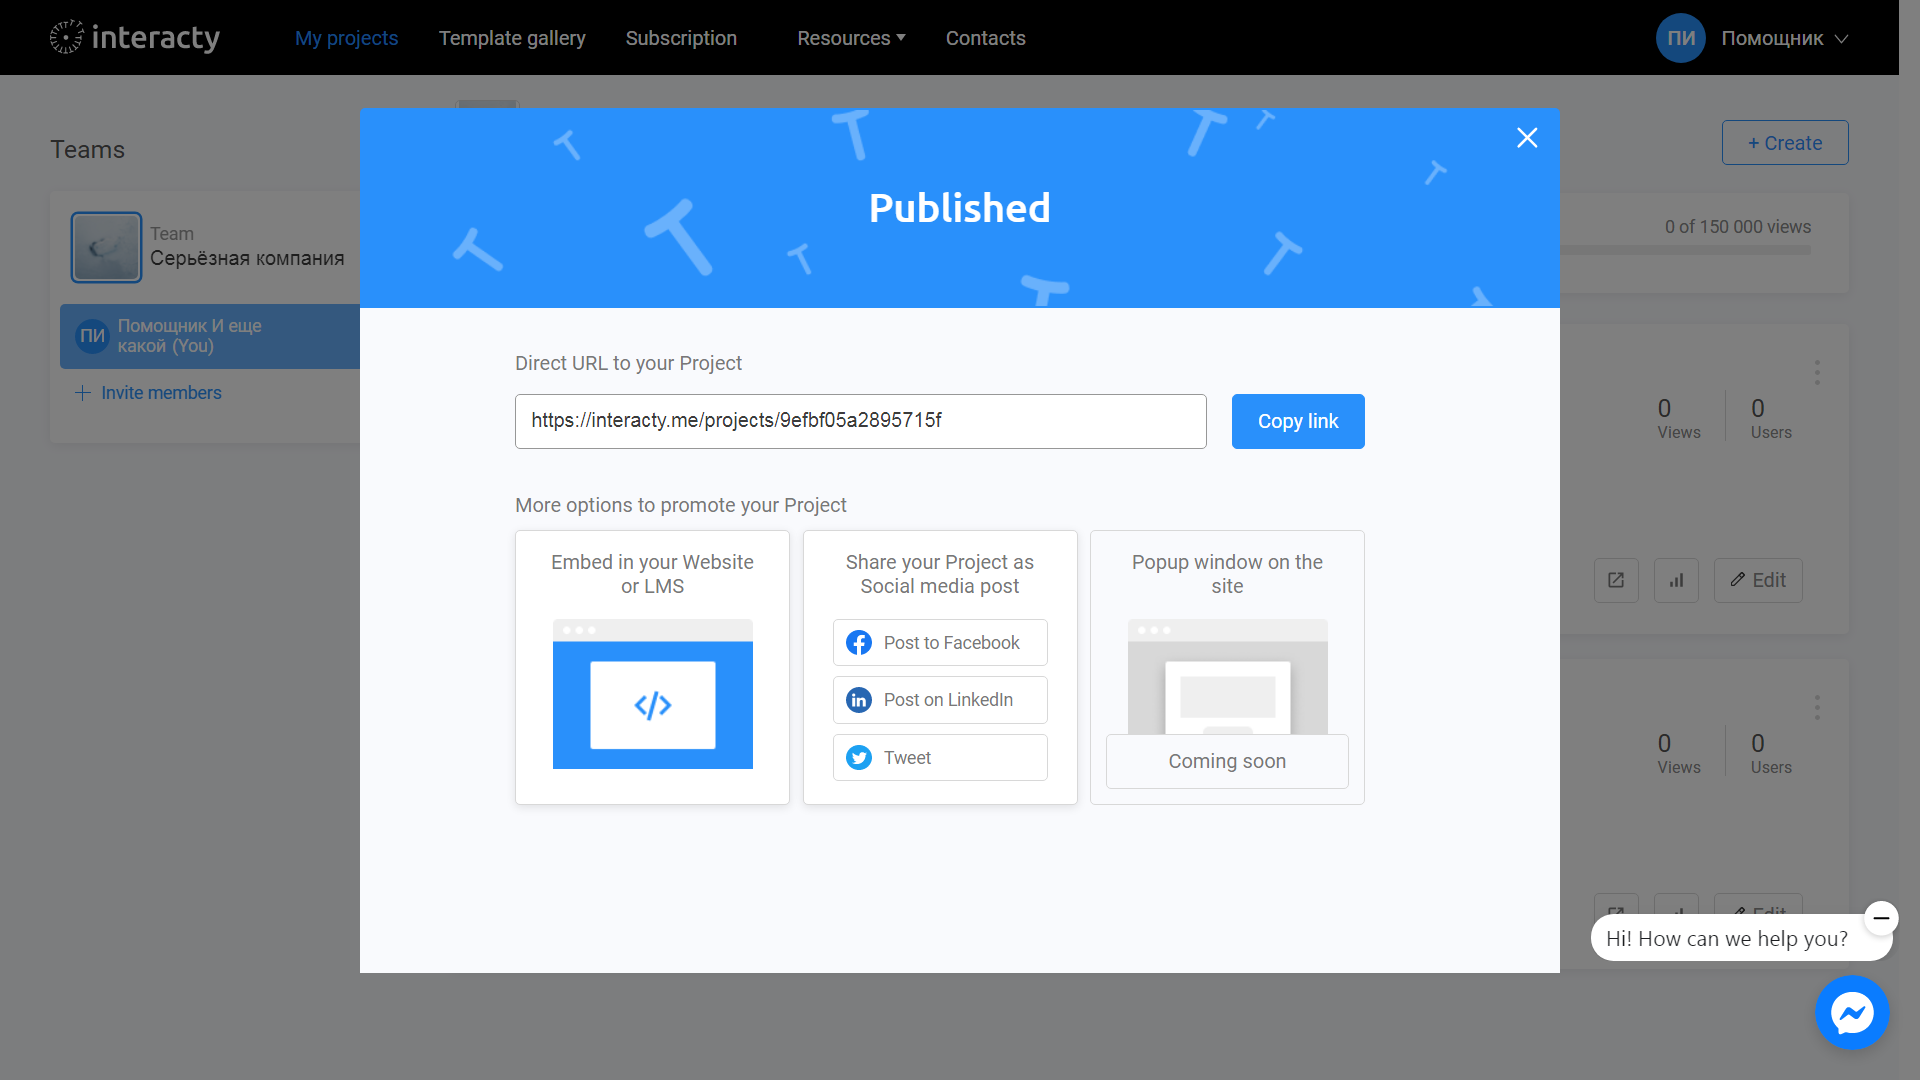
Your project is ready! You can share with your friends by sending a link, or choosing any other convenient way.
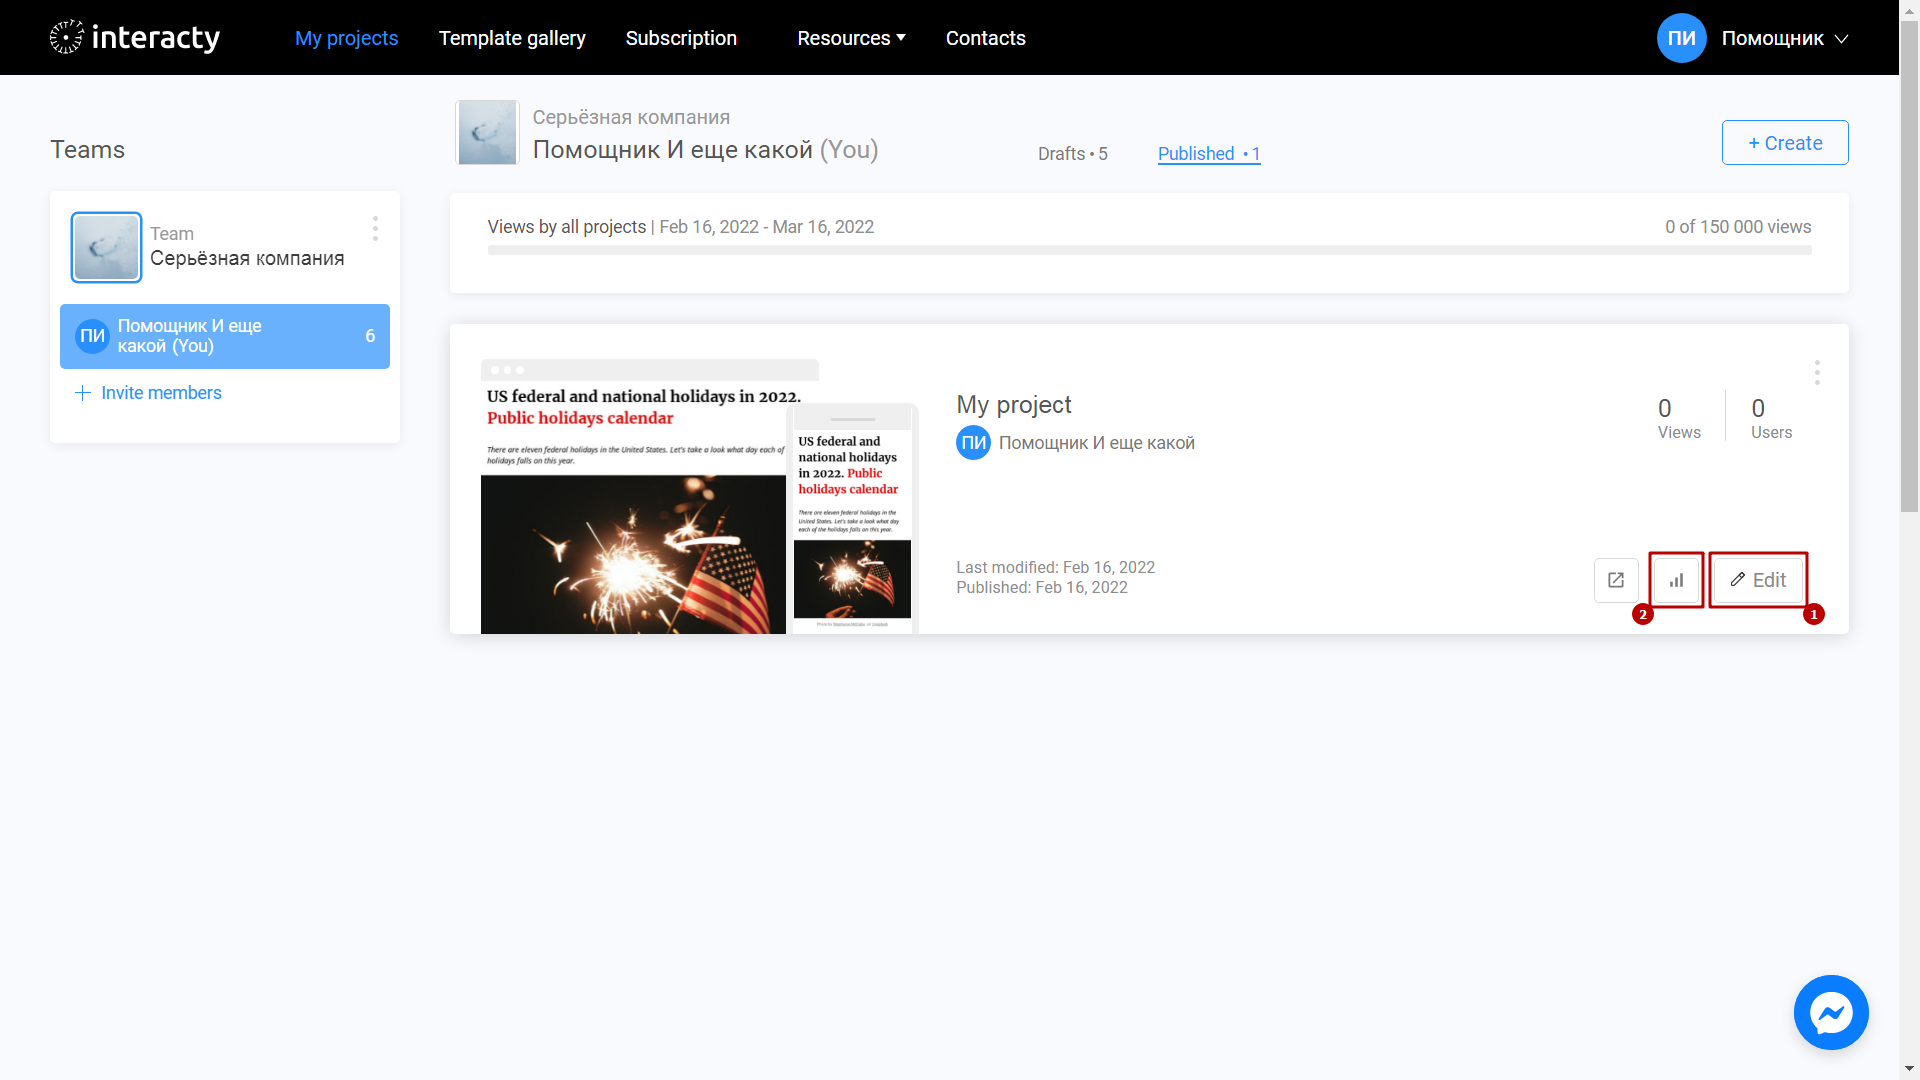
You can always return to editing your template again by clicking the Edit (1) button in the list of profile projects. You can also check Statistics (2) by clicking the corresponding button.
