CSS (Cascading Style Sheets) is a vital technology used for styling web pages. It controls the layout, colors, fonts, and overall appearance of a website. On the Interacty platform, CSS styles can be applied to customize the look of your projects. Want to change the color of a button, adjust fonts, remove the background from your project, reposition elements, or make a background transparent? You can achieve all that and more using CSS styles!
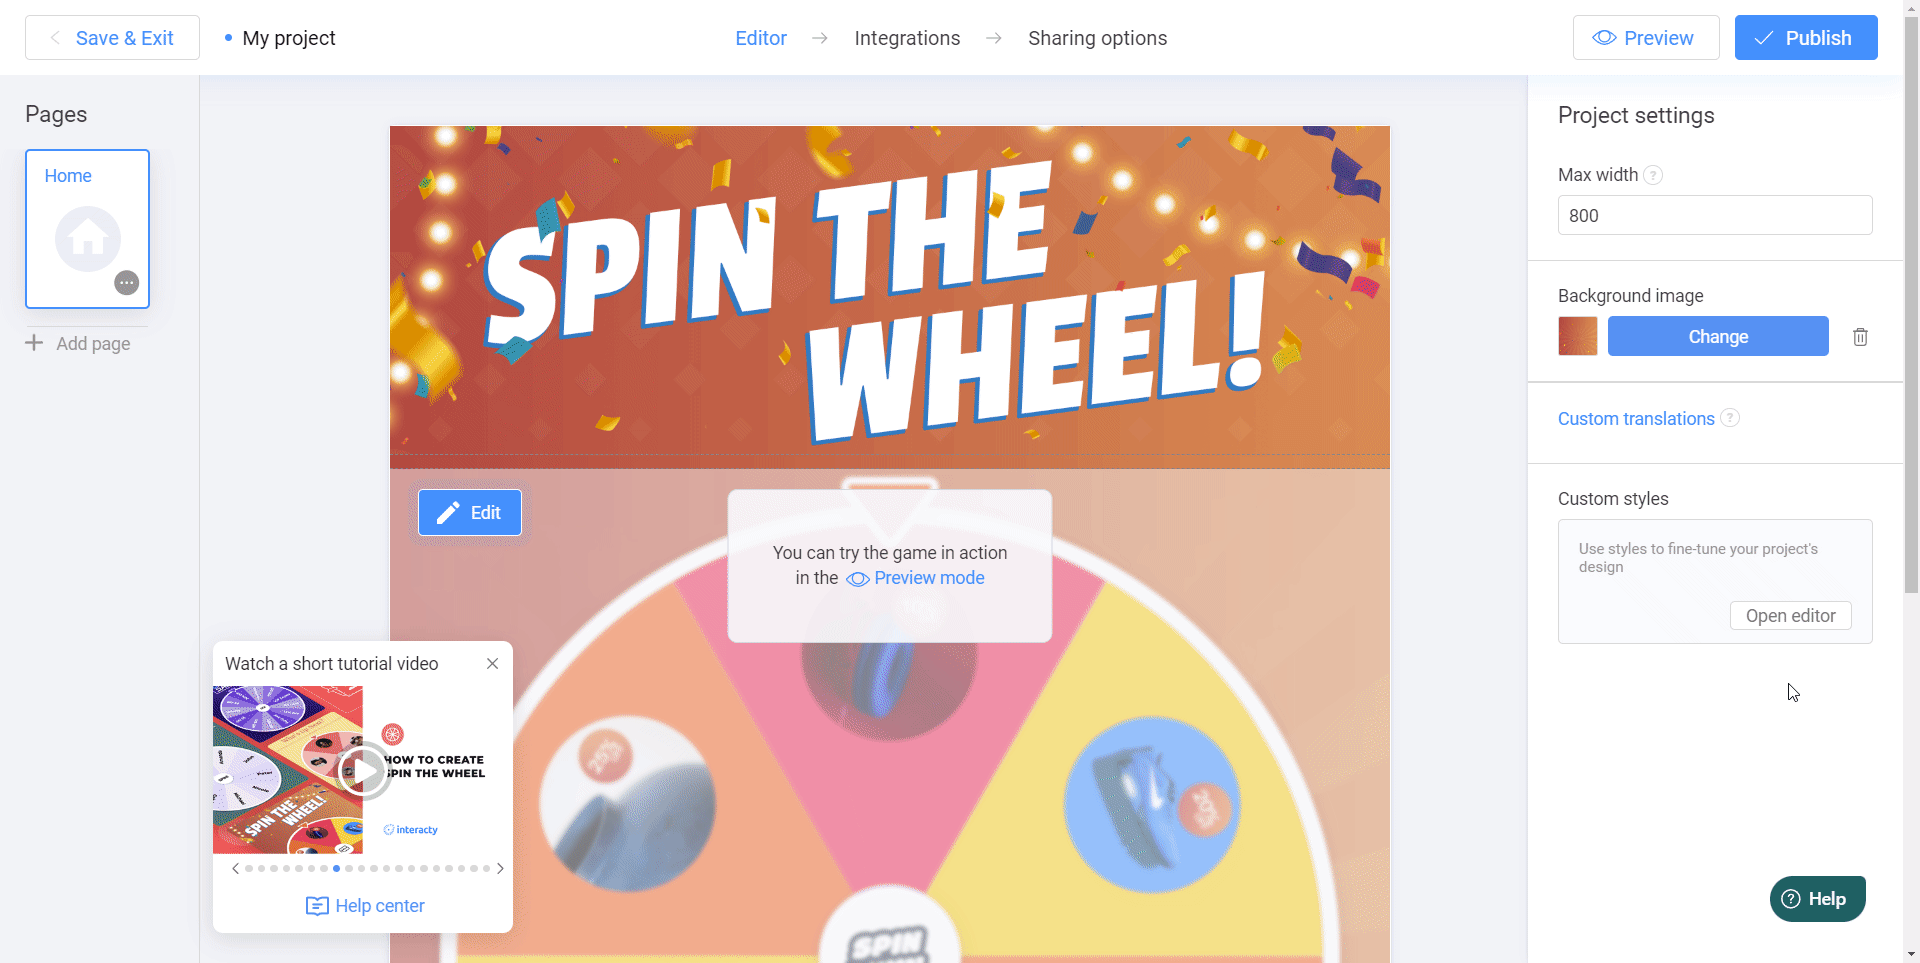
First, let's look at where you can add styles to your project on Interacty. It’s simple! While setting up your project in the editor, you’ll see a section on the right called Custom Styles. Just click the Open editor button and start typing your code. Once you’re done, hit Save, and your code will be automatically applied to your project!
Learning to Use Styles on Our Platform
Since our users have diverse needs, we can't physically provide code for every imaginable scenario. Instead, we’ll share some of the most popular requests by using the example of a lead form. You can either use these codes in your projects or as a foundation to create your own unique styles.
Example 1: Customizing a Lead Form
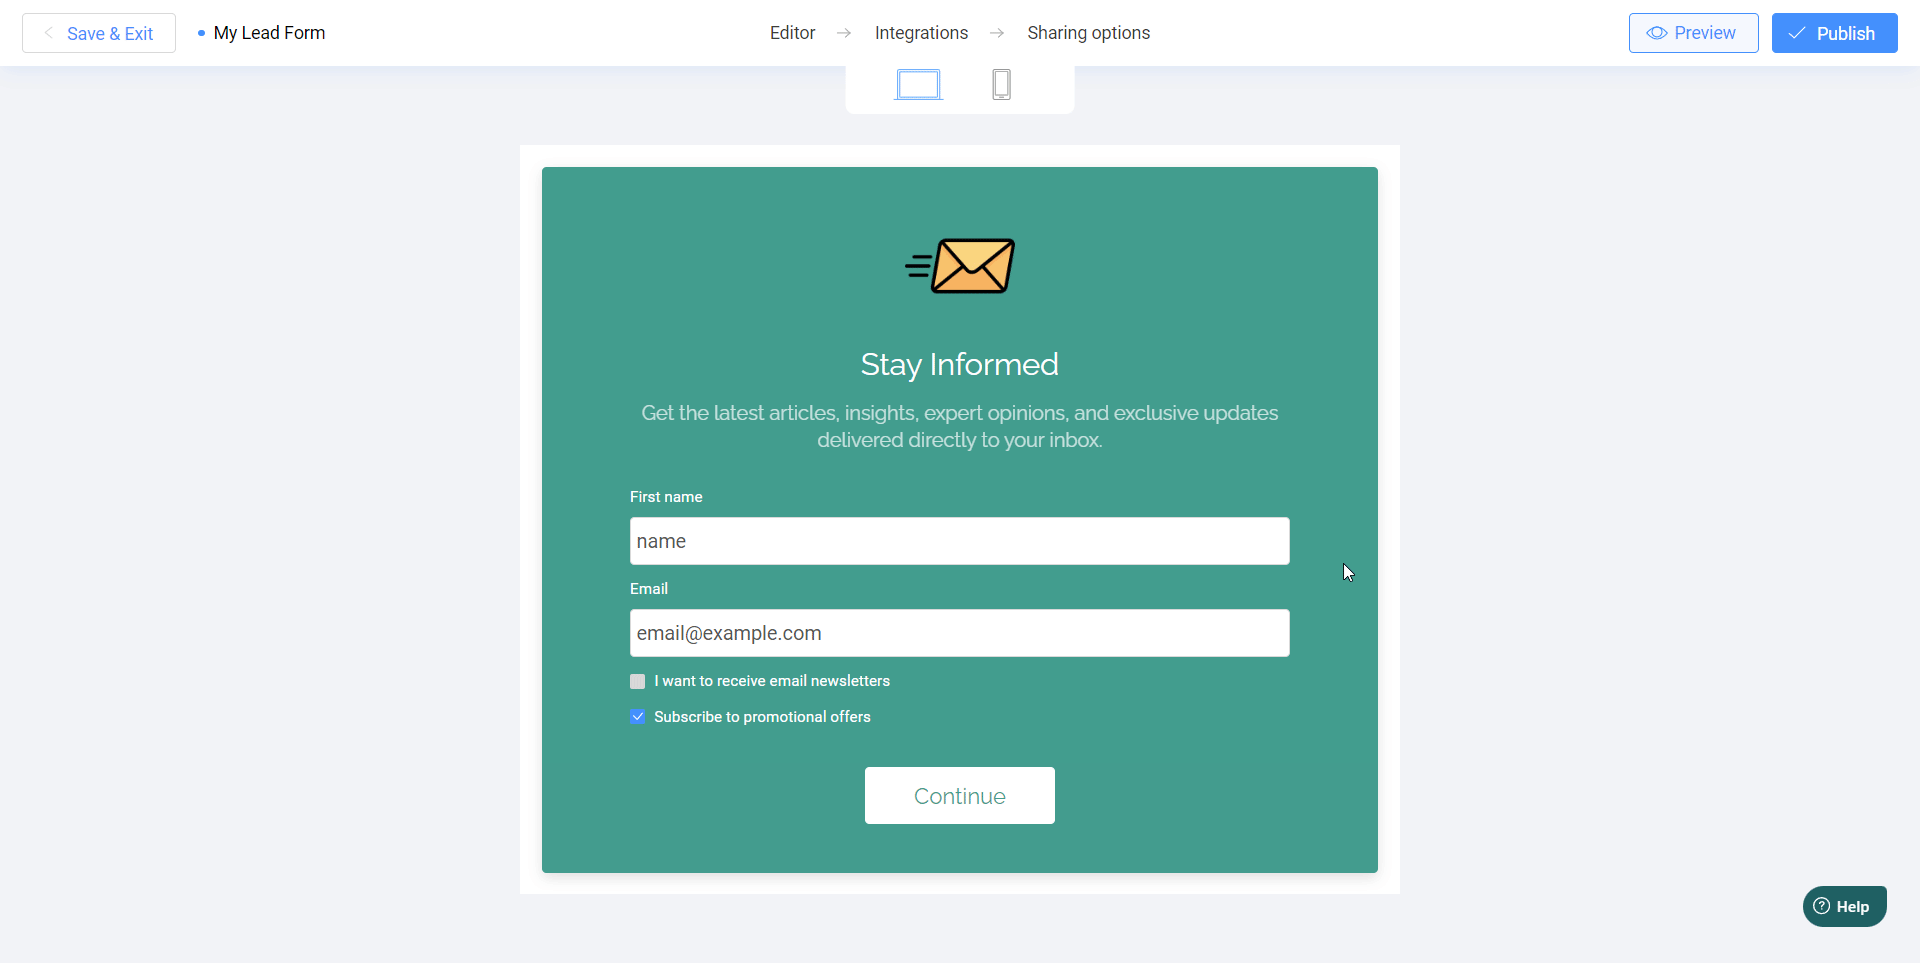
Let’s say we have a lead form created on the Interacty platform.
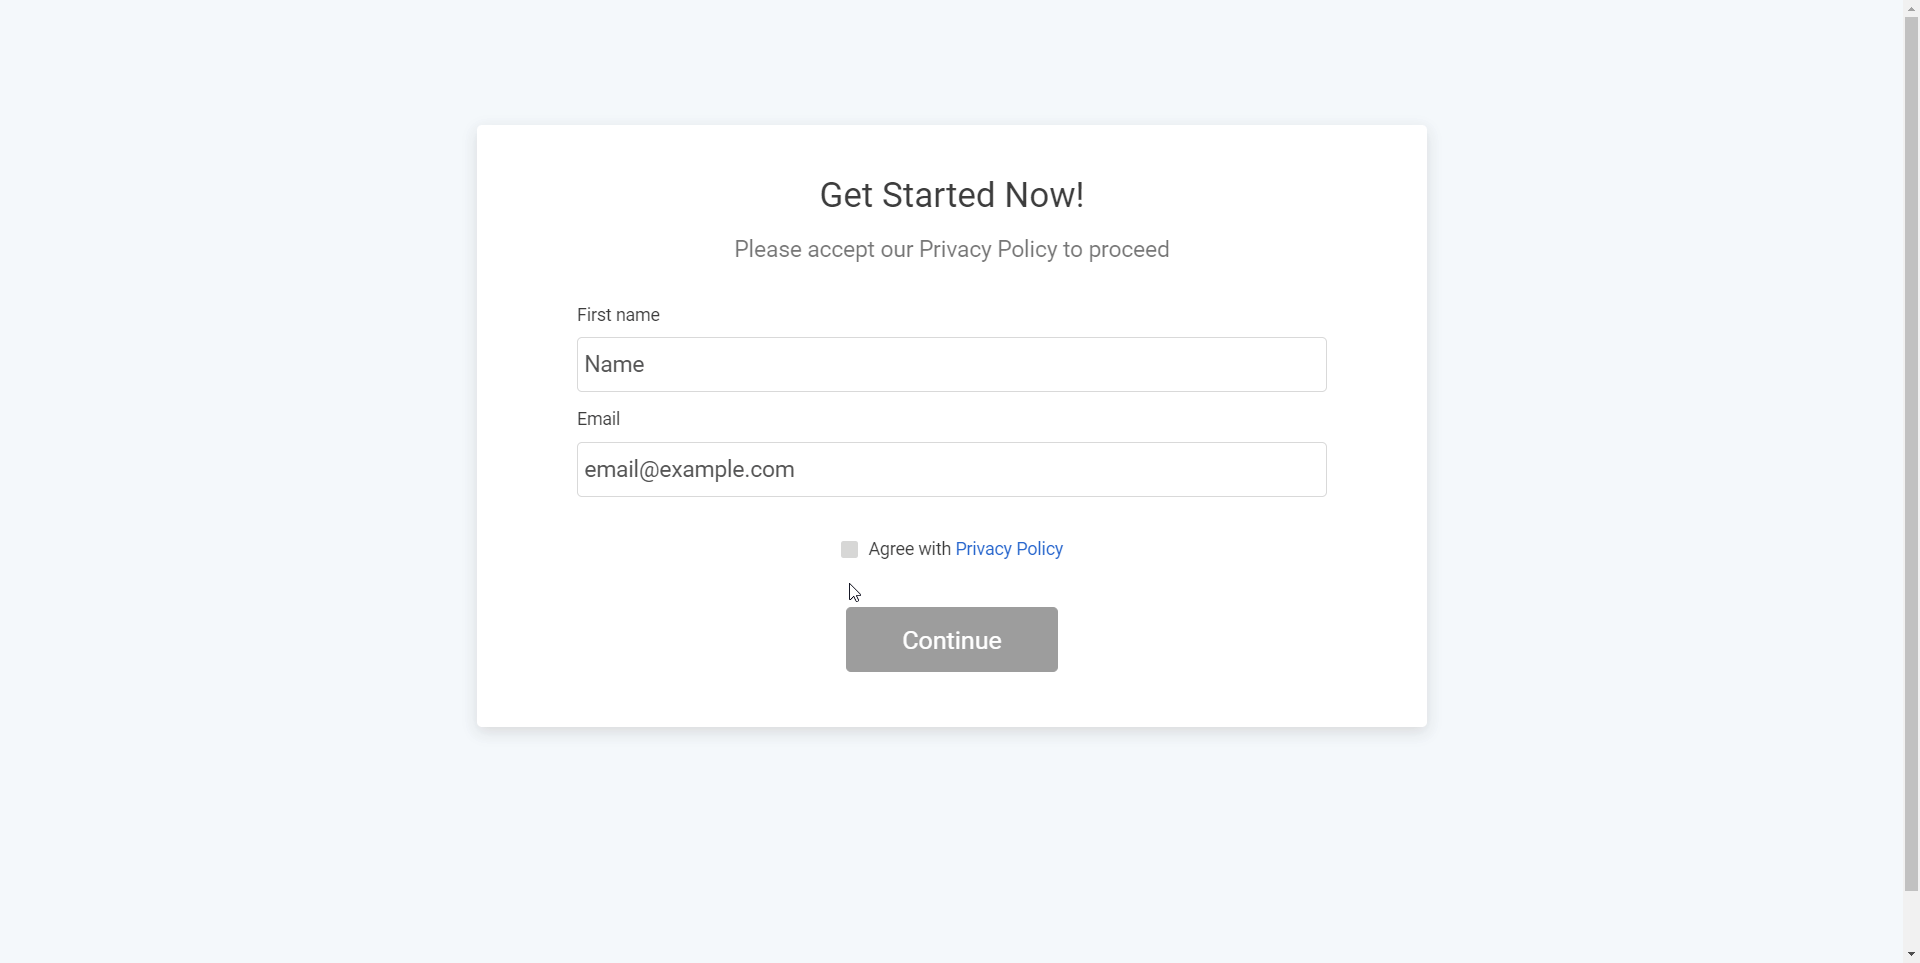
Imagine we want to change the button color and align the privacy policy closer to the left edge. For this, we’ll need the following code:
.privacy {
    justify-content: flex-start !important;
}

.common__button {
    background-color: #388ab3 !important;
}
Explanation of the Code:
The
.privacyrule usesjustify-content: flex-start;to align the privacy policy text to the start (left side) of its container.The
.common__buttonrule changes the background color of the button to a shade of blue (#1a659e).
Please note that the !important flag is required and indicates that your settings take priority over the default project settings. Keep this in mind when configuring CSS styles.
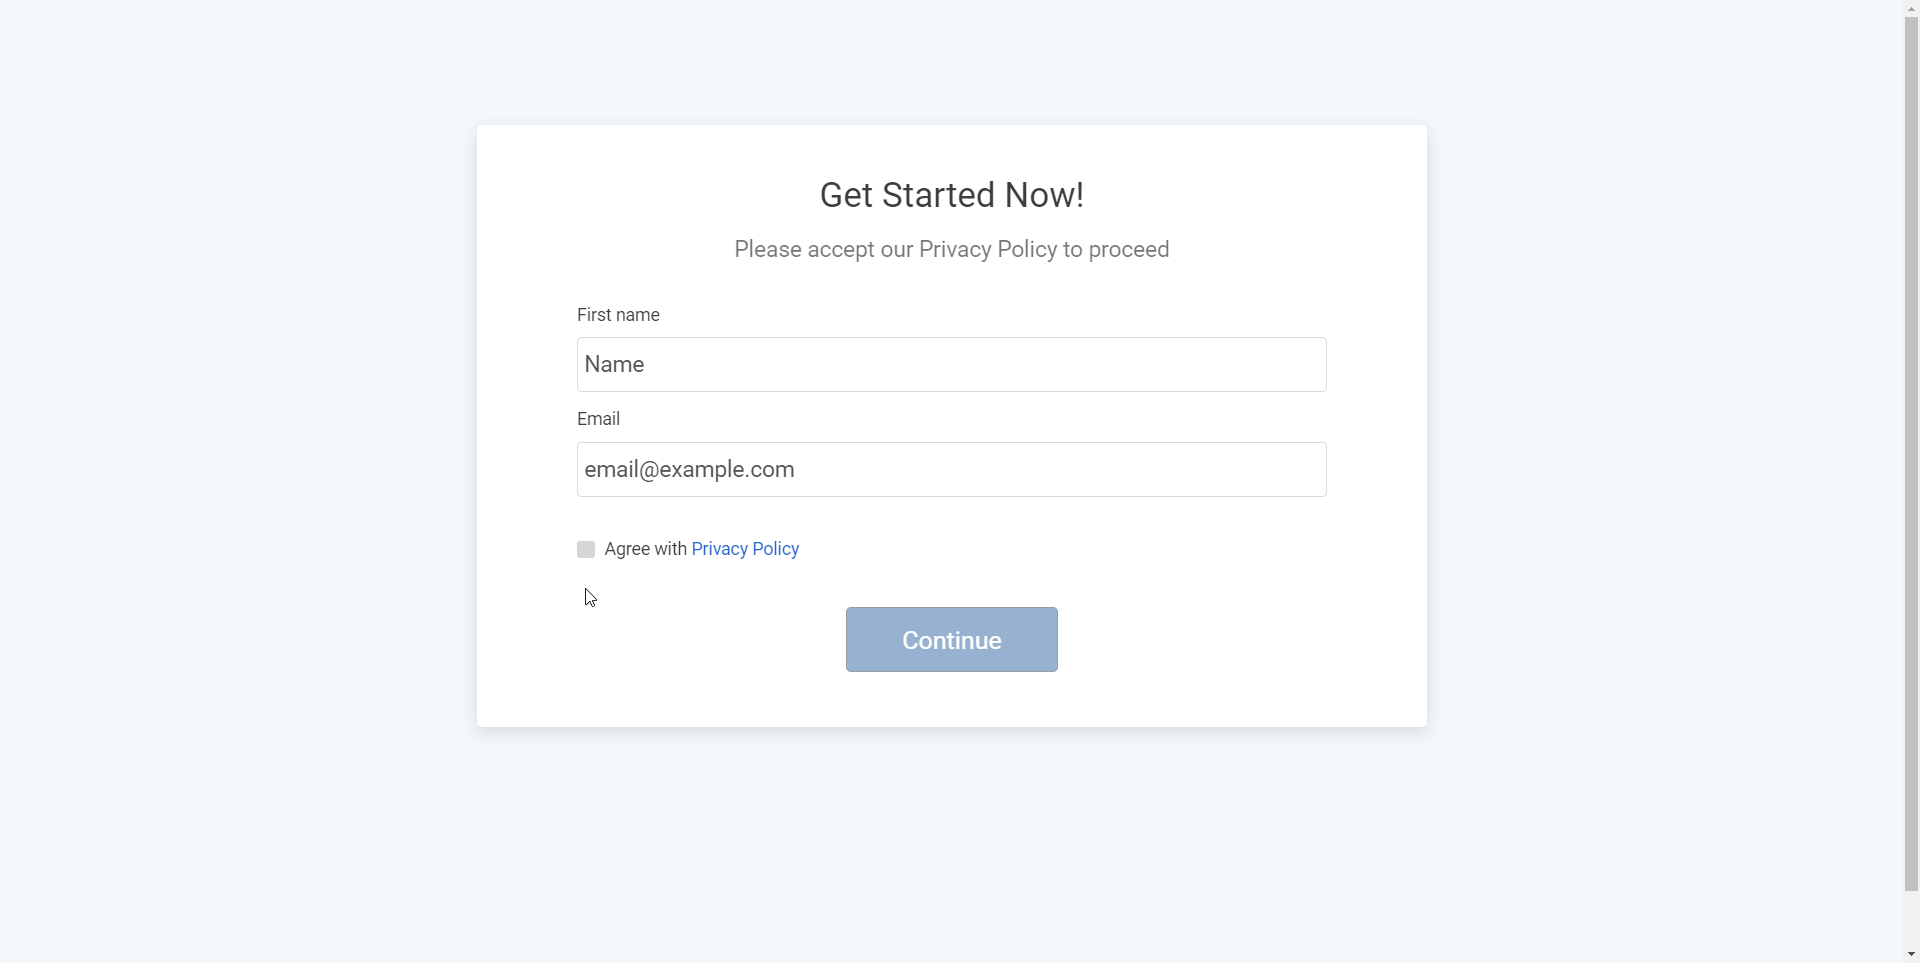
After applying these changes, we’ll see that our lead form now has the privacy policy aligned to the left and the button in a blue color.
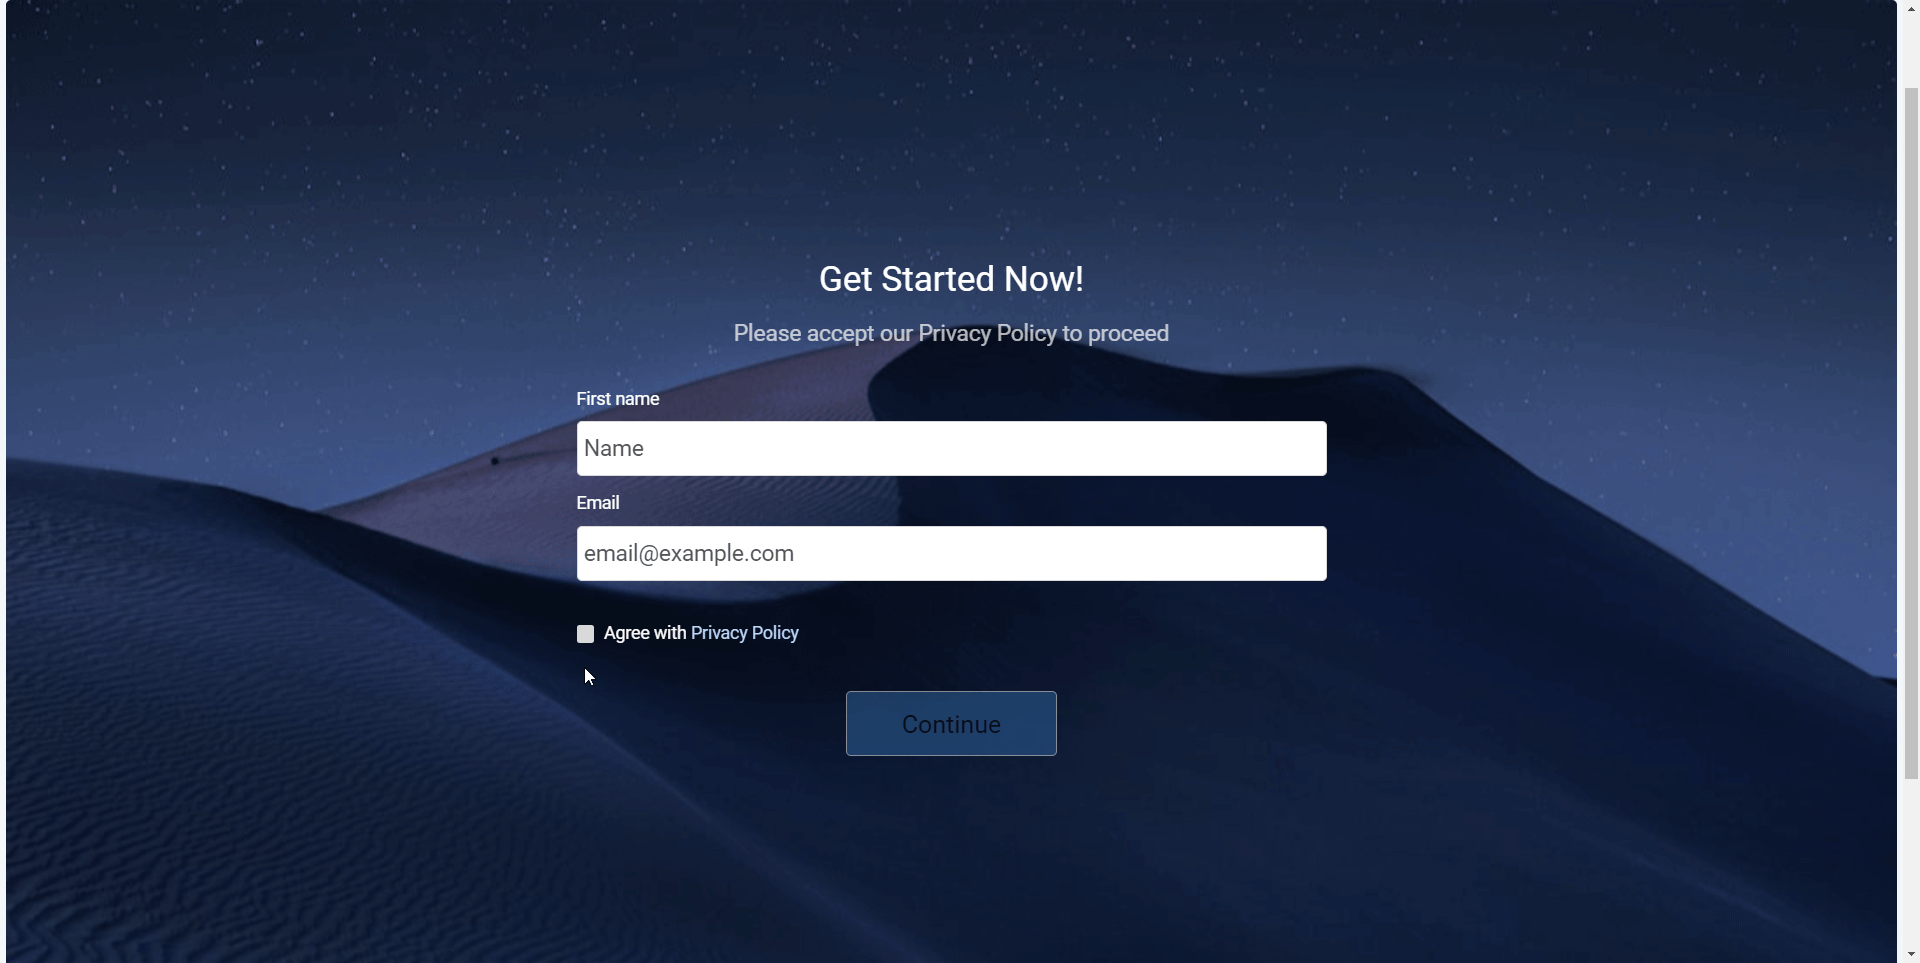
Example 2: Making the Background Transparent
Now imagine we want to embed this lead form on our website, but we want the background to be transparent so that only the fields and buttons are visible. Let's remove the background by adding this additional code:
.lead-form__form {
    background-color: transparent !important;
    box-shadow: none;
    -webkit-box-shadow: none;
}
As we can see, the background of our lead form has become transparent. Now, when embedded on the site, the lead form appears exactly as we envisioned! Excellent work.
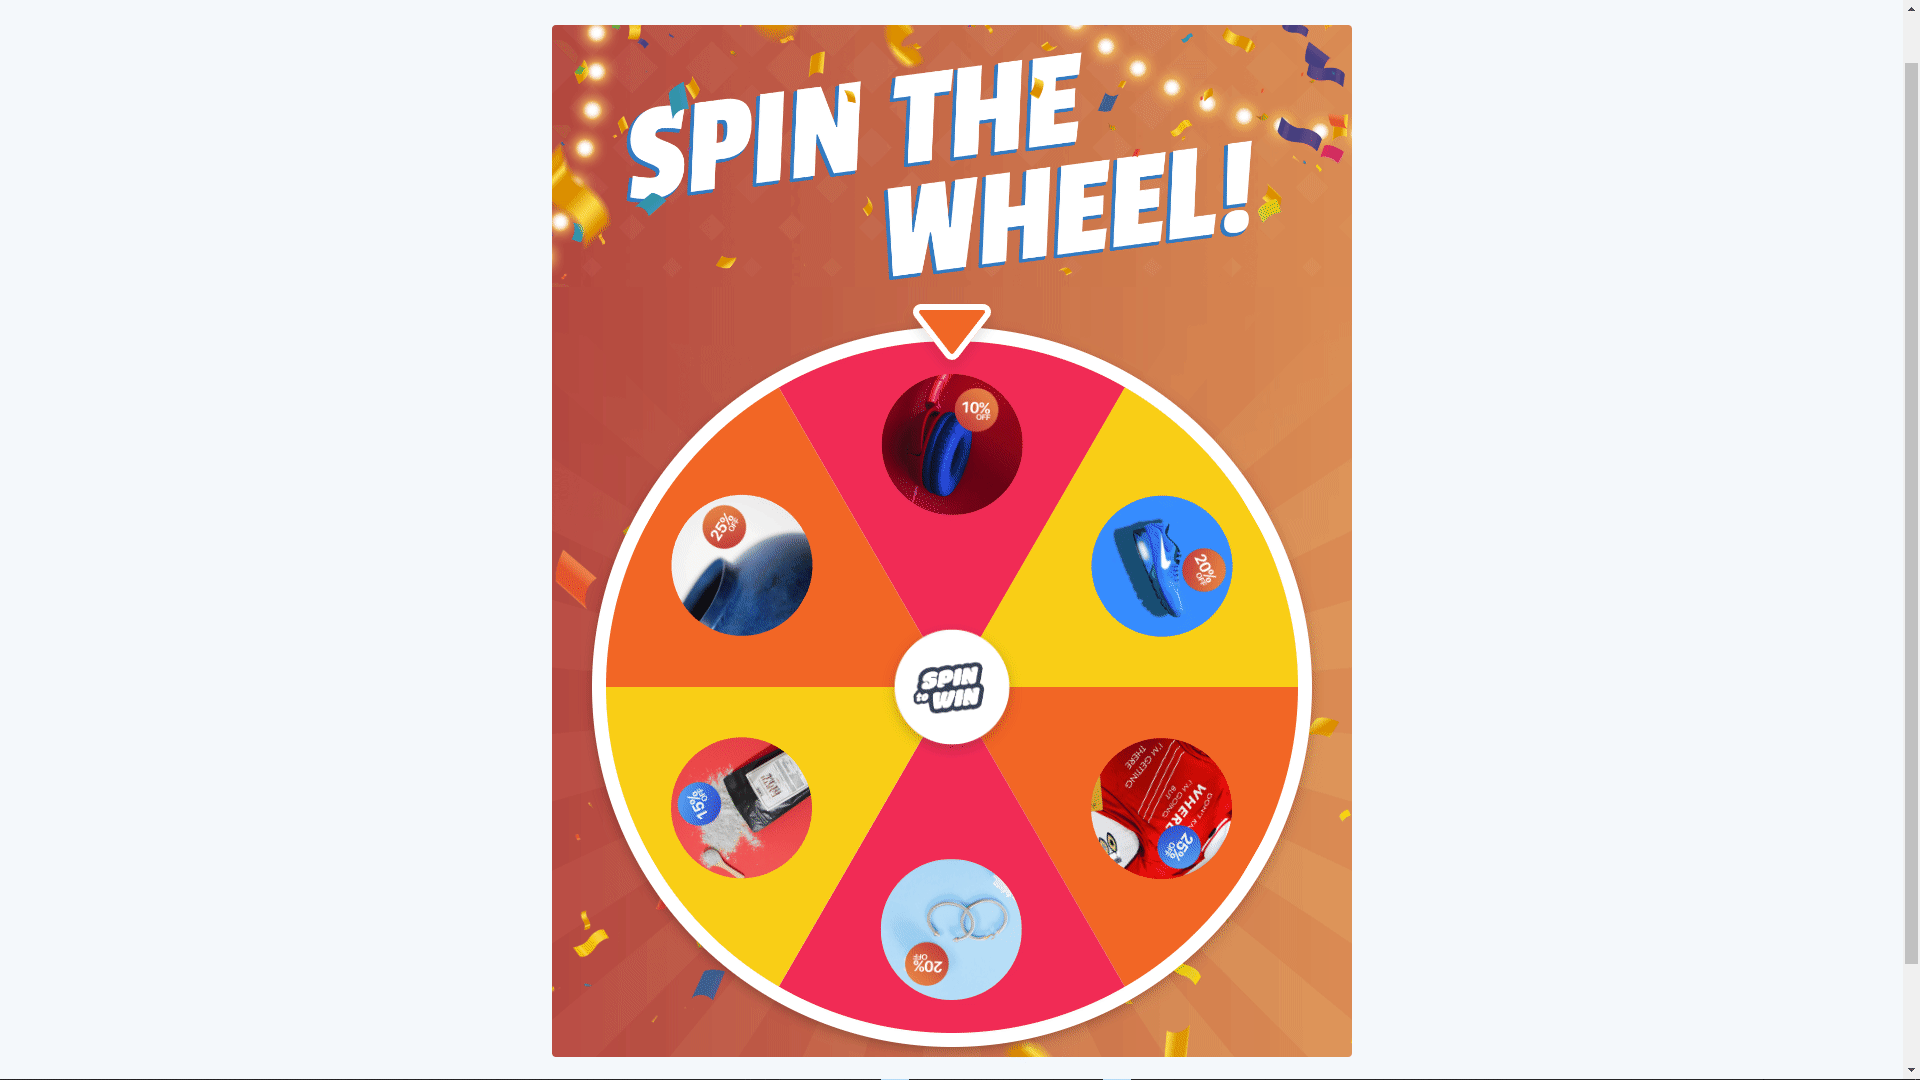
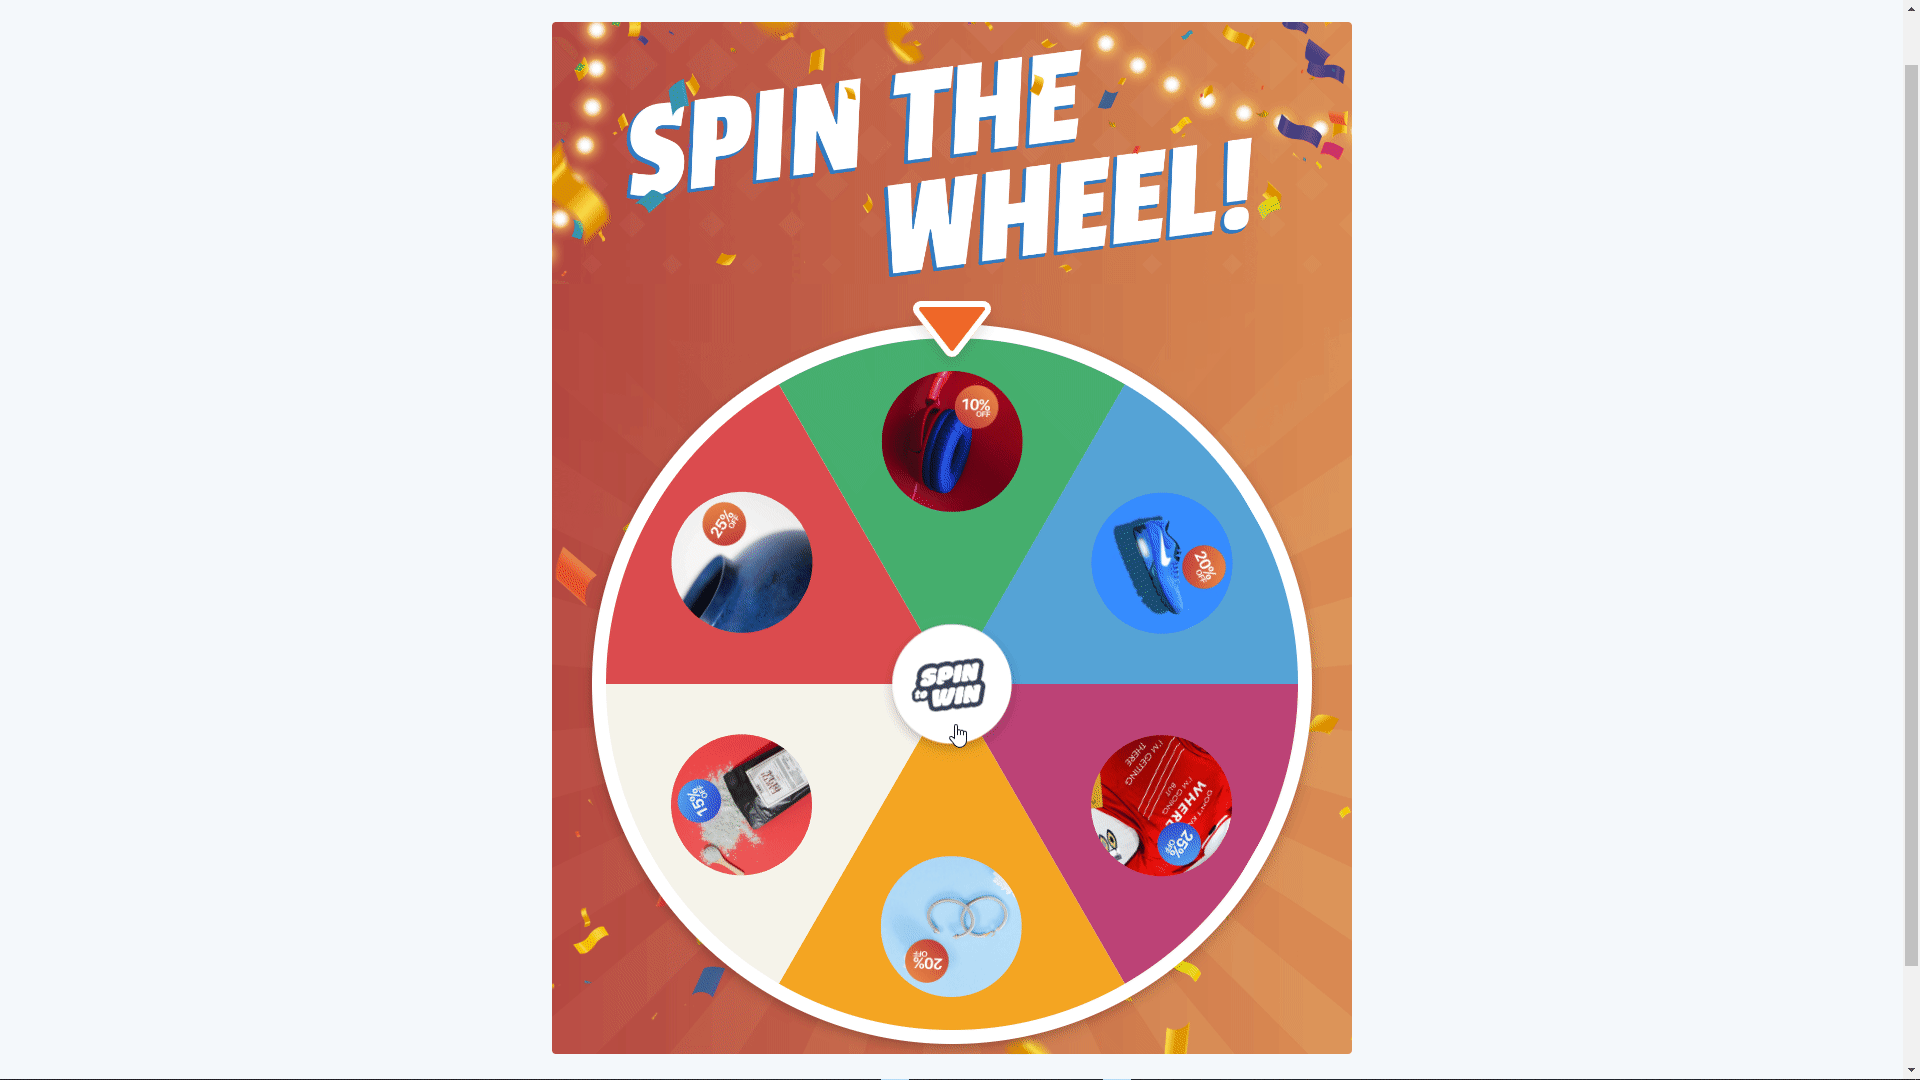
Example 4: Changing the Colors of Fortune Wheel Sections
Imagine we have a Fortune Wheel on our project and we want to manually change the color of each section individually. Below is an image of the Fortune Wheel before applying any styles.
To customize the colors of each section, we can use the following code:
.wheel-section:nth-child(1) {

    background-color: #27B170 !important;

}

.wheel-section:nth-child(2) {

    background-color: #3FA3D5 !important;

}

.wheel-section:nth-child(3) {

    background-color: #C64076 !important;

}

.wheel-section:nth-child(4) {

    background-color: #FBA52A !important;

}

.wheel-section:nth-child(5) {

    background-color: #F5F5EB !important;

}

.wheel-section:nth-child(6) {

    background-color: #E64A4D !important;

}
Explanation of the Code:
.wheel-section:nth-child(1)targets the first section of the wheel and changes its background color to a shade of green (#27B170)..wheel-section:nth-child(2)targets the second section and changes its background color to a shade of blue (#3FA3D5).The same pattern is followed for the remaining sections, each receiving a unique color.
In this code, #F5F5EB is the color code, and (5) indicates the fifth section of the wheel. By applying these styles, each section of the Fortune Wheel will have a distinct color, creating a visually appealing and customized look.
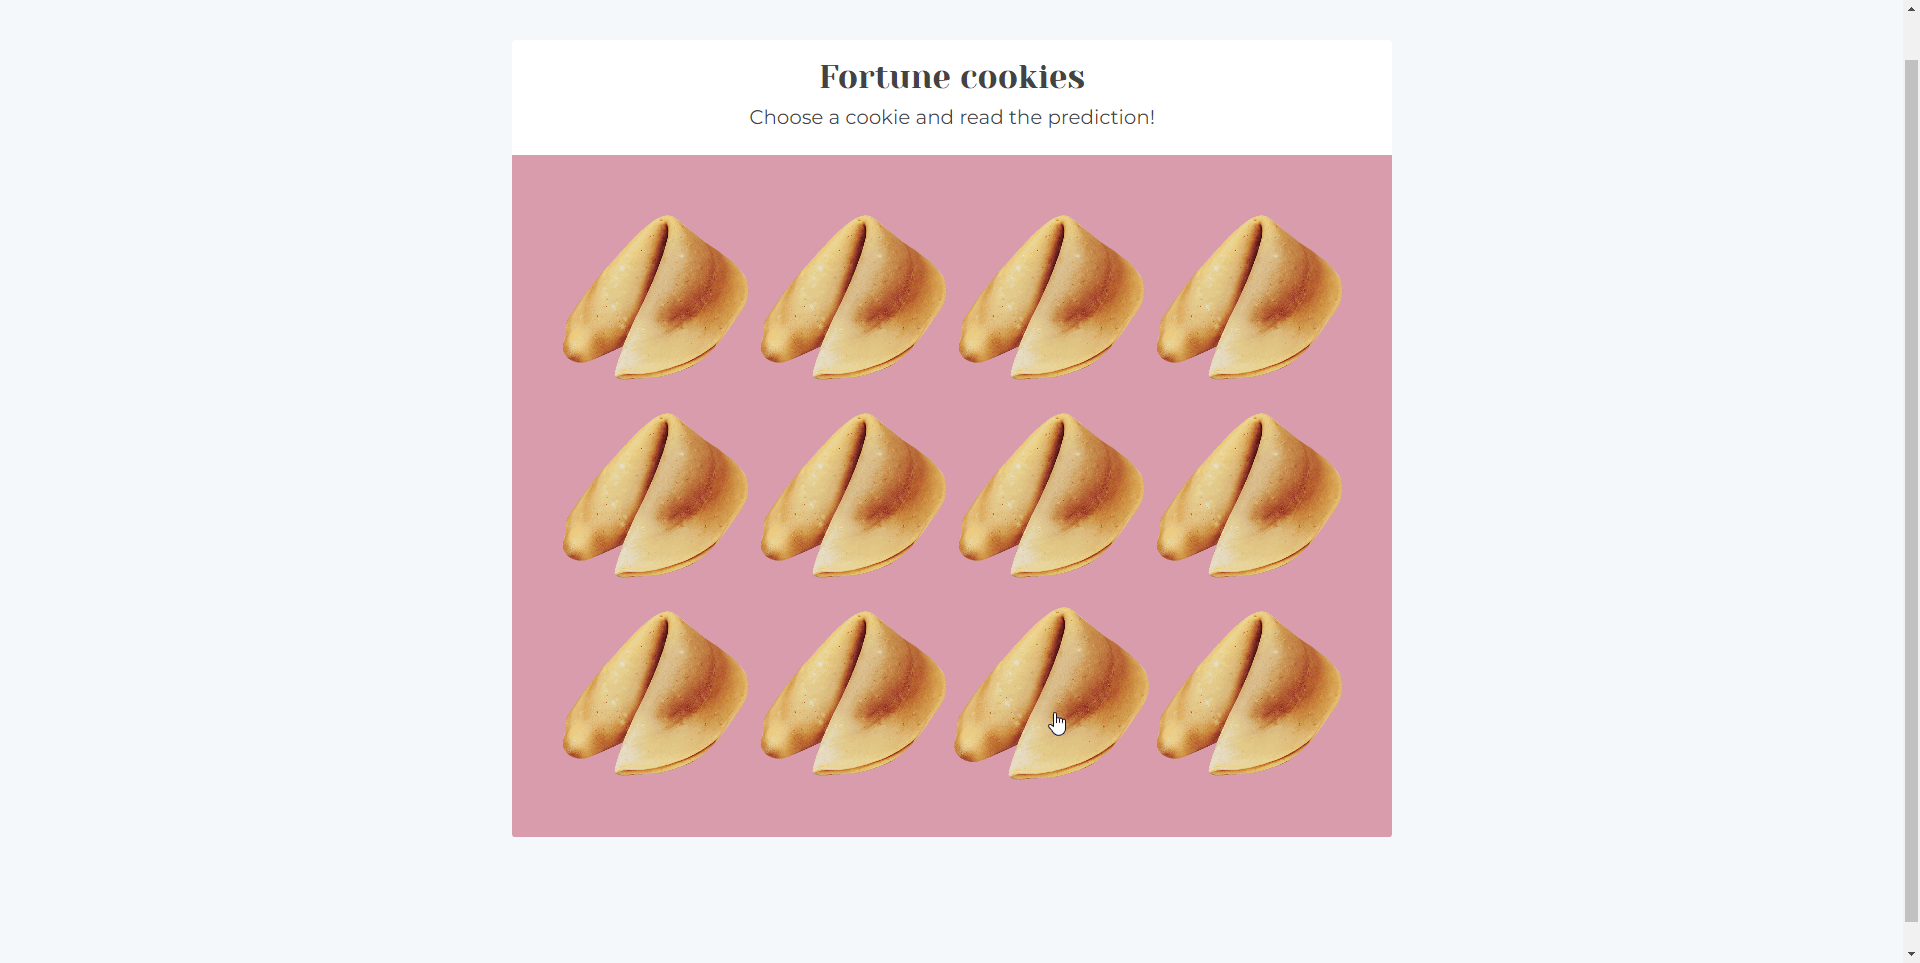
Example 4: Hiding the White Background on the Fortune Cookies Block
Let’s take another example based on a project using the "fortune cookies" mechanic.
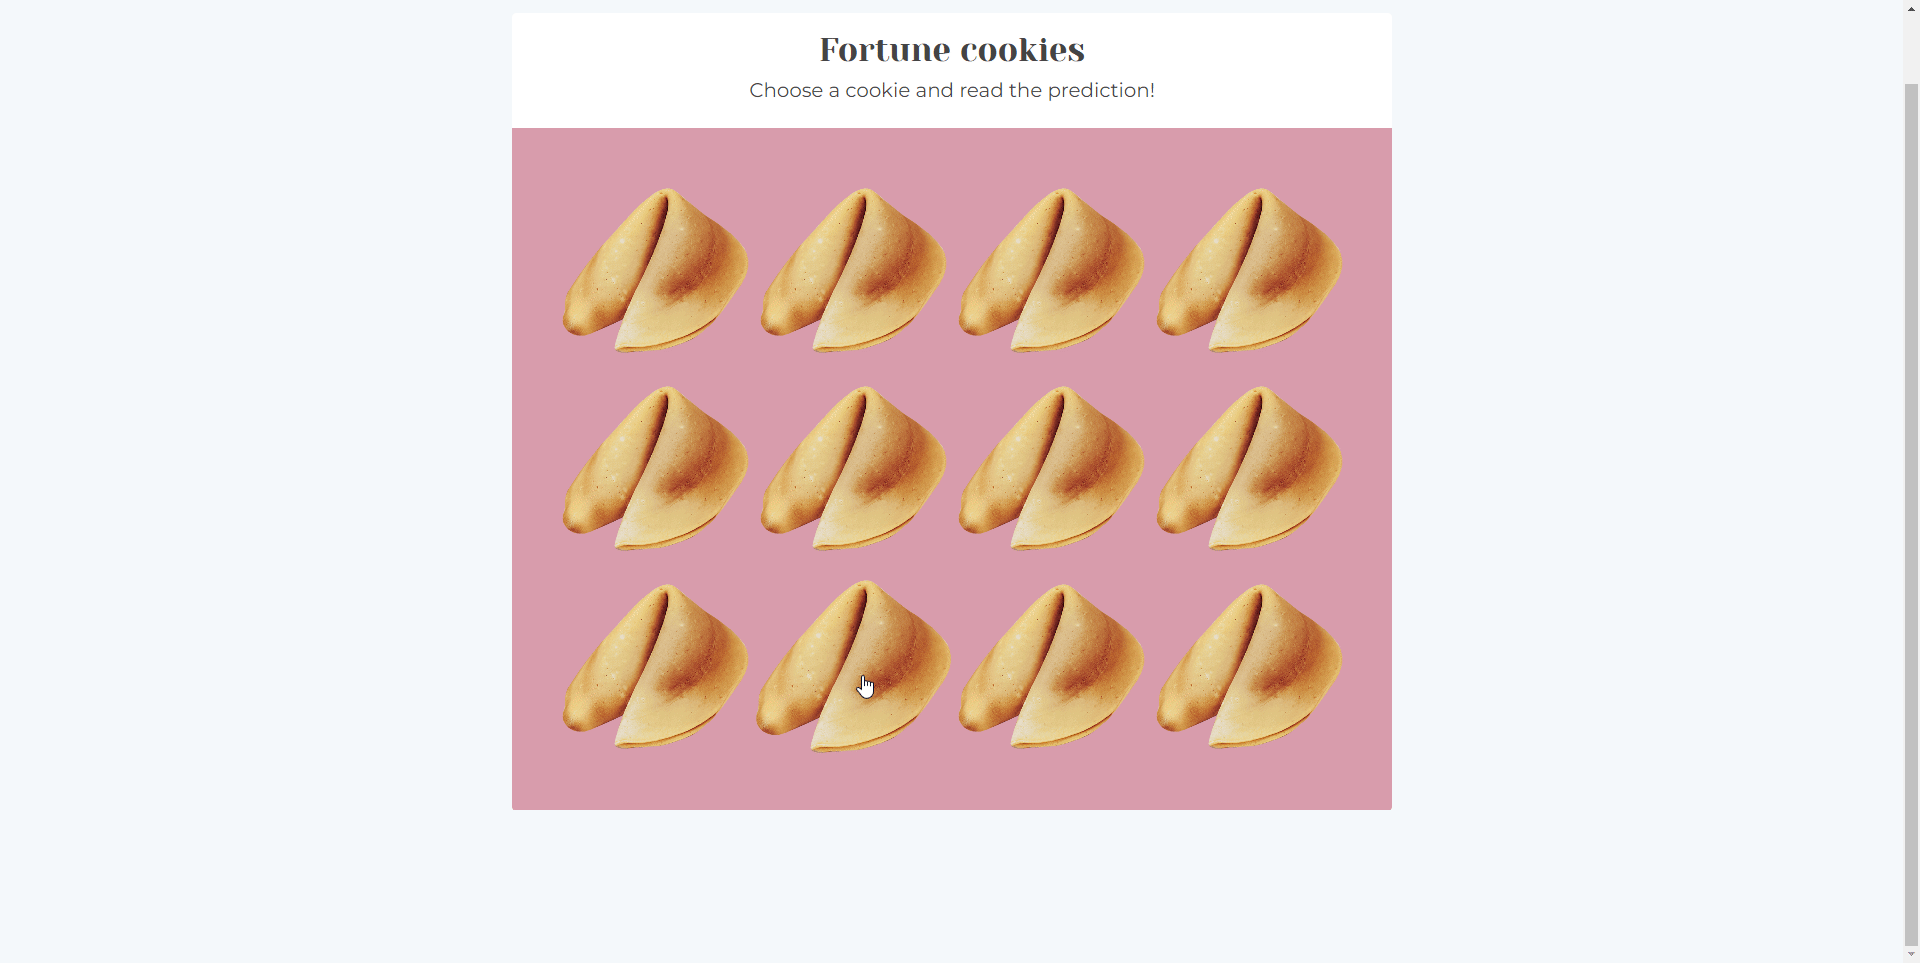
On the final screen, there's an unwanted white background, and we want to show only the image after selecting a cookie. We can hide this white background using the following style:
.final-screen__content {
    display: none;
}

.final-screen.is-compact-view {
    margin: 0 auto;
}
Now, after selecting a cookie, the user will see only the image without any background. Fantastic job!
Using this logic, you can change elements in any of your projects. We can't describe every possible scenario, so if you're new to styling, refer to the examples above. If you're unsure of the variable names or how to identify a particular button or window, use the "Inspect" function on your computer to examine the element you're interested in. Here's a step-by-step guide on how to do this:
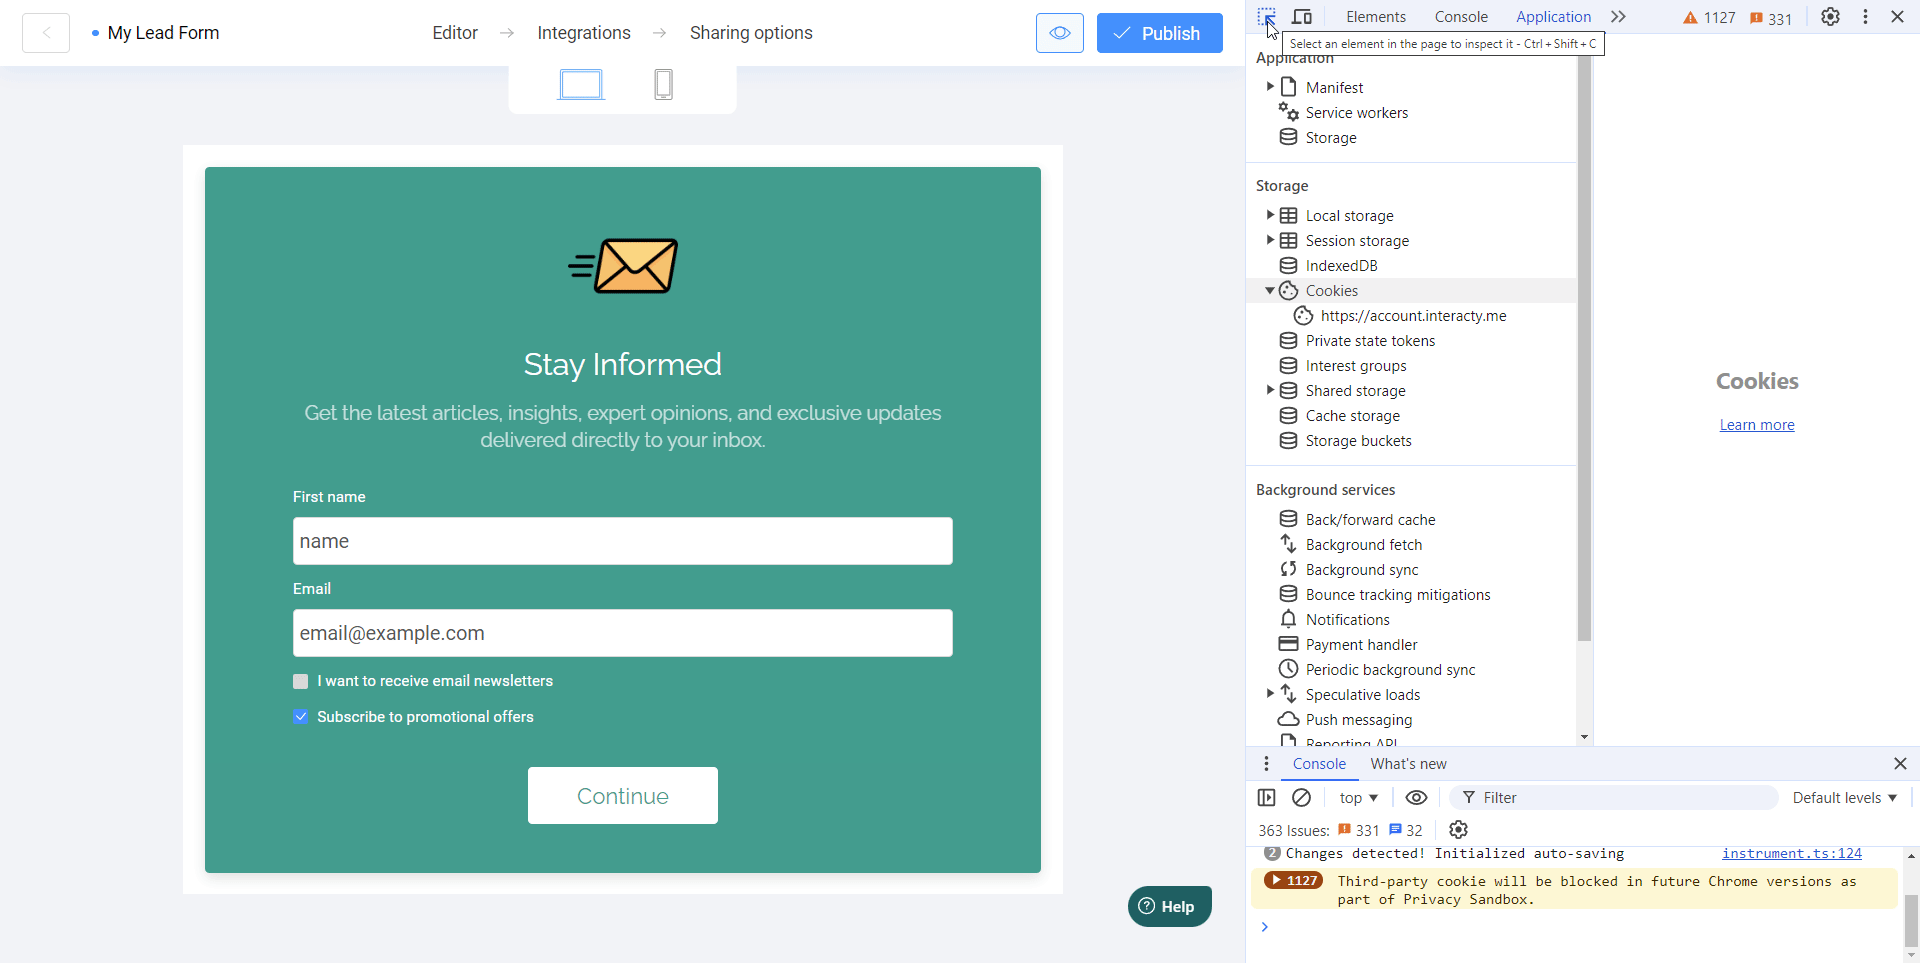
How to Use the "Inspect" Function
1. Open the Developer Tools:
- On Mac: Press the Option + Command + I (or Option + Command + U to view the page source).
- On Windows: Press Ctrl + Shift + I (or Ctrl + U to view the page source).
2. Select an Element to Inspect:
- The developer tools panel will open. Click the cursor icon (usually depicted as an arrow or a magnifying glass) in the top left corner of the developer tools panel.
- Then, hover over the element on the page you want to inspect and click on it. The developer tools will automatically highlight the corresponding HTML and CSS code for that element.
3. Examine the Element:
- On the right side of the developer tools panel, you'll see the Styles tab, where all the styles applied to the selected element are displayed. Here, you can see the classes and IDs applied to the element, which will help you understand which CSS selectors to use in your project.
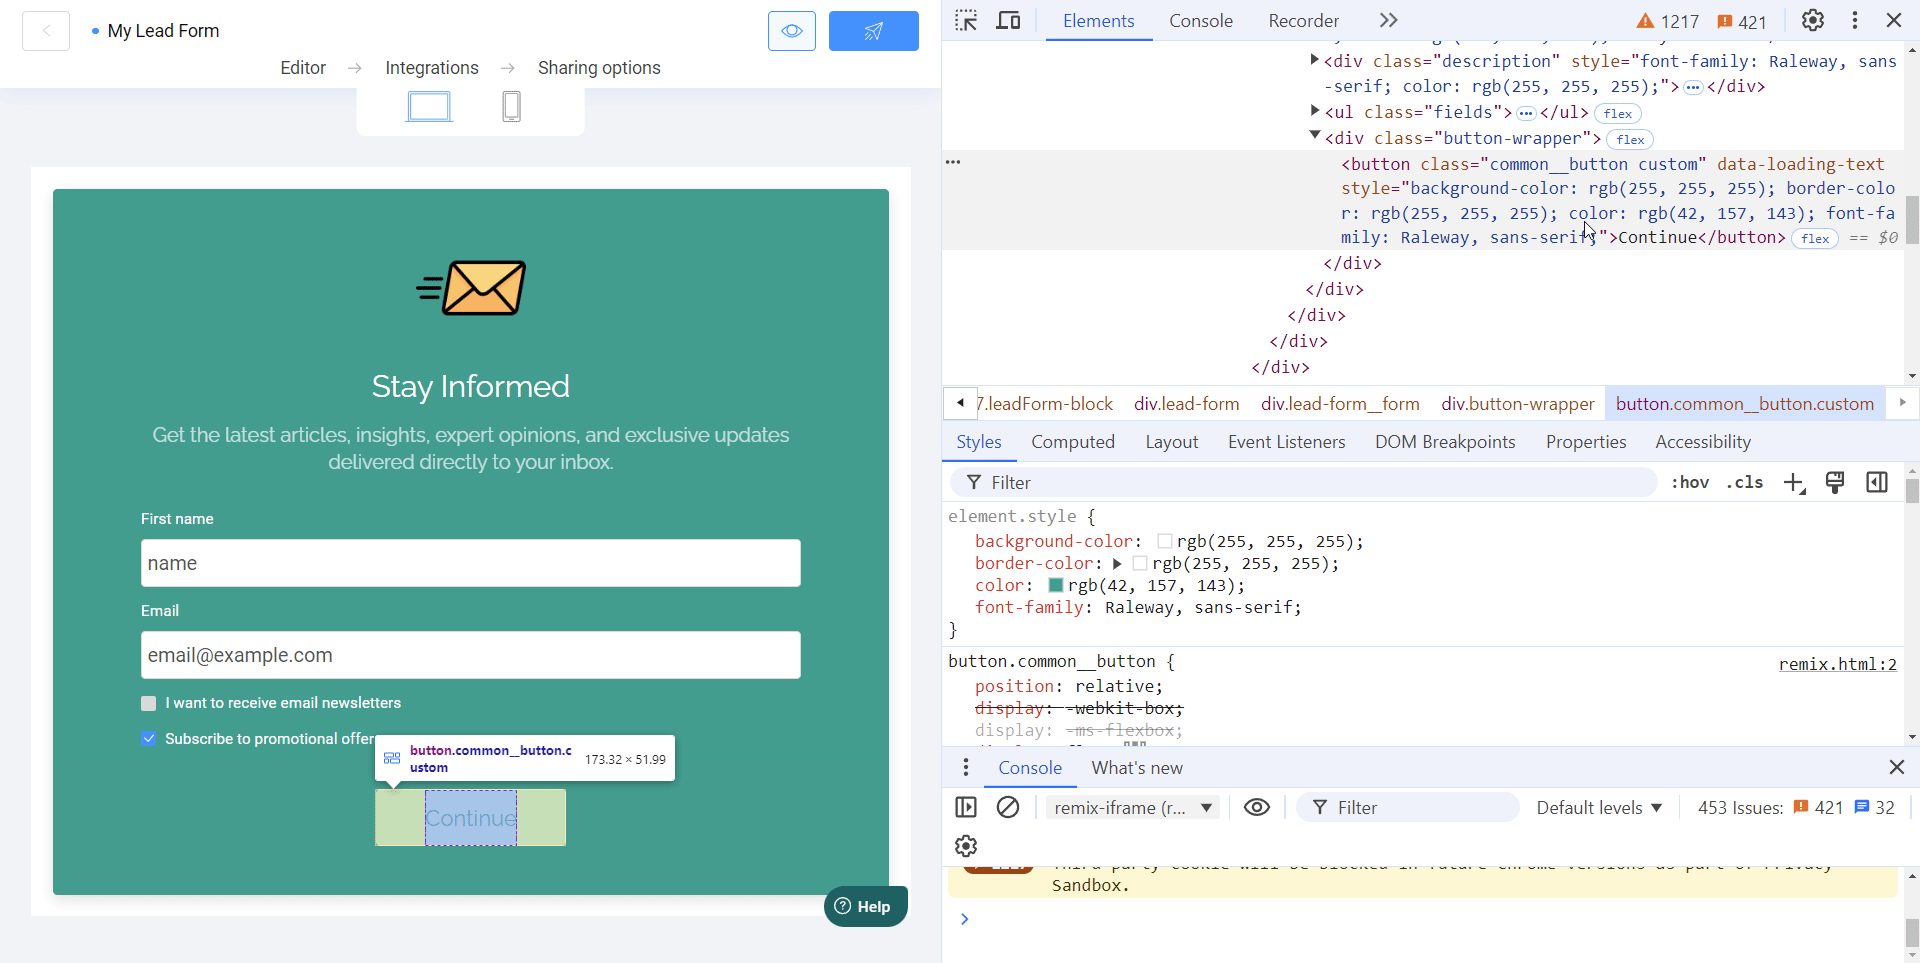
For more accurate results, we strongly recommend reviewing the elements of your project in Preview mode or within the already published project. Viewing elements in editing mode may result in less precise values.
Using this function, you can effectively identify and change the styles of elements on your page.
Important note! This feature "Custom CSS styles" is available only in tariff plan PRO and higher subscription for Business Plans.
Conclusion
Using CSS styles within the Interacty platform allows you to personalize and enhance your projects effectively. Whether you're changing colors, adjusting layouts, or making elements invisible, CSS gives you the flexibility to create a unique user experience. Don't hesitate to experiment with the styles provided, and enjoy creating visually appealing projects!