Interactive presentations let your audience participate, not just watch. Instead of clicking through static slides, people can answer questions, explore content at their own pace, and interact with different elements like quizzes or games. This way, they’re more likely to remember the information because they’re involved in the process—studies have shown that interactive content can improve retention rates by up to 30%. At Interacty, we make creating such presentations easy and accessible. Our platform supports over 20 different interactive mechanics that you can mix and match within your presentation.

With Interacty, your presentations can be shared via direct link, QR code, or embedded into your websites, LMS, or CRM systems. Detailed analytics are available for all interactive elements, providing insights into user engagement. If you haven’t signed up for our platform yet, create your free account and try it out yourself. You can sign up here.
We also recommend watching our YouTube video on this topic—we're sure you'll find it helpful for creating engaging interactive presentations with Interacty:
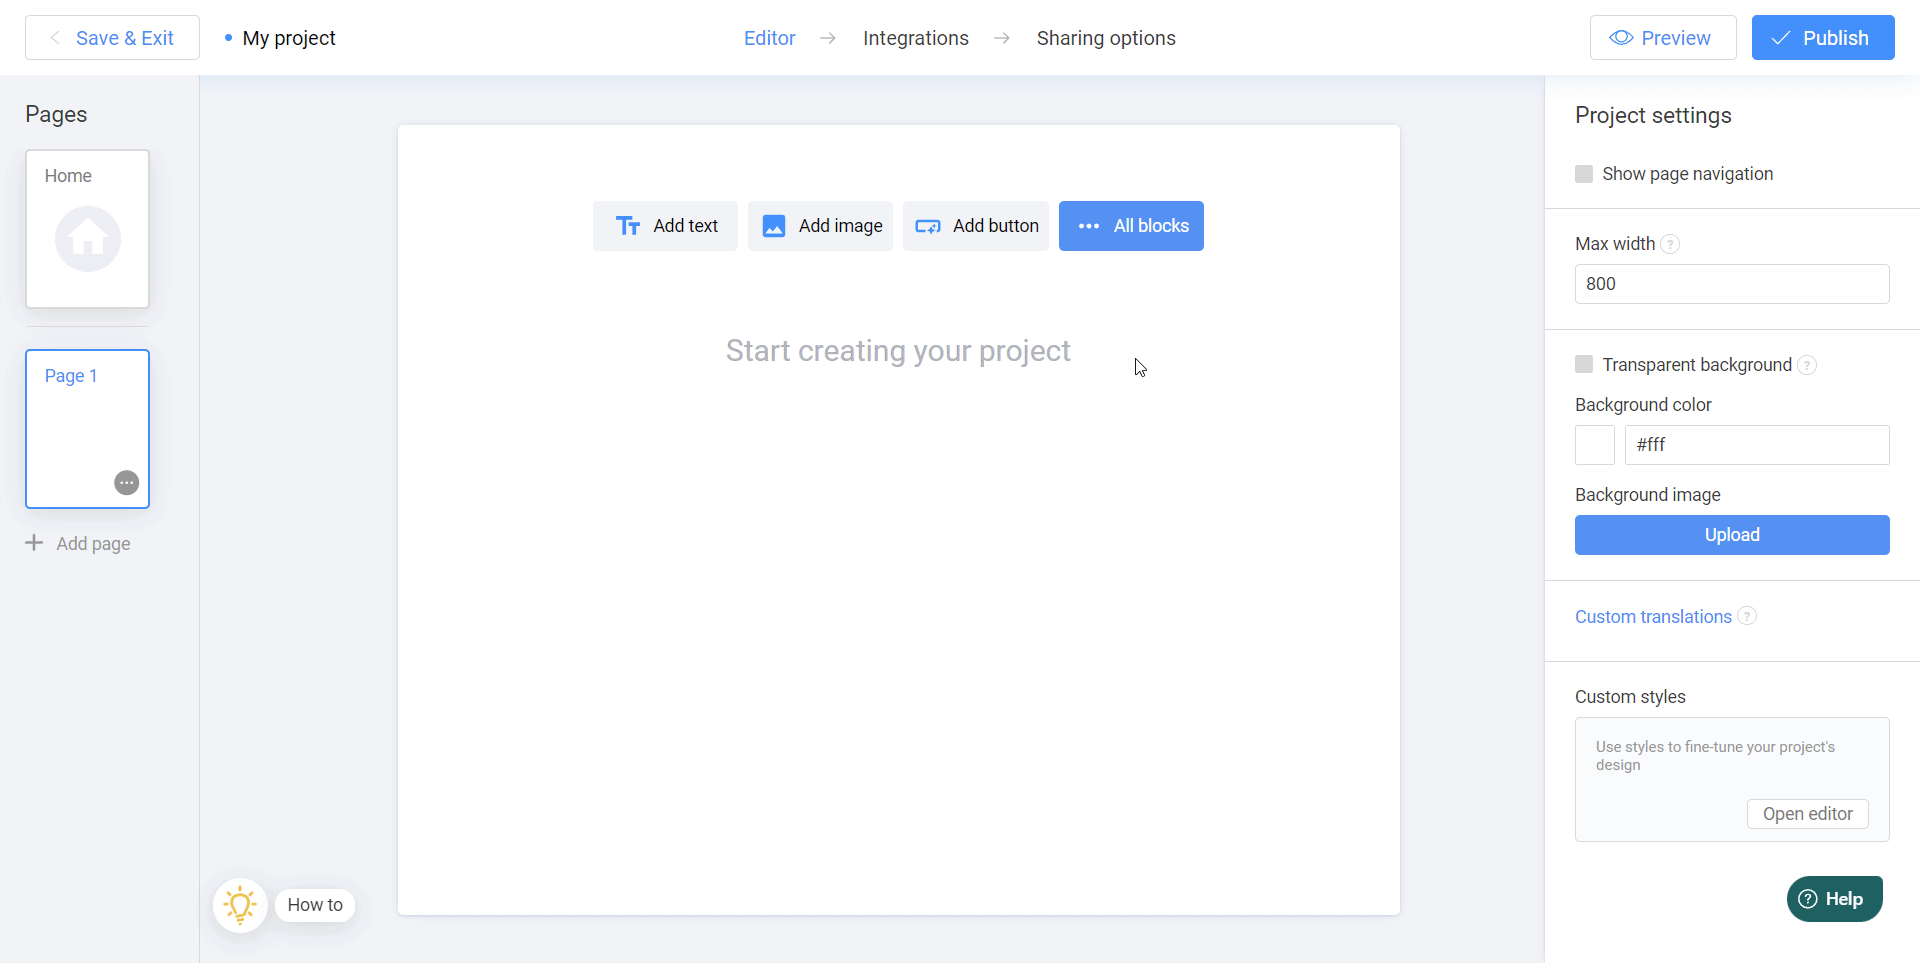
Where to find this feature on Interacty?
You can find the interactive navigation feature in the settings panel on the right side of your project editor. Simply activate the Show Page Navigation checkbox to enable this functionality.
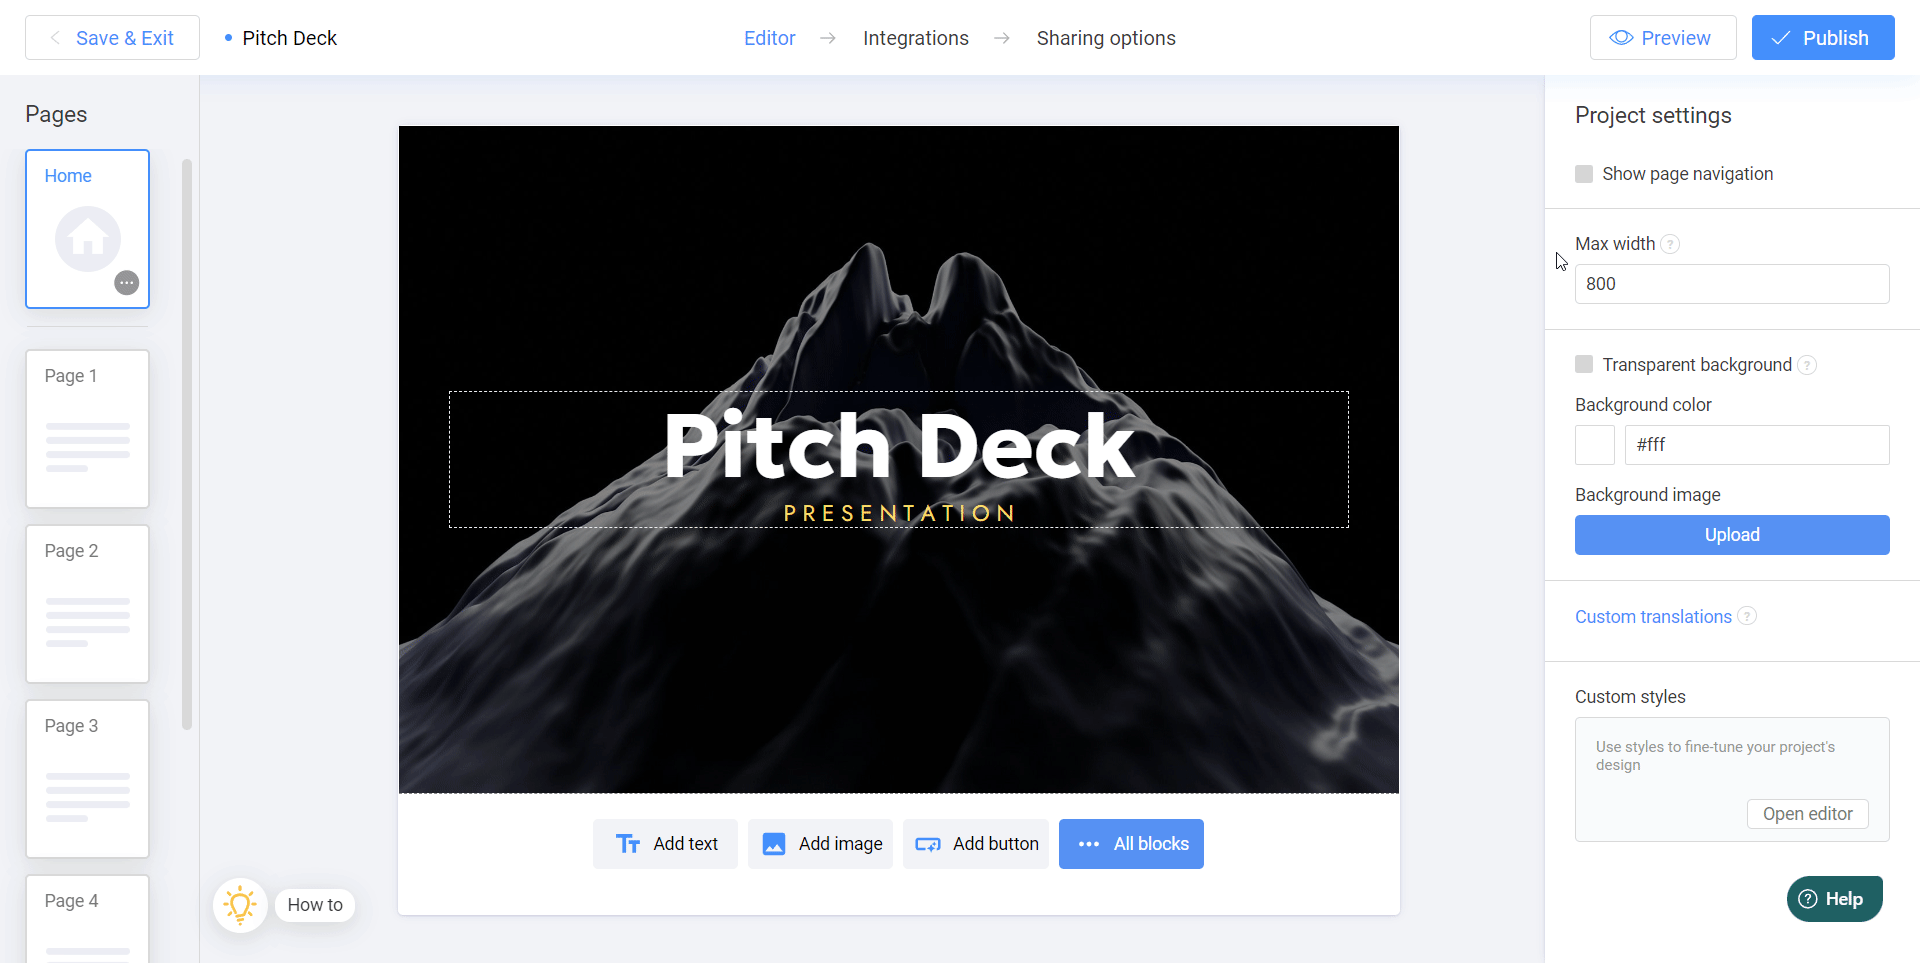
Note: This option will only be visible if your project has more than one page. If you don’t see it, try adding additional slides to your project, and the feature will appear.
Getting Started with Templates
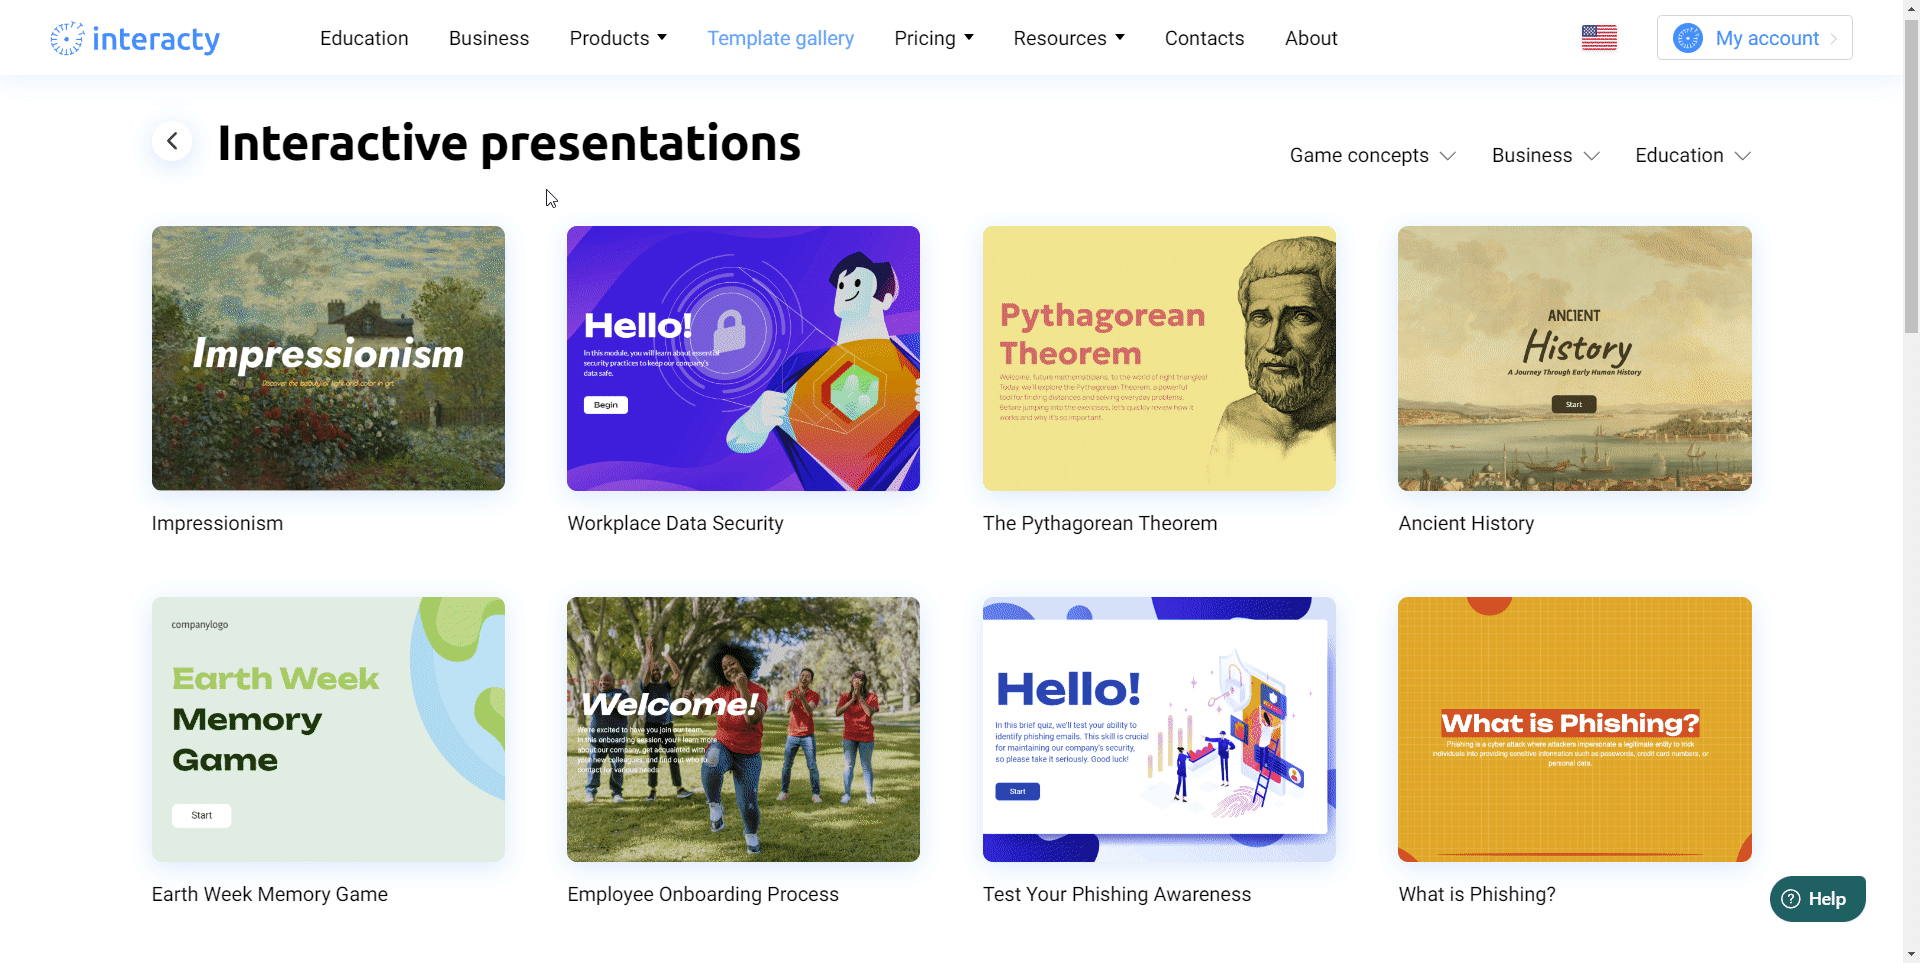
To start creating your first interactive presentation, we recommend beginning with our Gallery of Pre-Made Presentation Templates. It’s a great way to explore the different types of presentations you can build using our interactive mechanics. Browse through the templates, and when you find one that suits your needs, click on “Use this template.” From there, you can easily customize any text, image, or interactive game element to match your specific use case.
Creating a New Presentation from Scratch
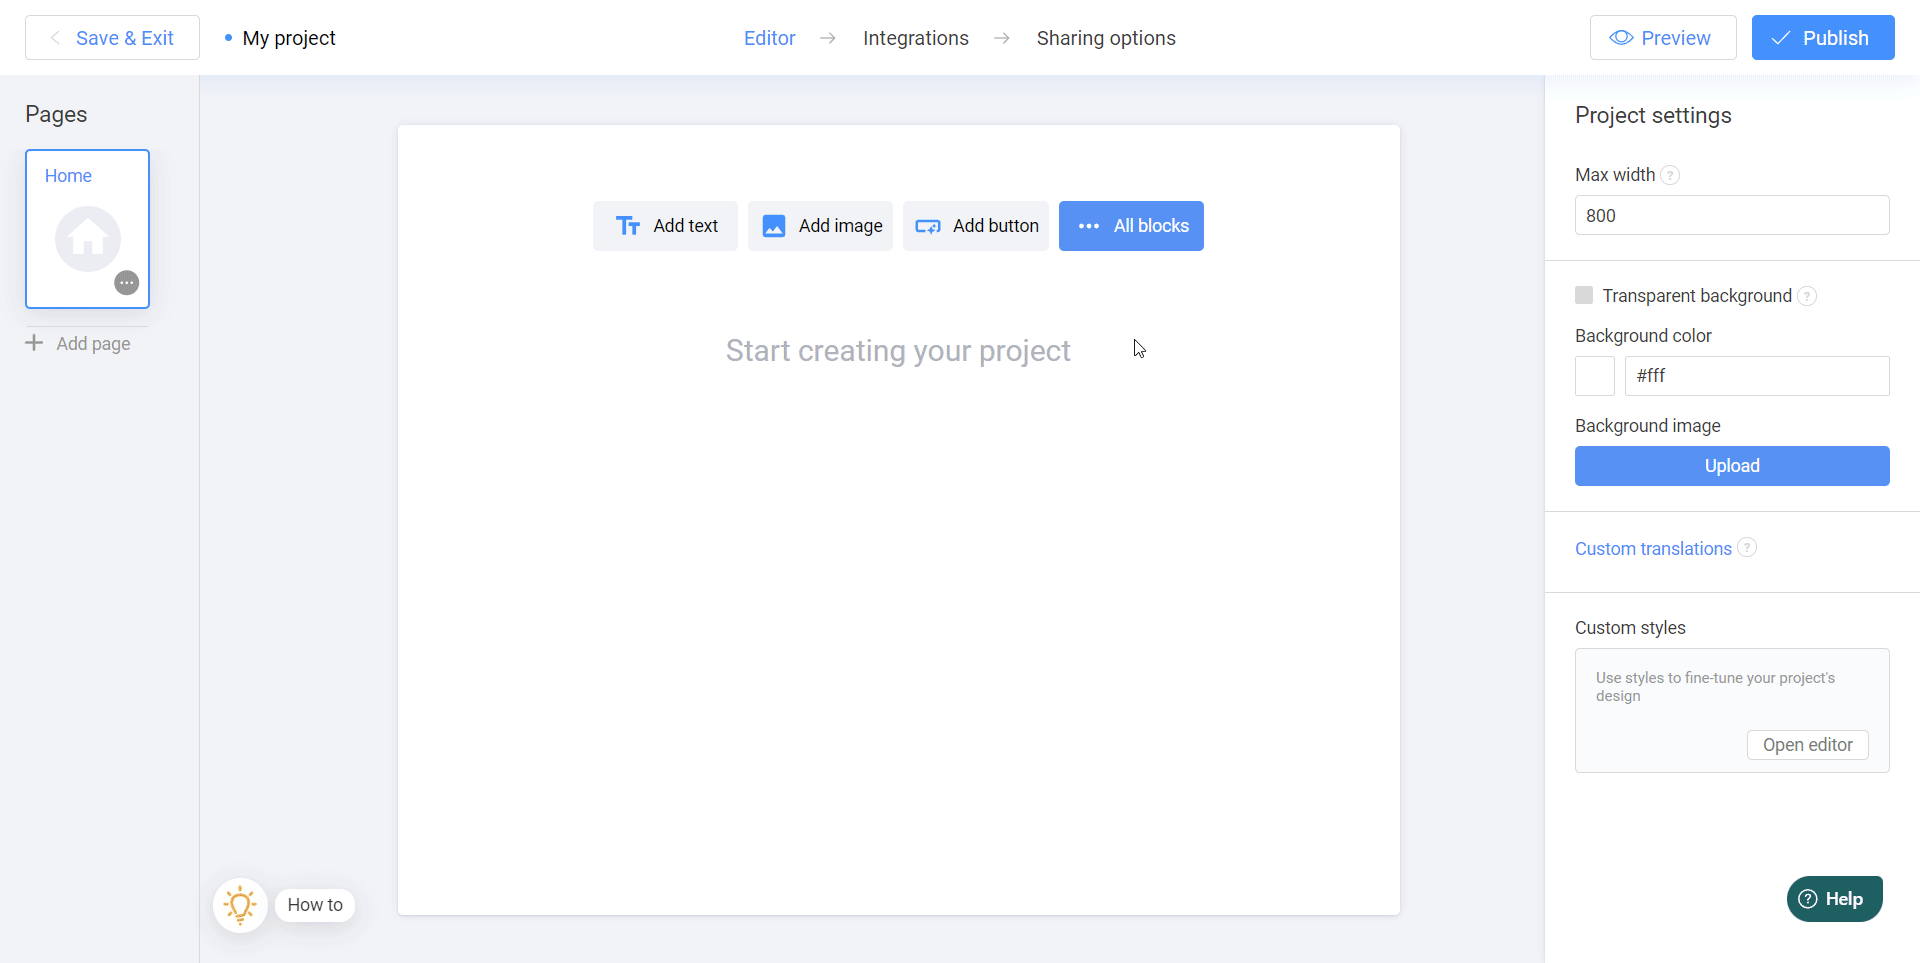
So, we’ve covered how to edit an existing template, but what if you want to create a presentation from scratch? No problem! Start by creating a new project in your account. Click the Create button and then select Create a project from scratch.
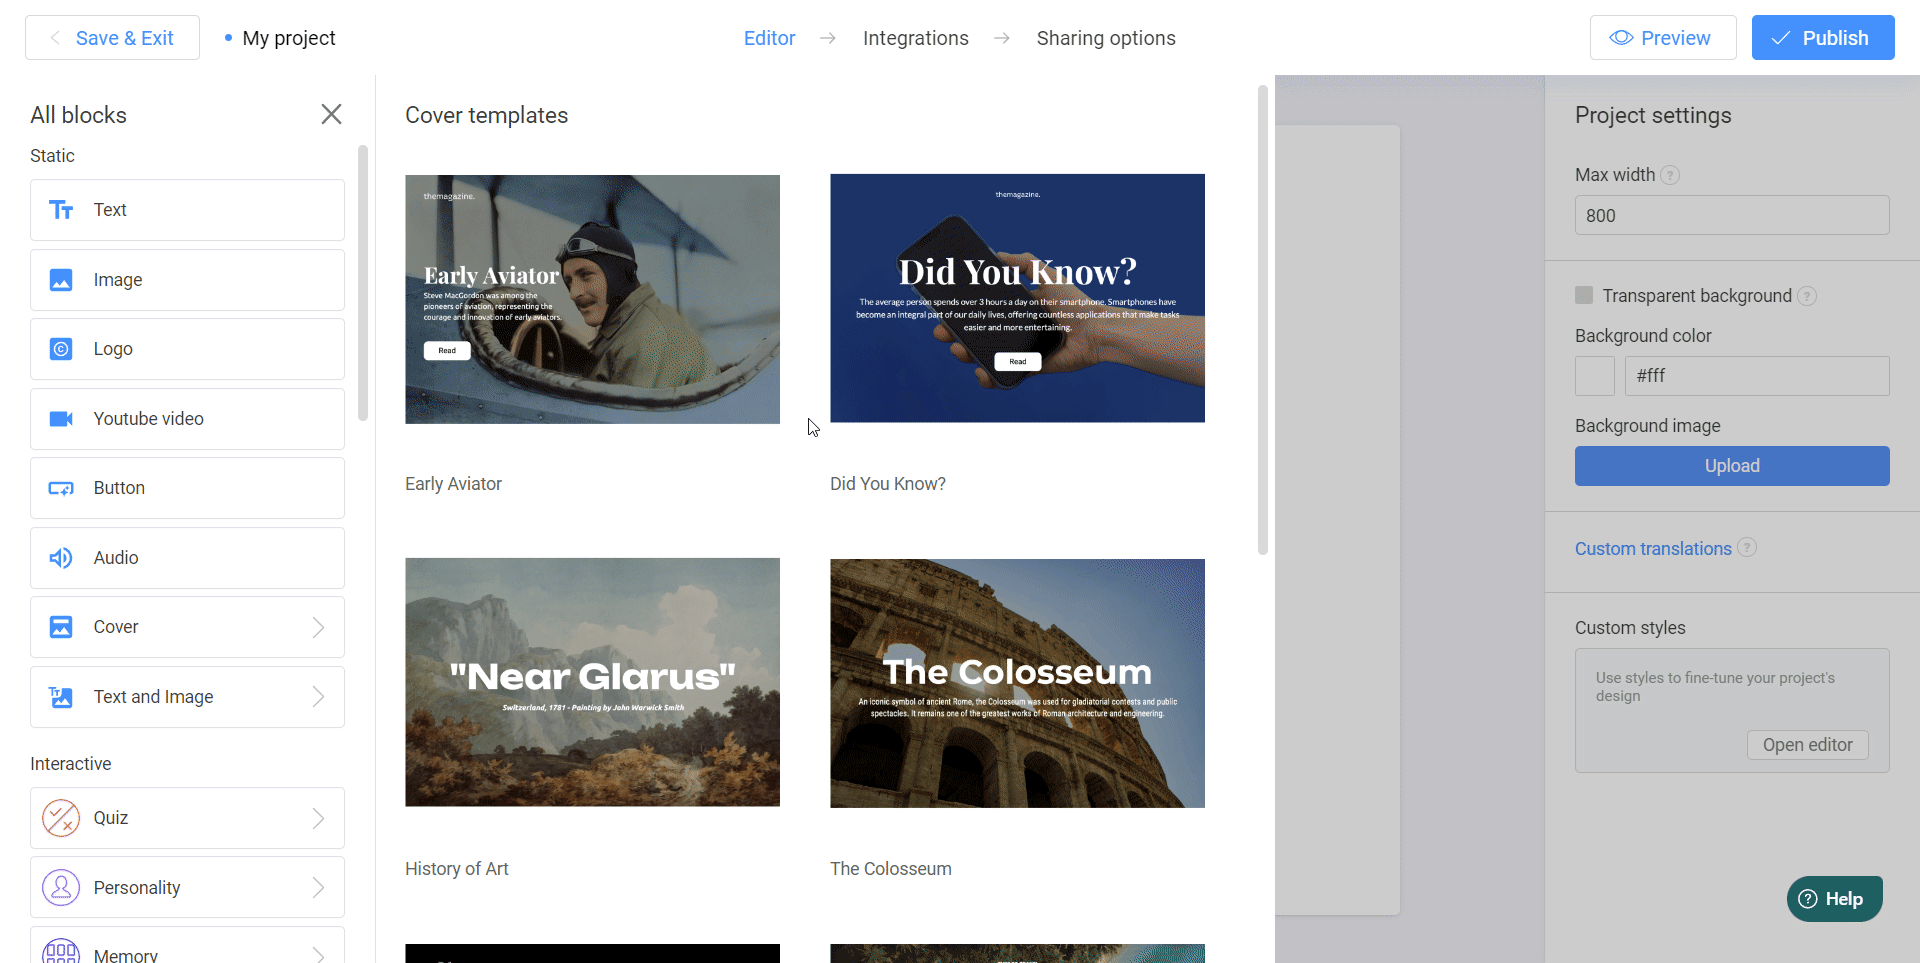
You will now see the first page of your presentation in the editor. Let’s start by creating a welcoming slide. For this, click All Blocks and select the Cover block.
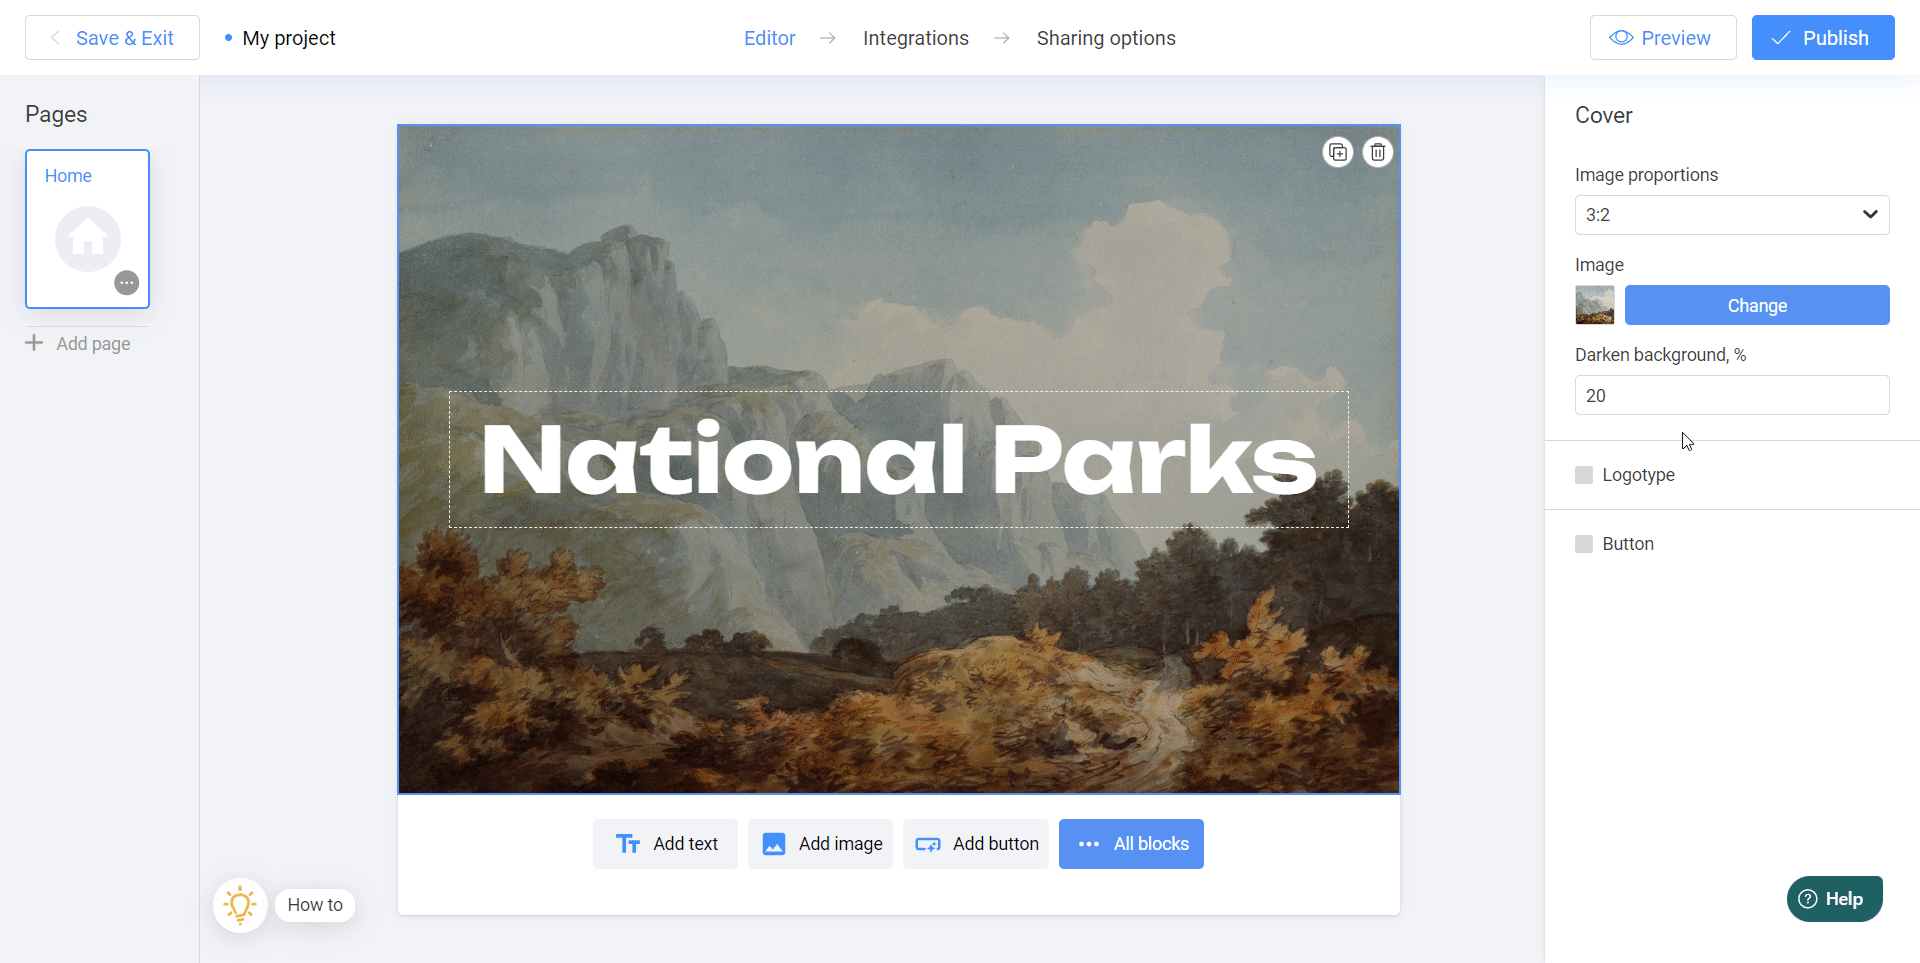
Choose a template that matches the style of your presentation and customize it as needed.
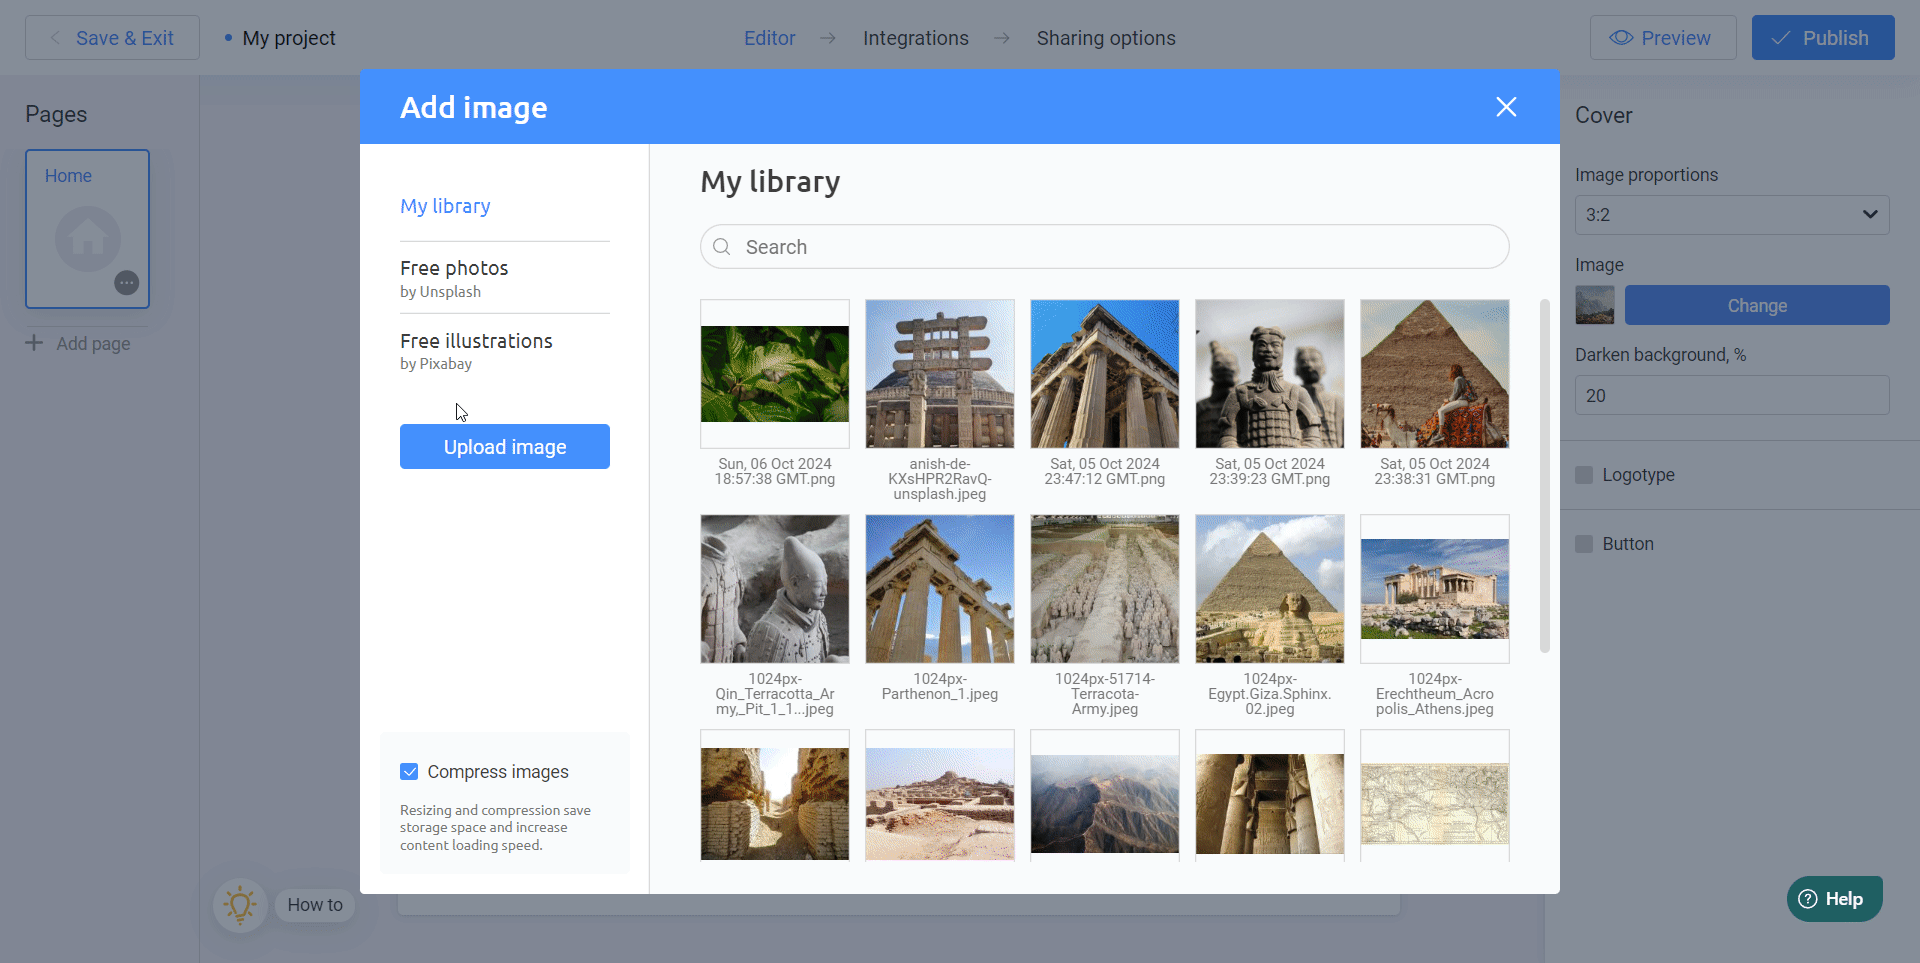
You can also replace the background image by clicking Change.
When selecting an image, you can use the built-in image search feature to find free assets from our extensive library, so you don’t have to look elsewhere!
Our first slide is ready. Now, let’s create the next slide by clicking Add Page on the left side of the screen. You’ll see a new page has been added to your project.
For the second slide, you can add an interactive block. Click on All Blocks and choose any of the interactive mechanics available. For example, let’s add an Interactive Image. You can use one of the pre-made templates and customize it as needed.
We will leave the Interactive Image in this article without any edits, as it perfectly suits our presentation. However, if you would like to make changes, you can find comprehensive instructions for each interactive mechanic in our Help Center.
Additionally, our YouTube channel features a dedicated playlist with tutorial videos covering each interactive mechanic in detail. You can find answers to any questions you might have by visiting the playlist here:
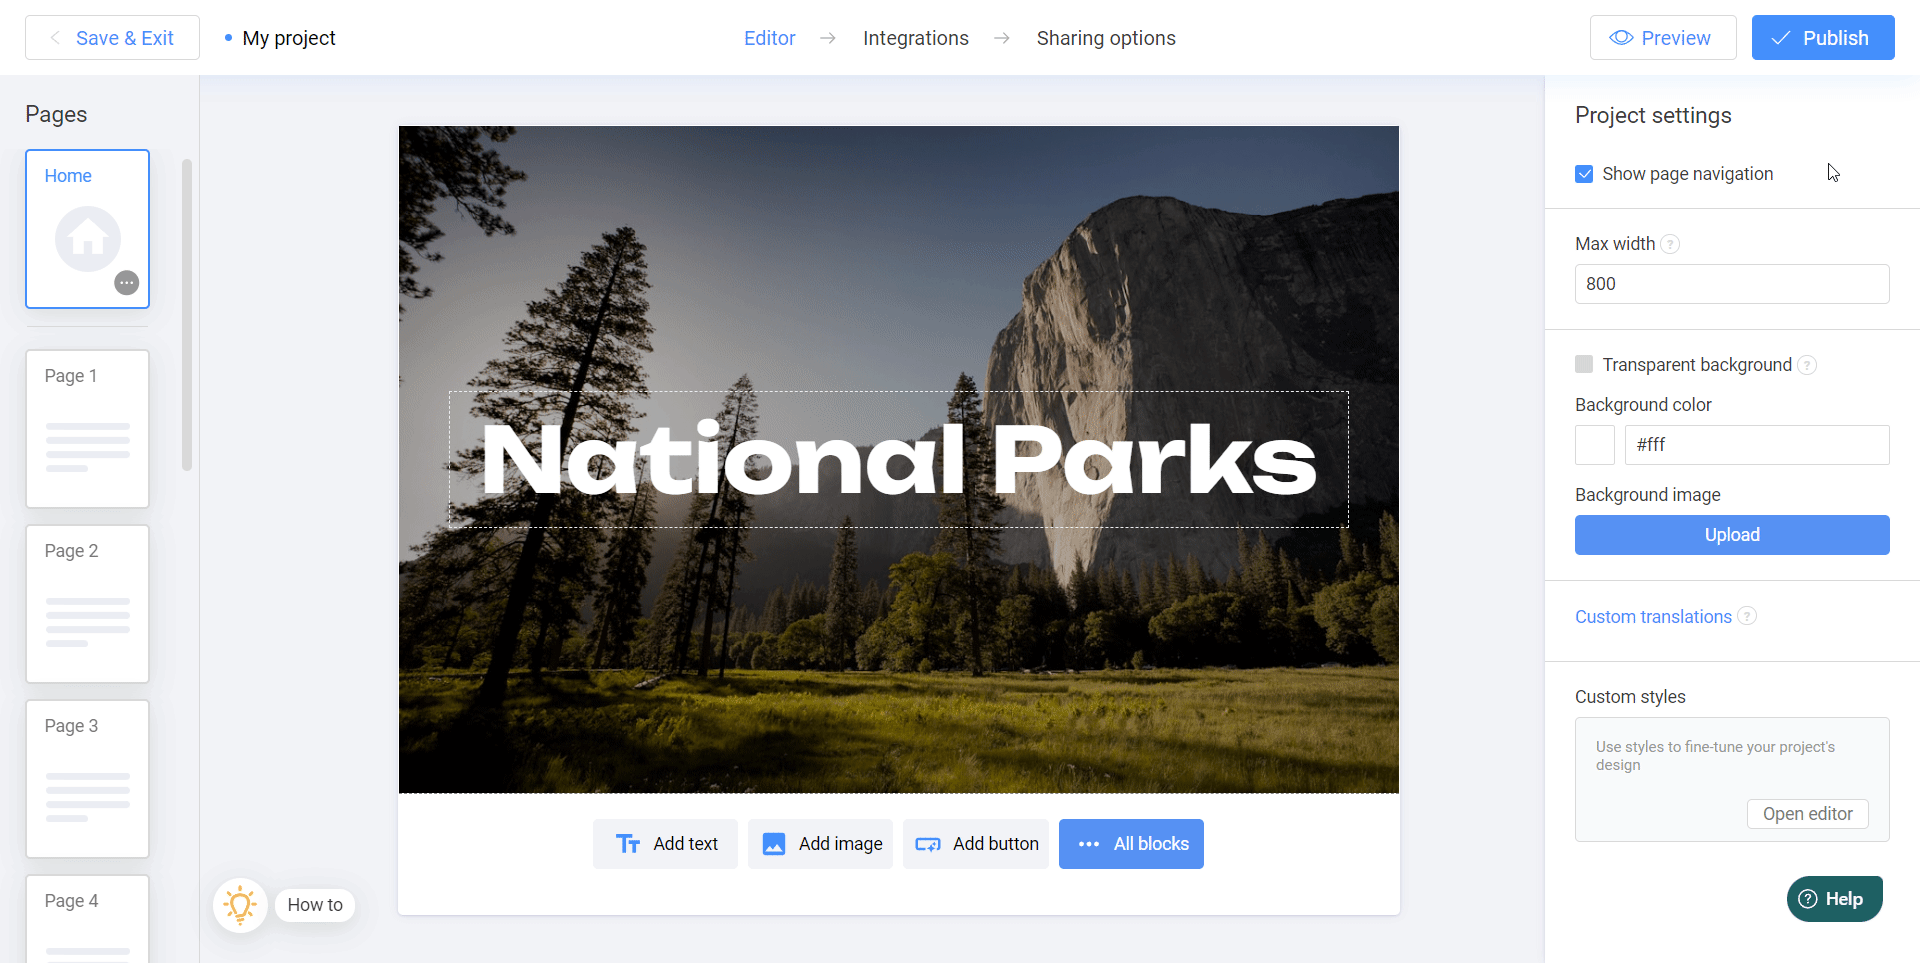
We now have two slides in our presentation. Let’s continue adding more slides, following the same principles. Once your presentation is complete with all the slides in place, activate the Show Page Navigation option to enable navigation between slides.

Previewing Your Presentation
Before publishing your presentation, it’s a good idea to see how it looks in Preview Mode. This feature allows you to review the flow and functionality of your presentation and identify any potential errors.

You can activate Preview Mode at any point during creation to track your progress and ensure everything is working as intended. If you notice any mistakes, return to the editor by clicking on Editor and make the necessary adjustments.
Publishing and Sharing
Once you’re happy with your presentation, click on the Publish button.
Great job! Your presentation is now live in your personal account. Don’t worry—it won’t be visible to anyone unless you share the link. Here’s how you can do that:
1) Copy the link and send it to anyone who needs access.
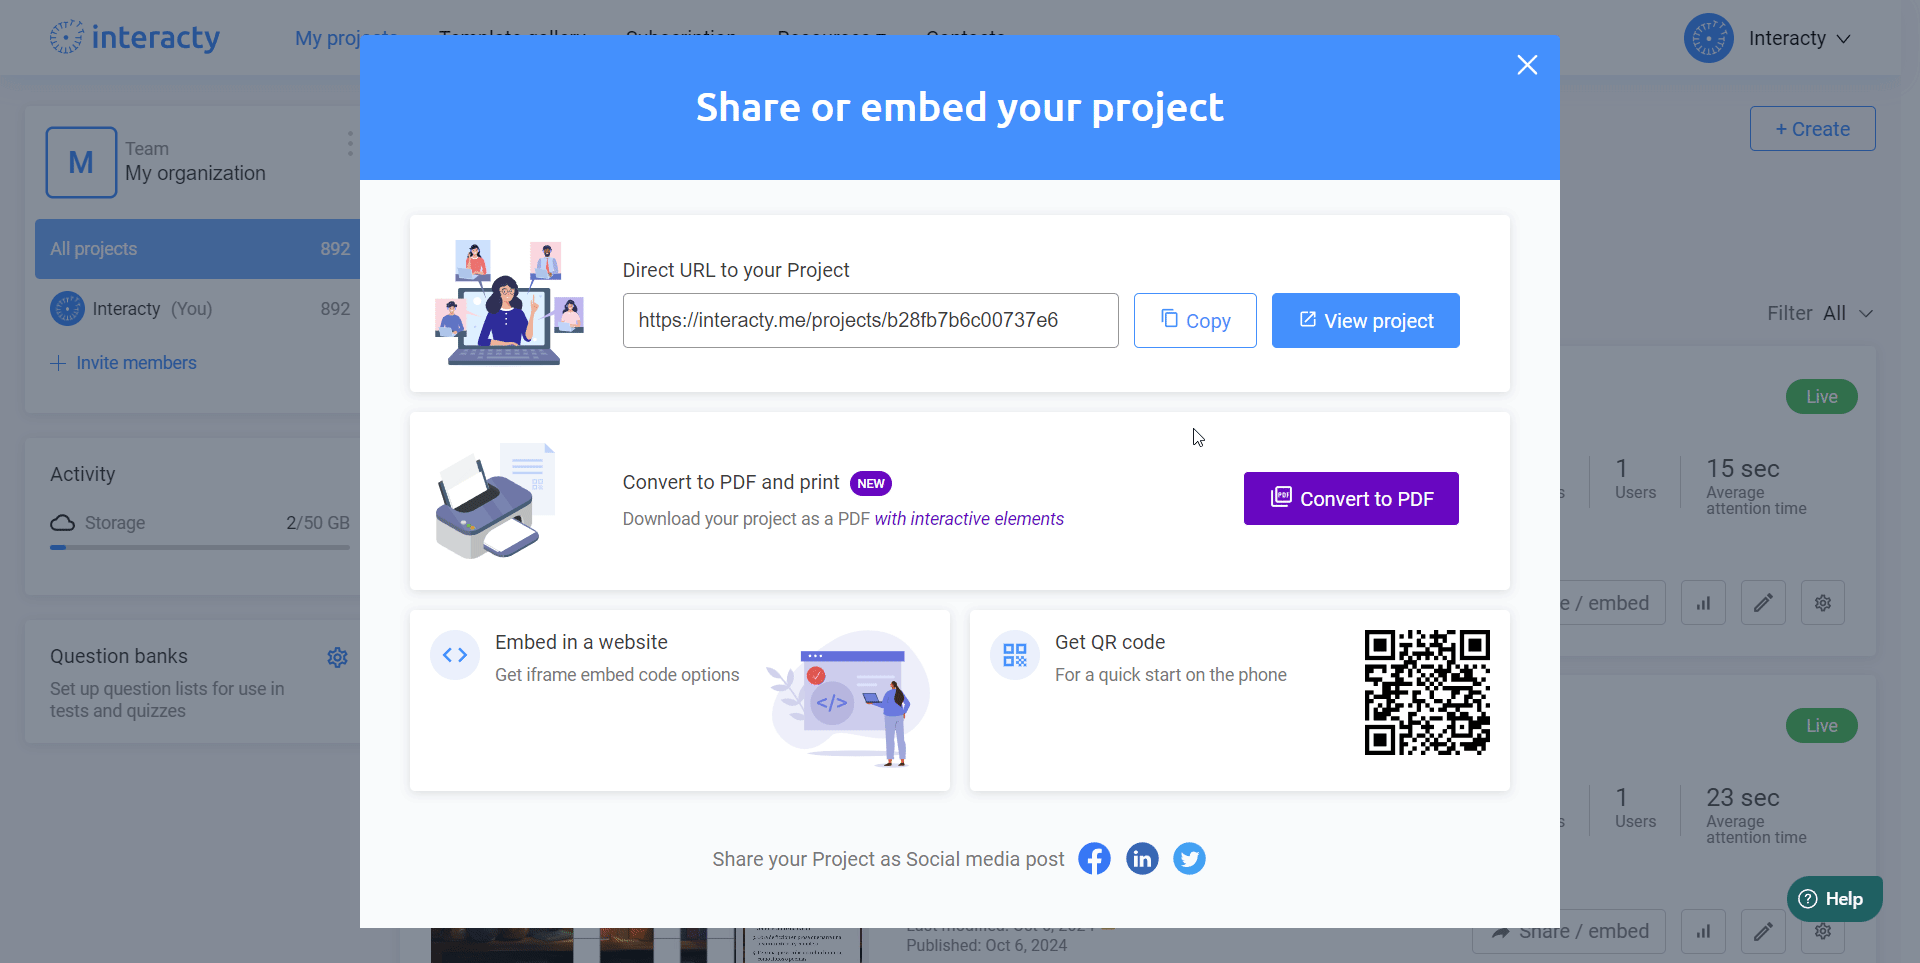
2) Embed the presentation into your website, LMS, or CRM using the provided embed code. This will allow you to integrate it with your existing resources.

Remember, you can also open and view your presentation by using the link yourself or by launching it directly from your Interacty dashboard. Whichever method you choose, it’s all about what’s most convenient for you!
Check out an example of a ready-made presentation embedded directly into this article.
Need More Help?
We hope this guide has been helpful. If you have any further questions or need additional assistance, feel free to leave a comment below or reach out to us at support@interacty.me. We’re here to help!
Good luck and happy presenting!