The lead form helps you collect emails and other information of potential customers. You can embed a lead form on your website as a standalone block or show it to users after completing a game or quiz. This block can be used for a contact data collection, surwey or feedback collection.
Learn to create a Lead Form with this video tutorial:
Creating a Layout
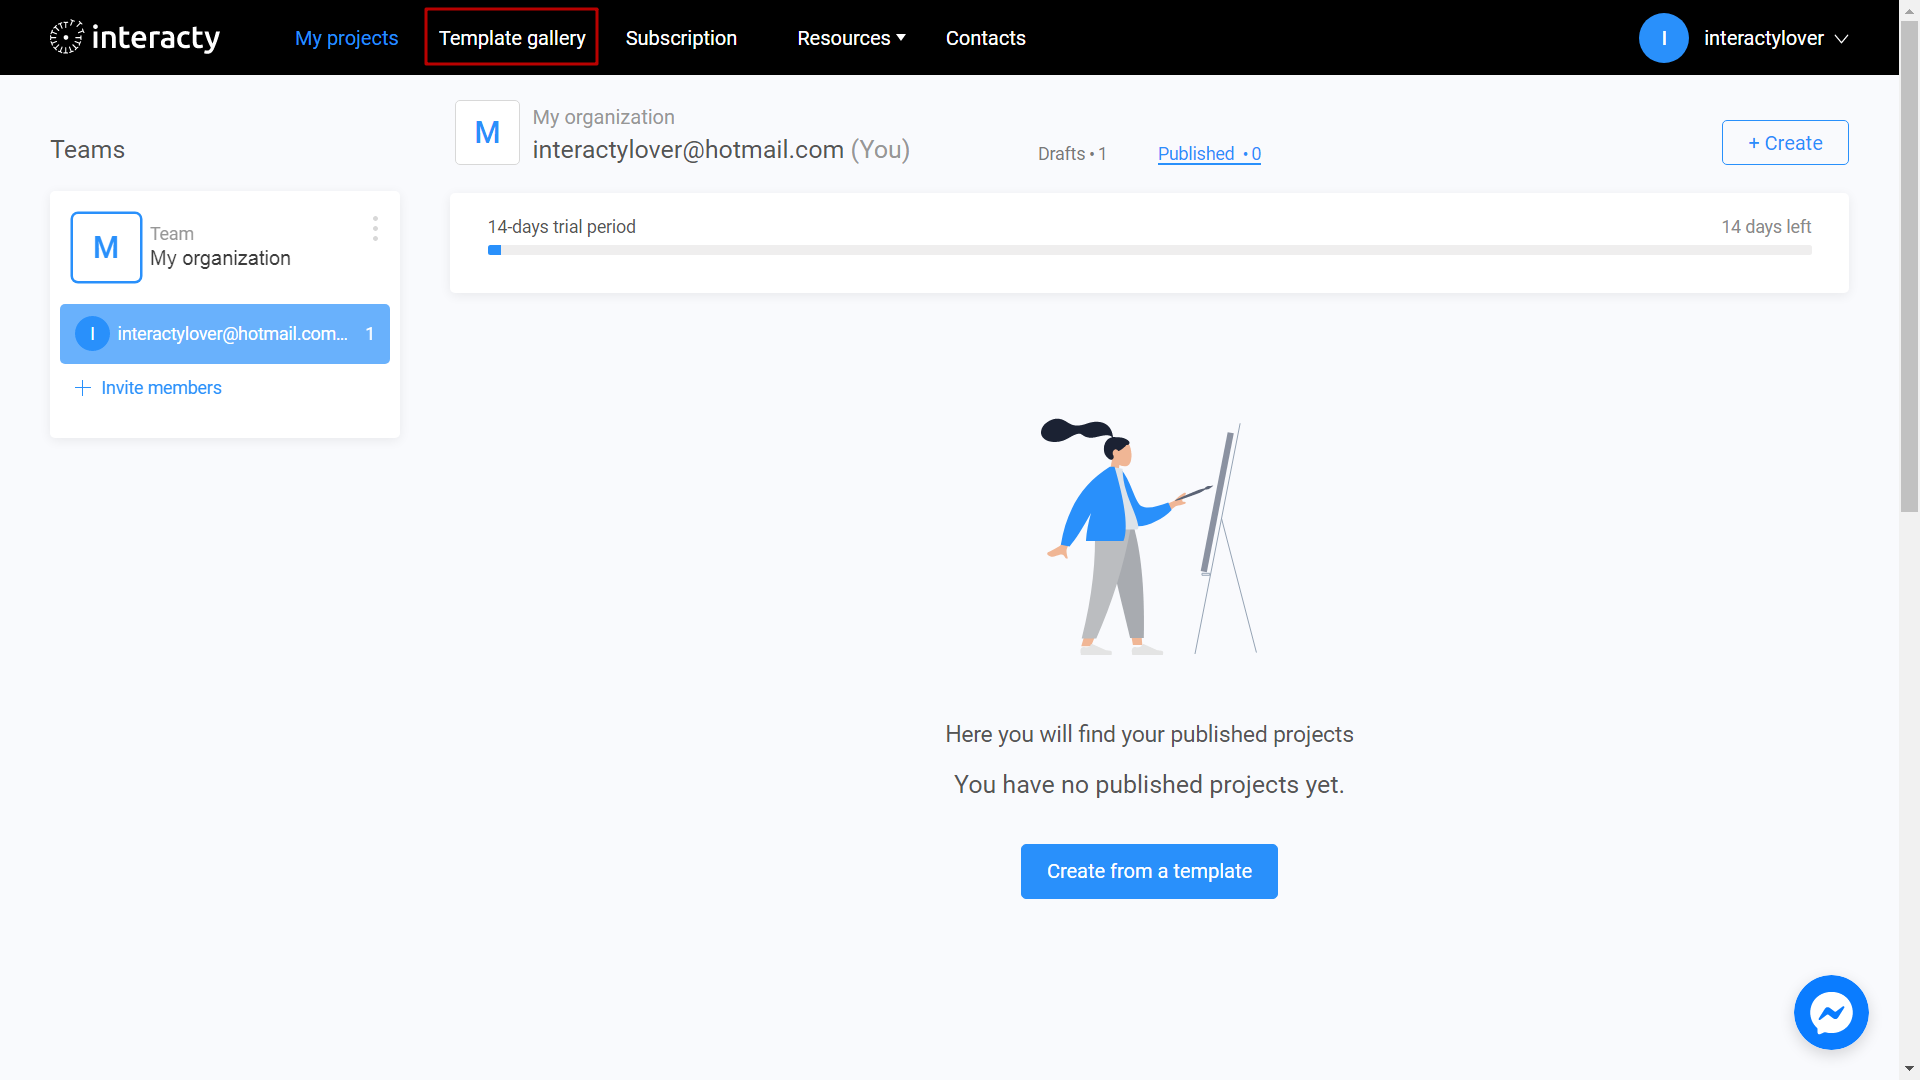
Sign in to your profile on interacty.me. To create a Lead Form, click the Template Gallery button at the top of the screen.
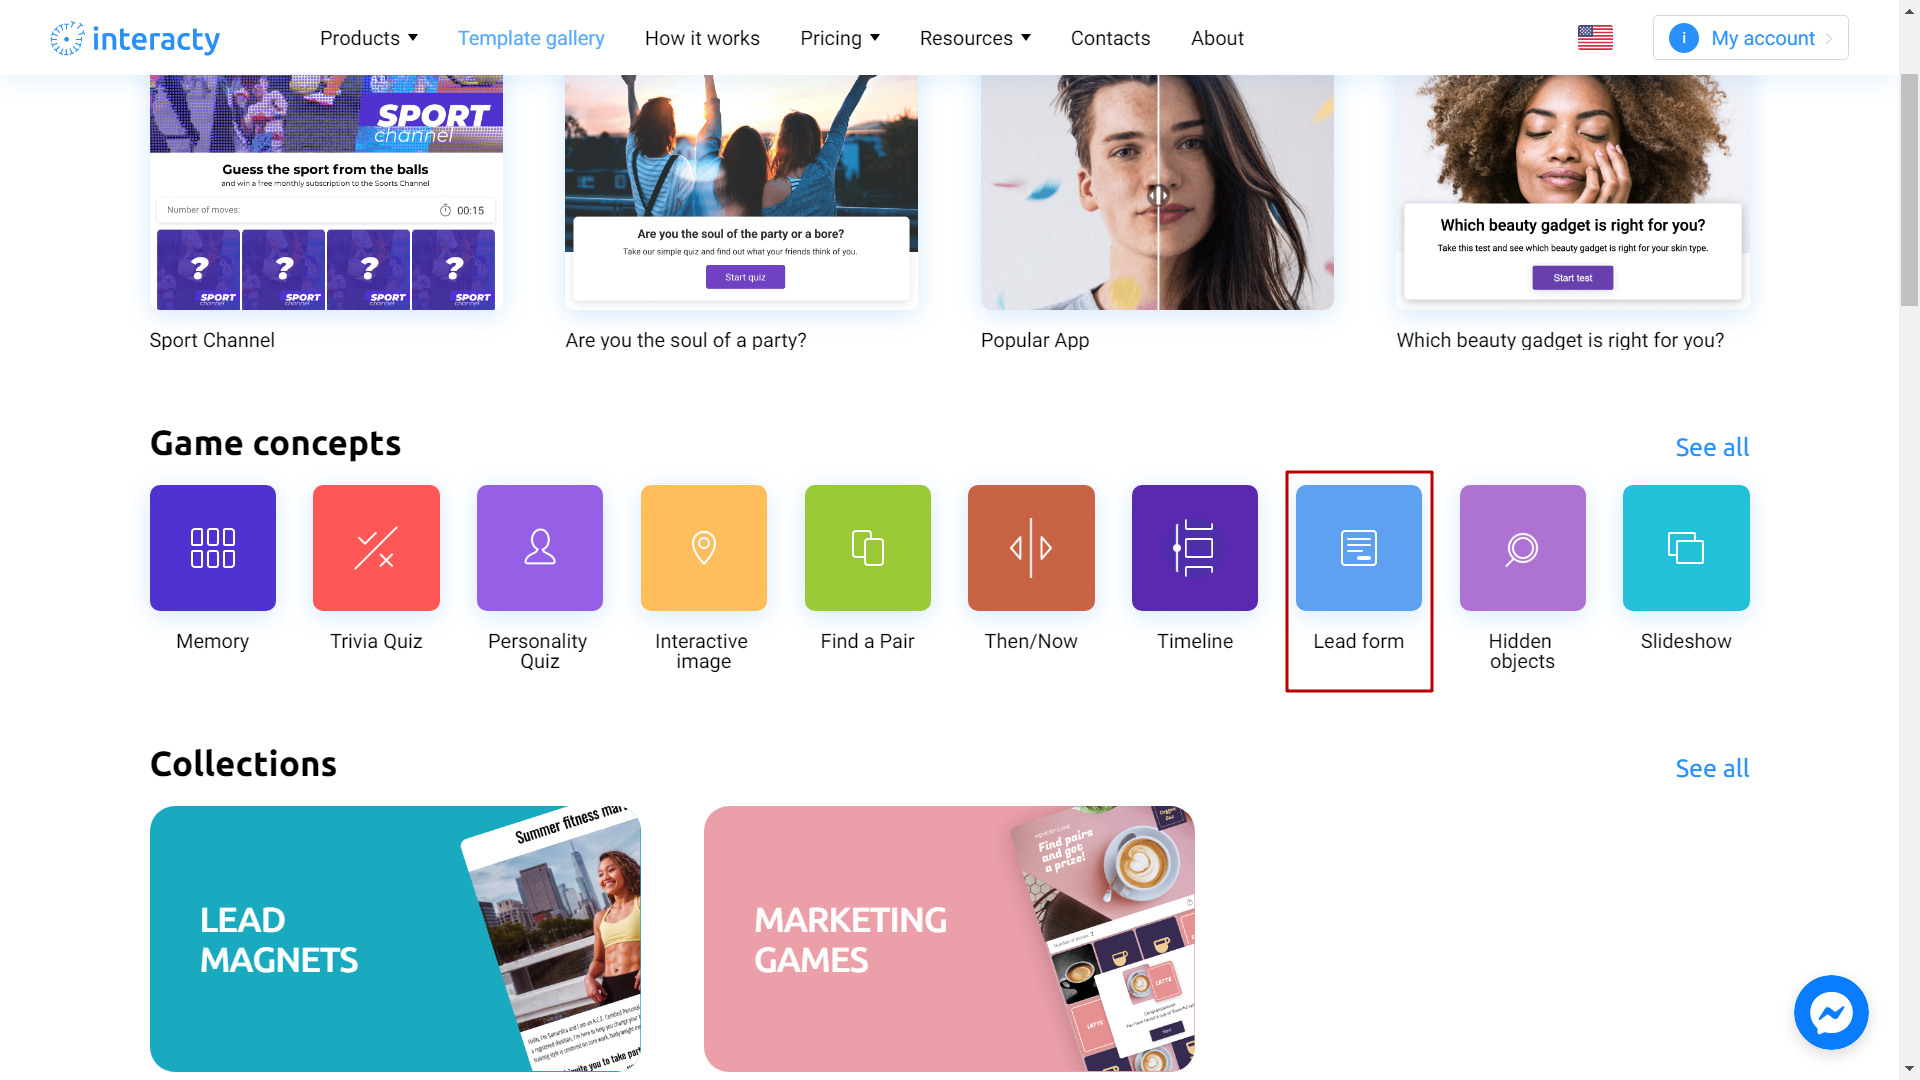
Select a Lead Form.
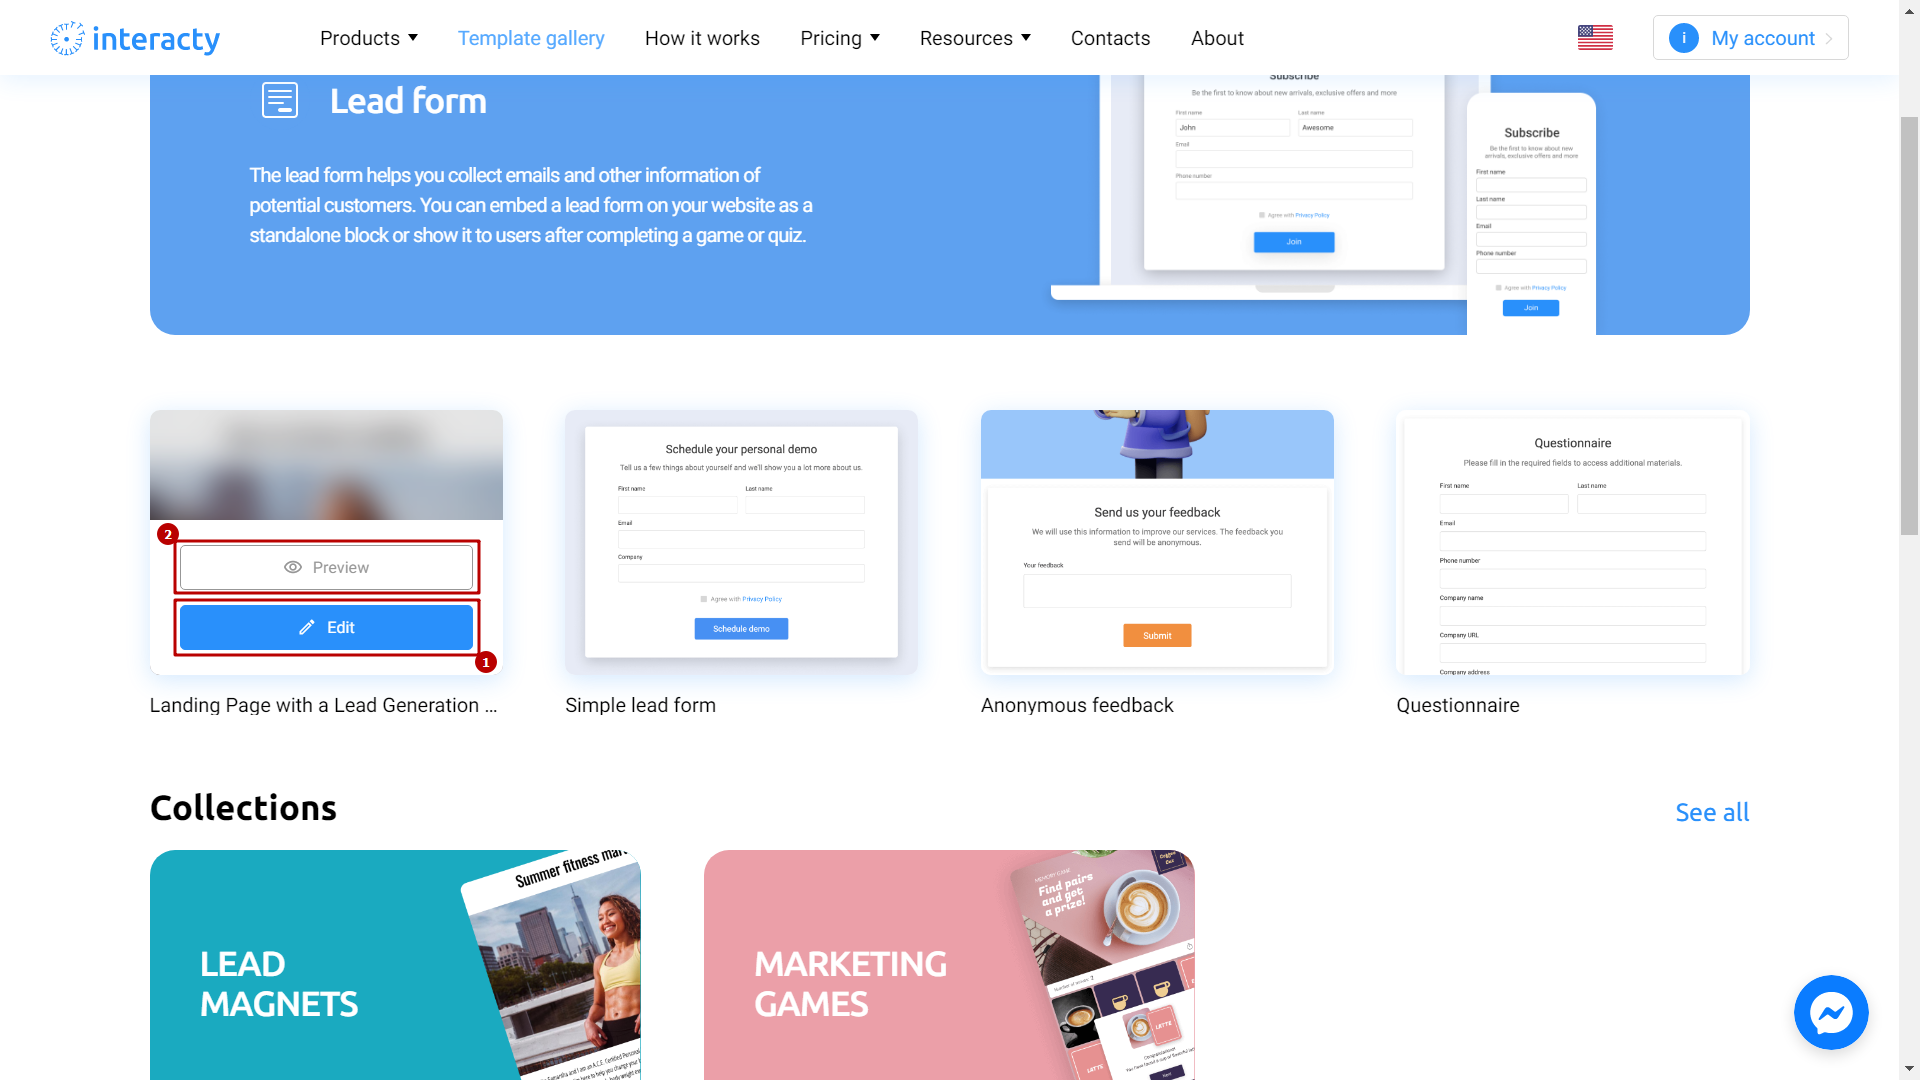
Select the template you like from the list by clicking the Edit (1). The Preview (2) button will allow you to preview the template.
Template Editing
In the Editor find Lead Form block and click Edit Content button.
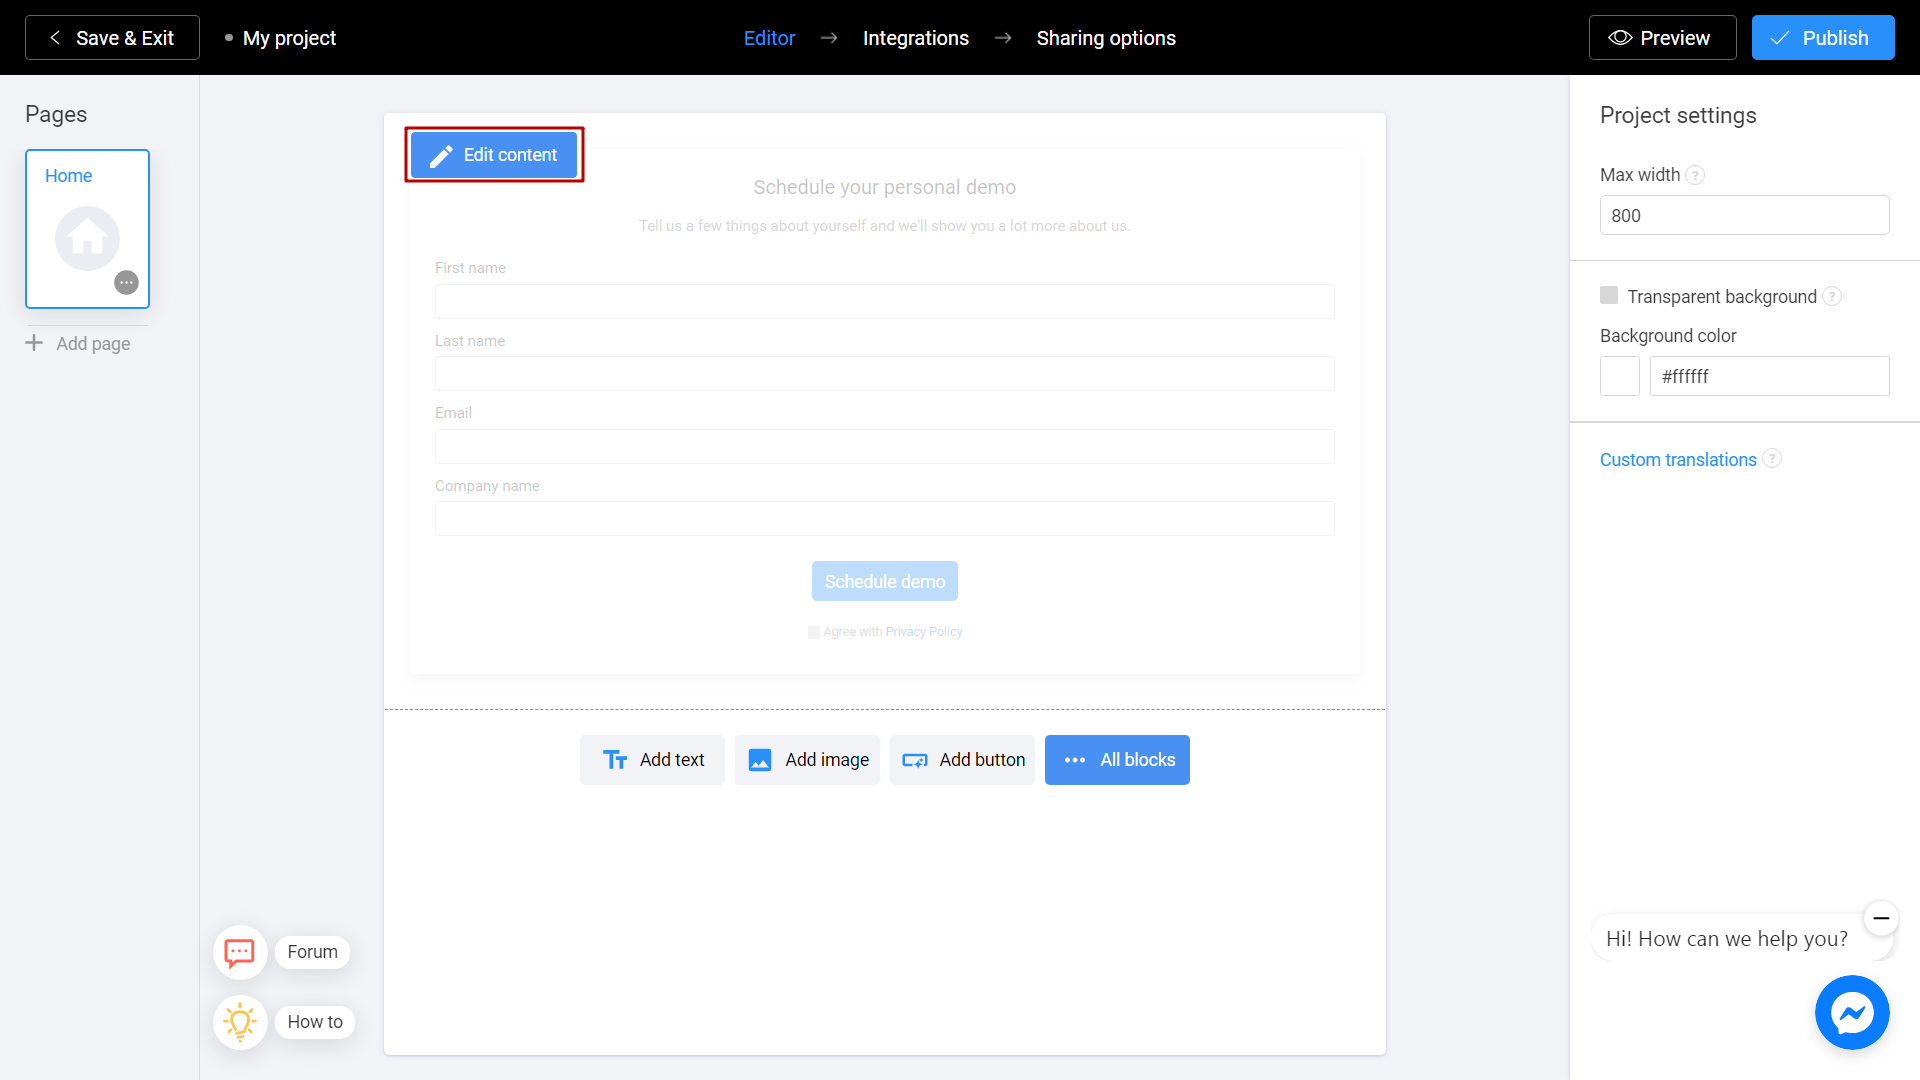
You will see form fields that you can use for your Lead Form.
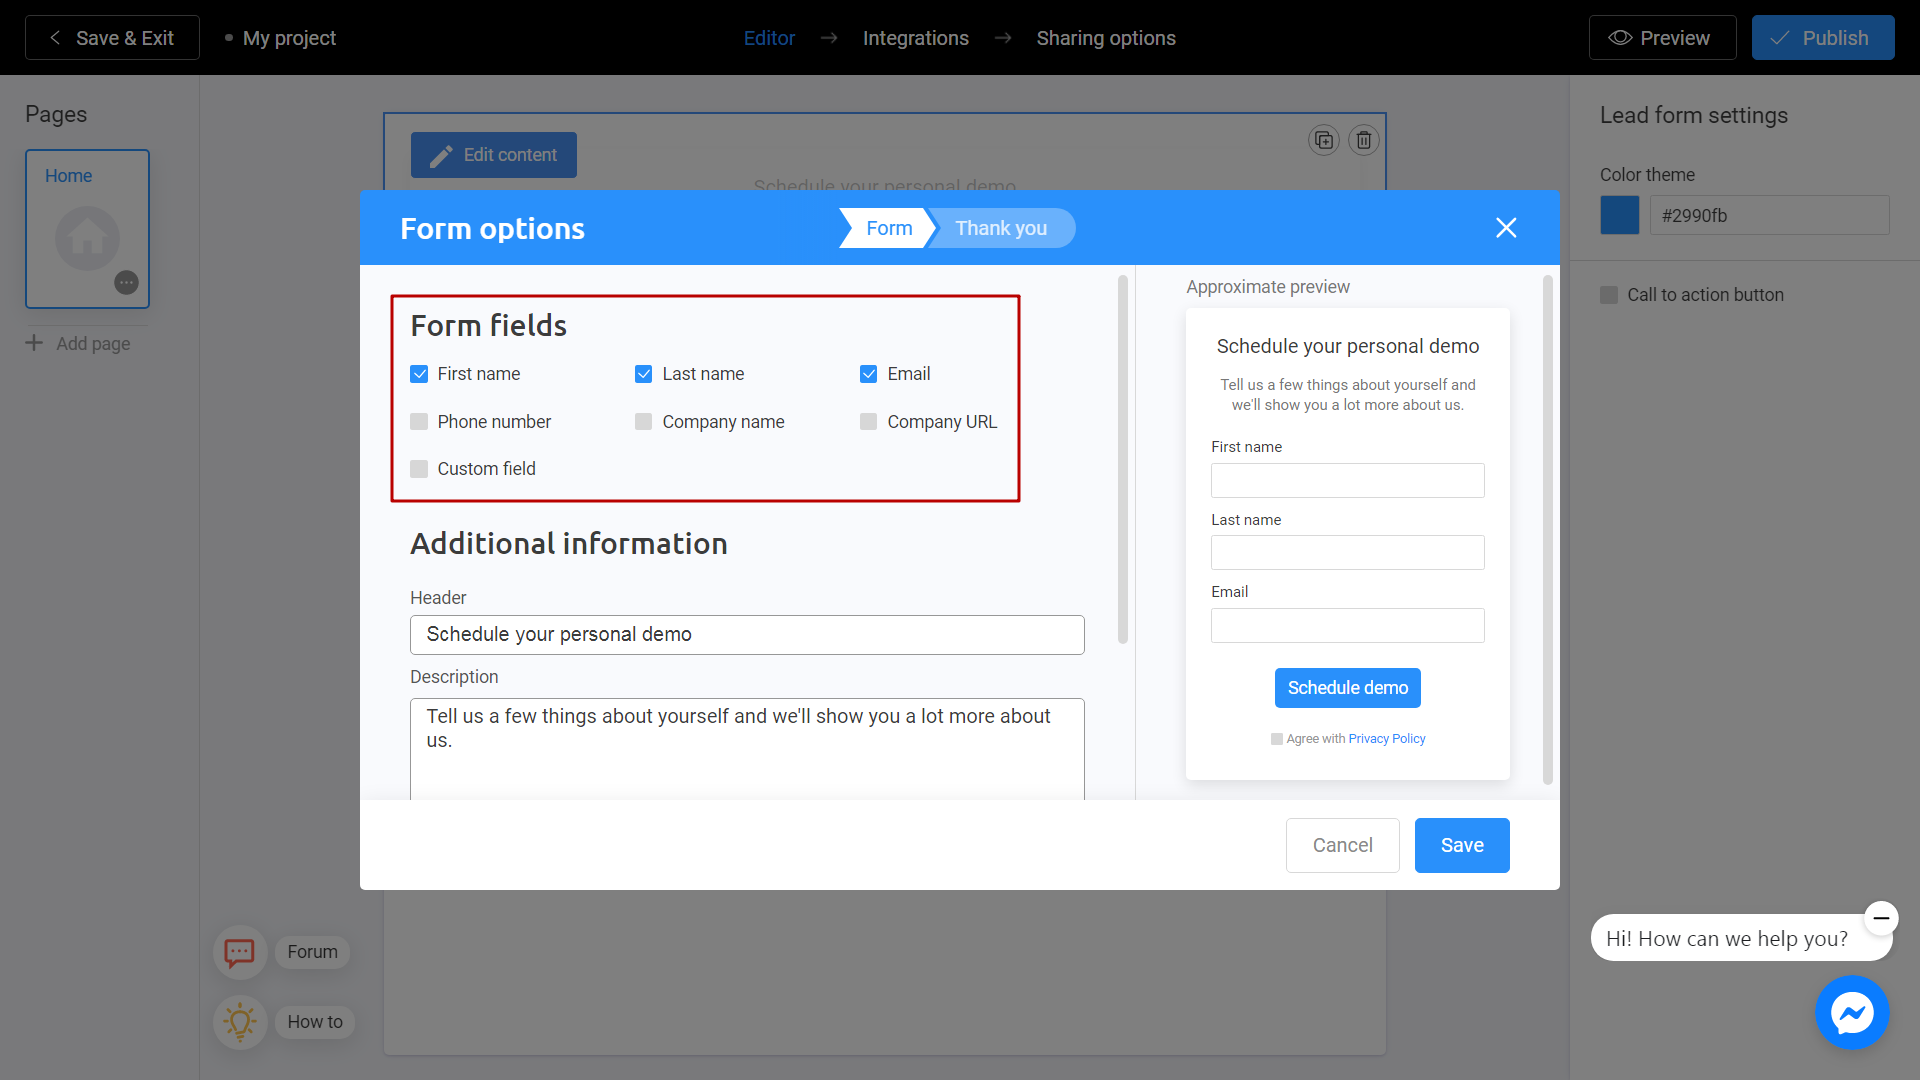
By adding new fields you will see changes on the right side of your screen. You can evaluate how your future project will look like in this preview.
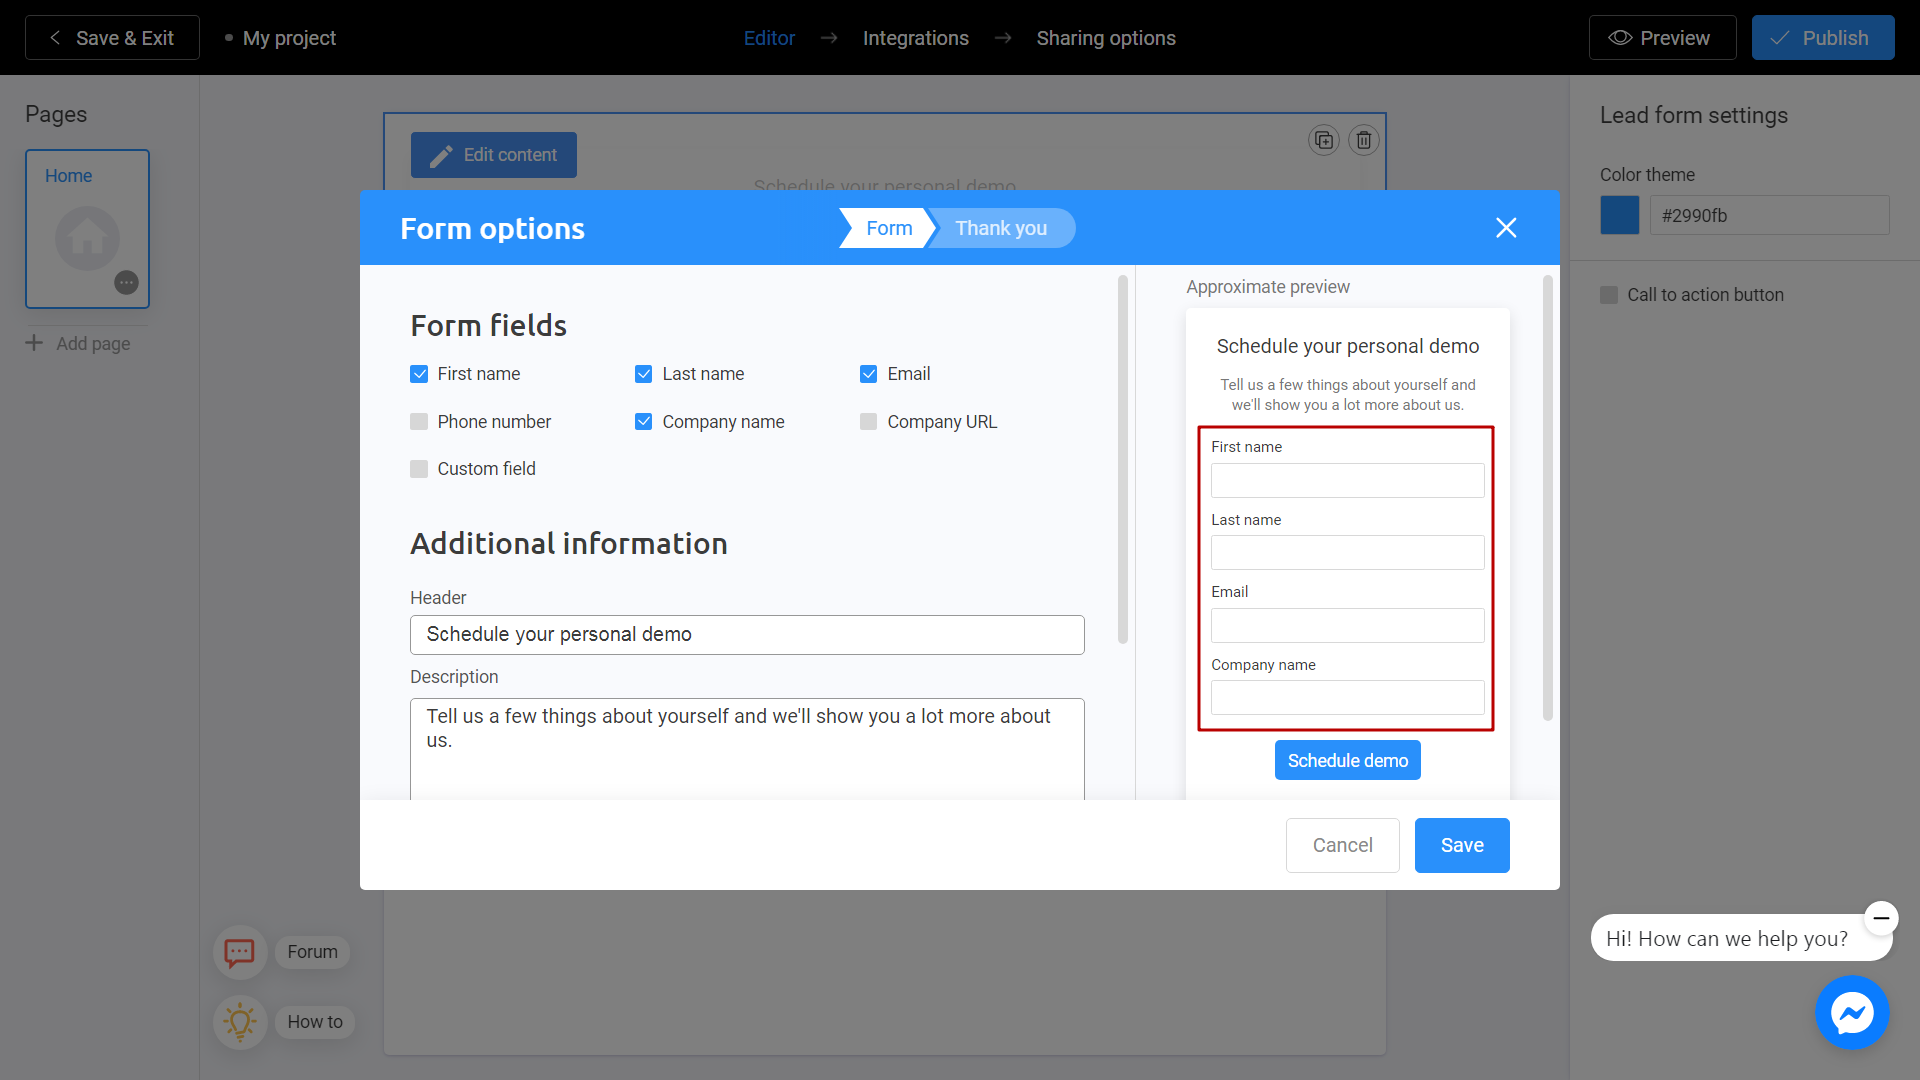
Choose Custom field if you want to add an extra field to your lead.
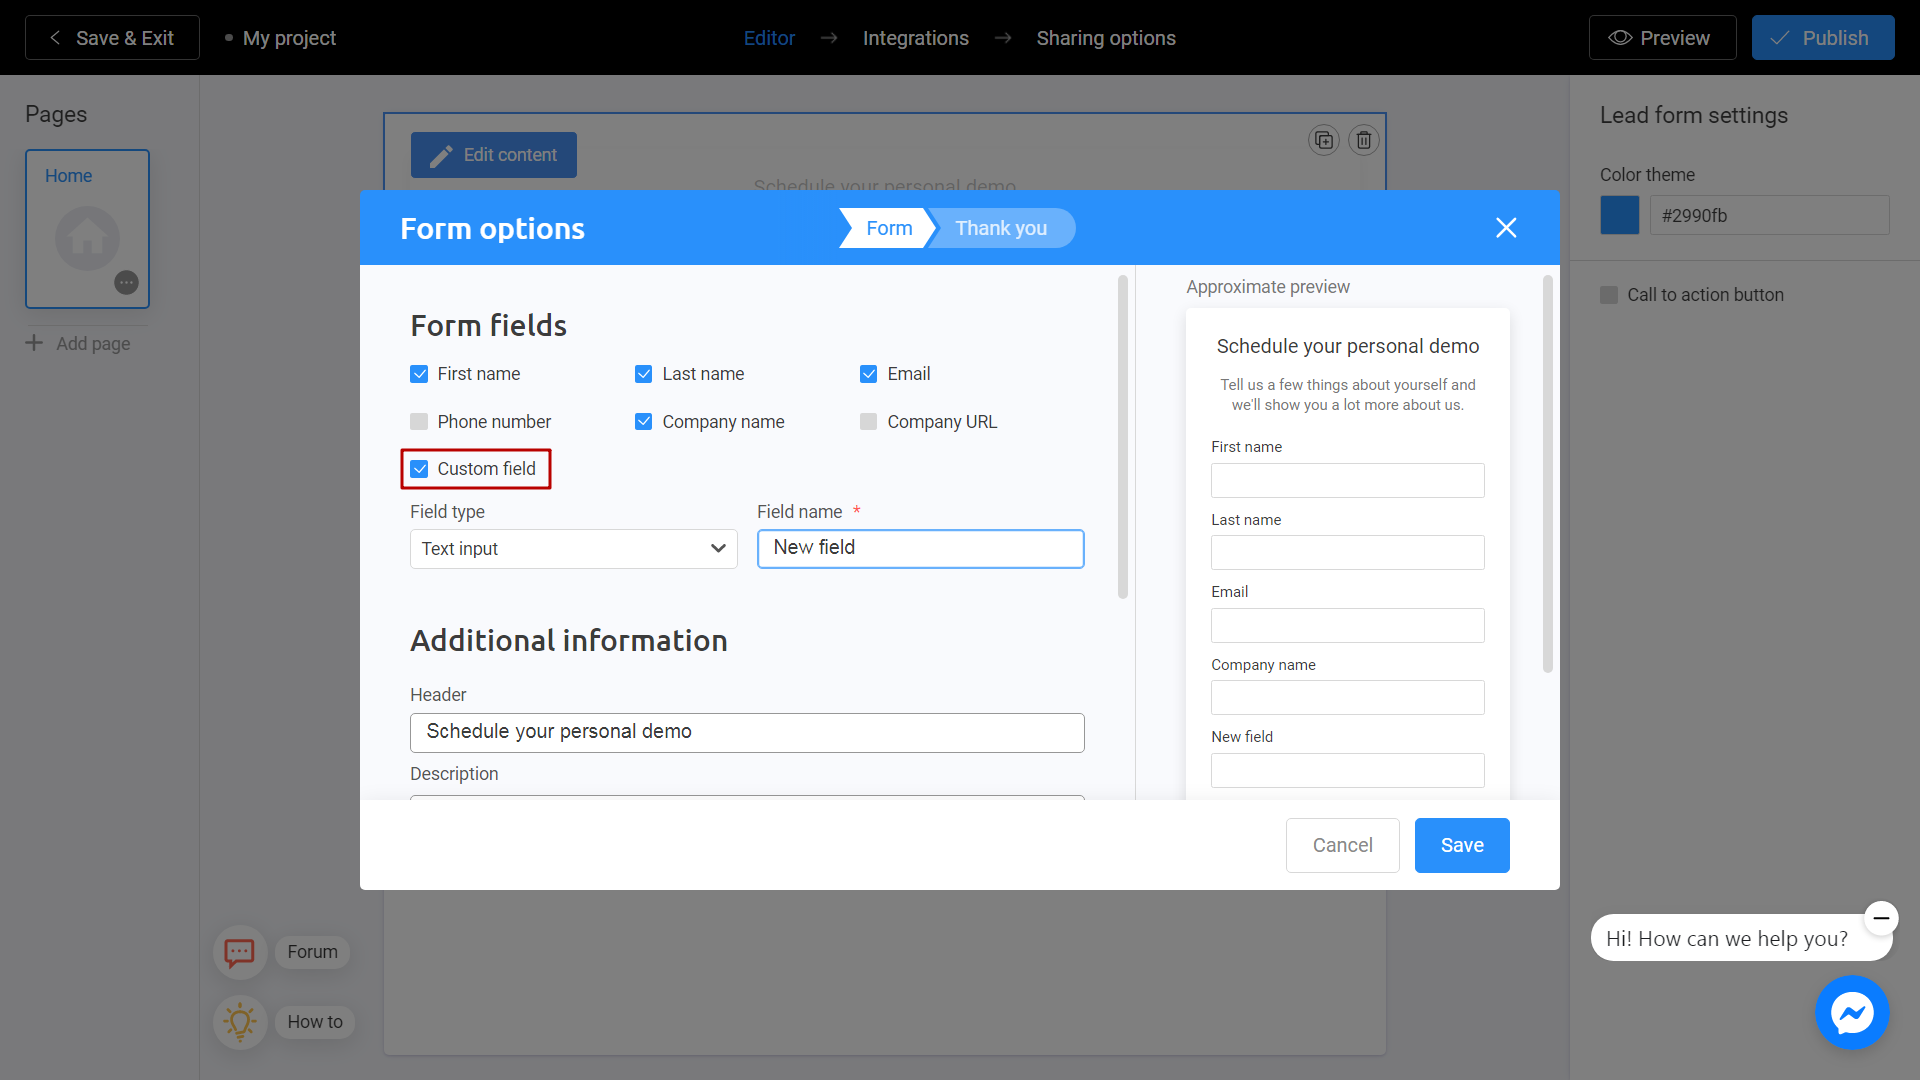
Custom field helps you collect non-standart data.
Choose field type depends on your needs and write the name of your future field.
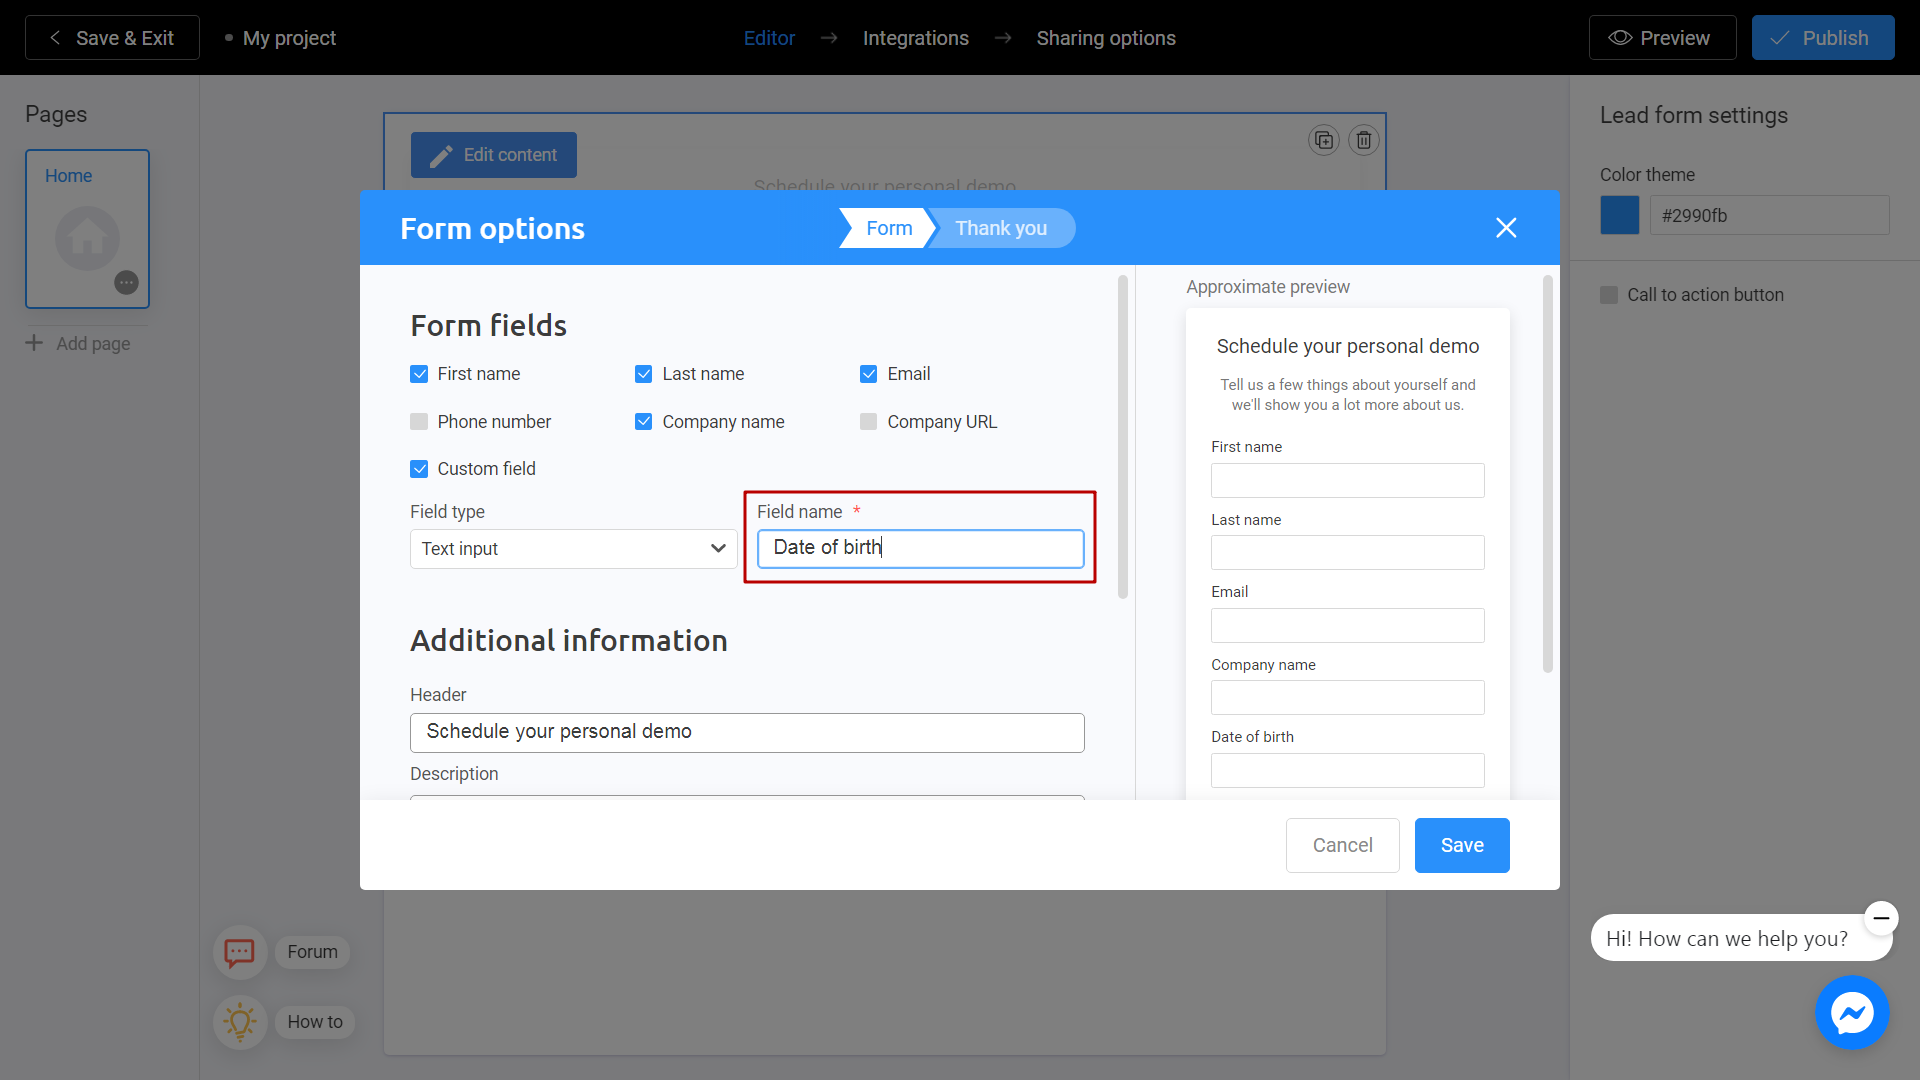
Fill with additional information. It contains header and description of your lead. This is what your customers will see first. Don't forget to rate the final result on the preview screen. You can also change the button text and give a link to your privacy policy, if needed.
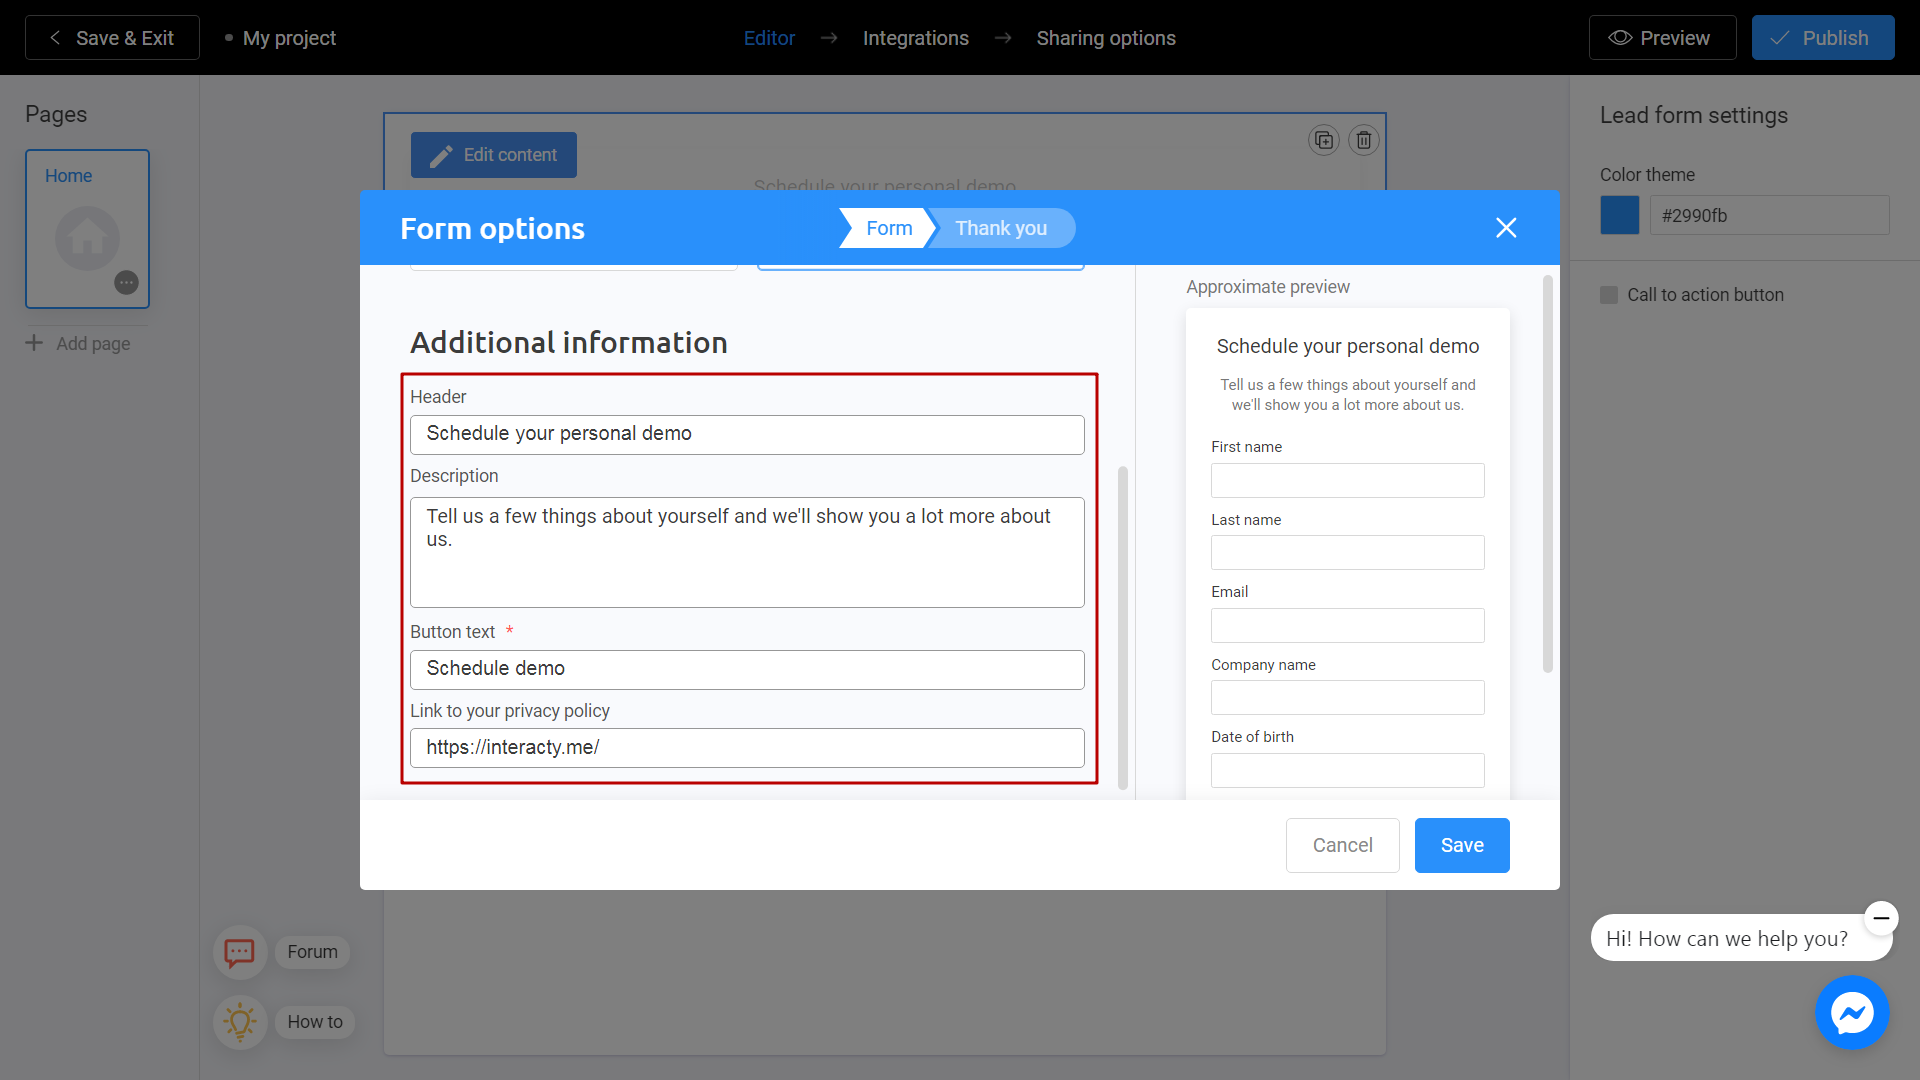
When finished, click on Thank you tab.
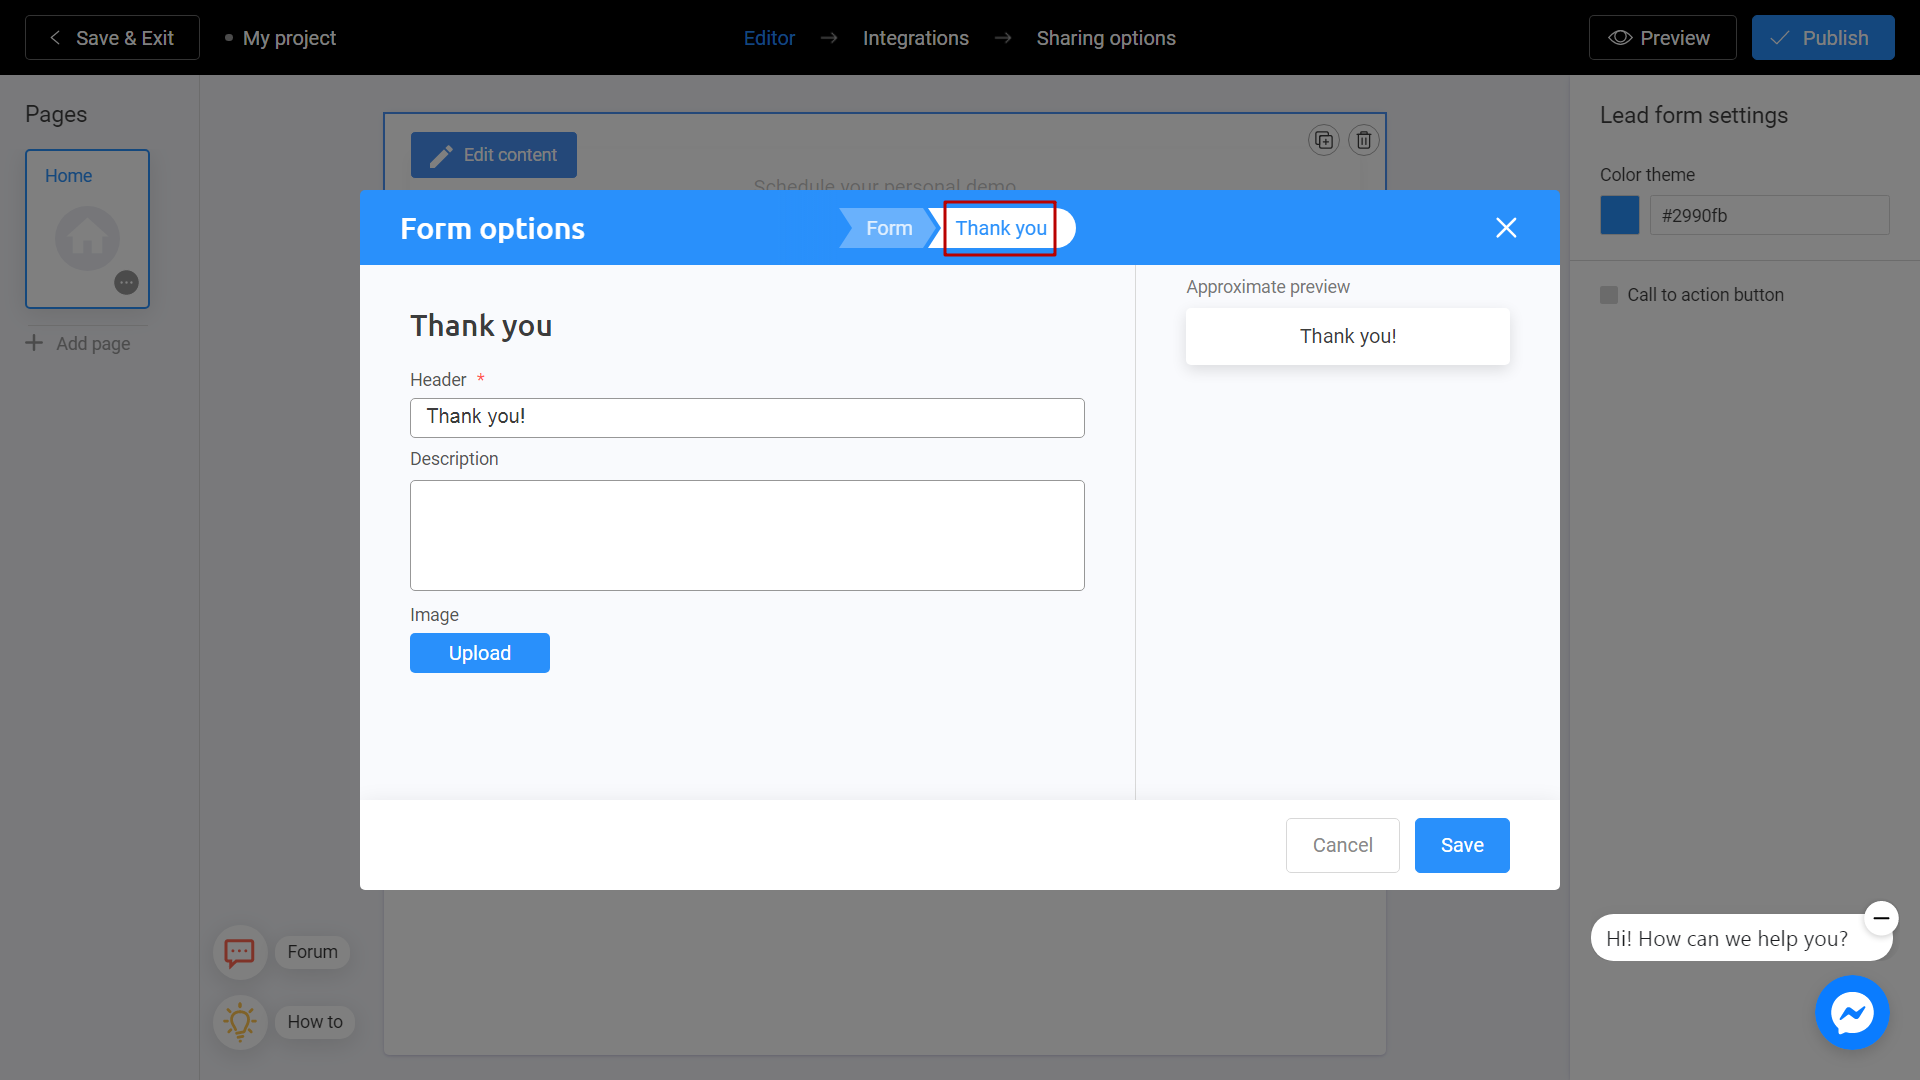
Thank you screen will appear when customer will finish to fill your lead. Choose the header sign and add a description if needed.
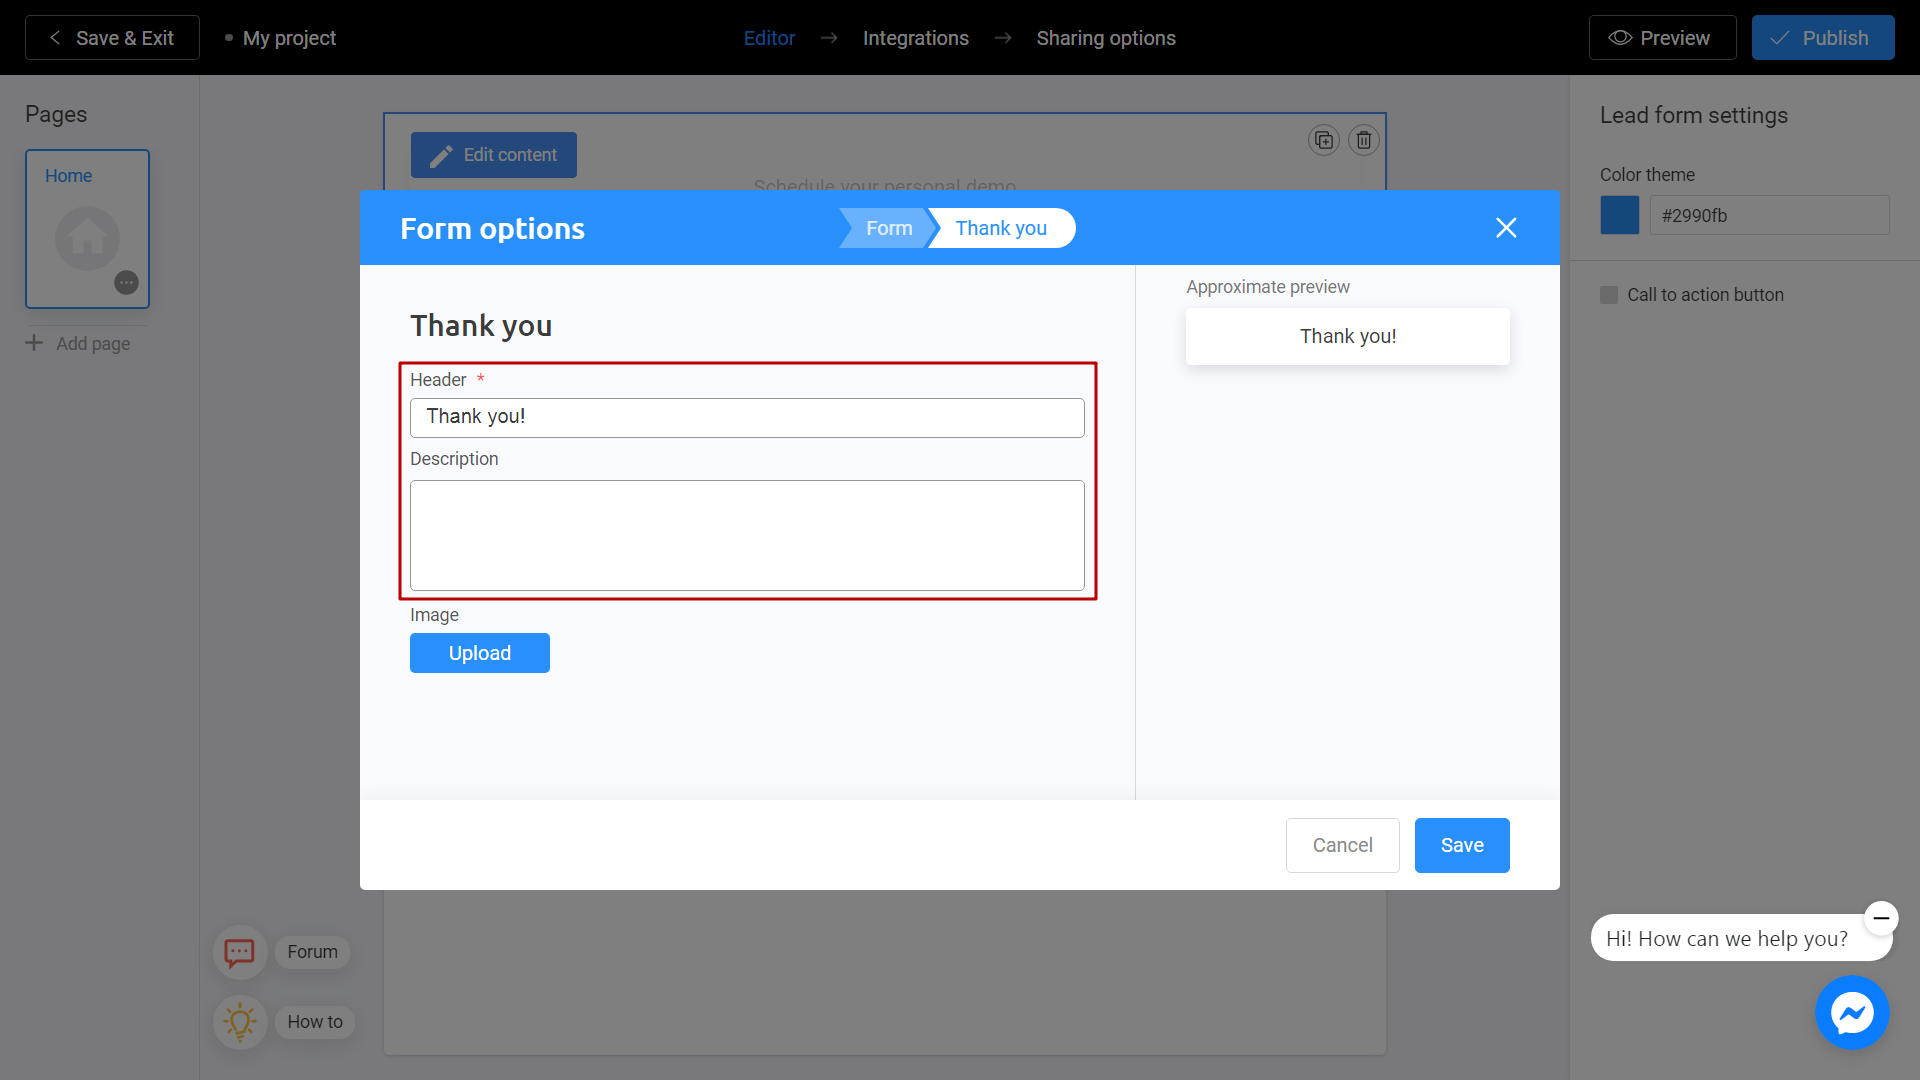
You can also add a background image by clicking Upload button.
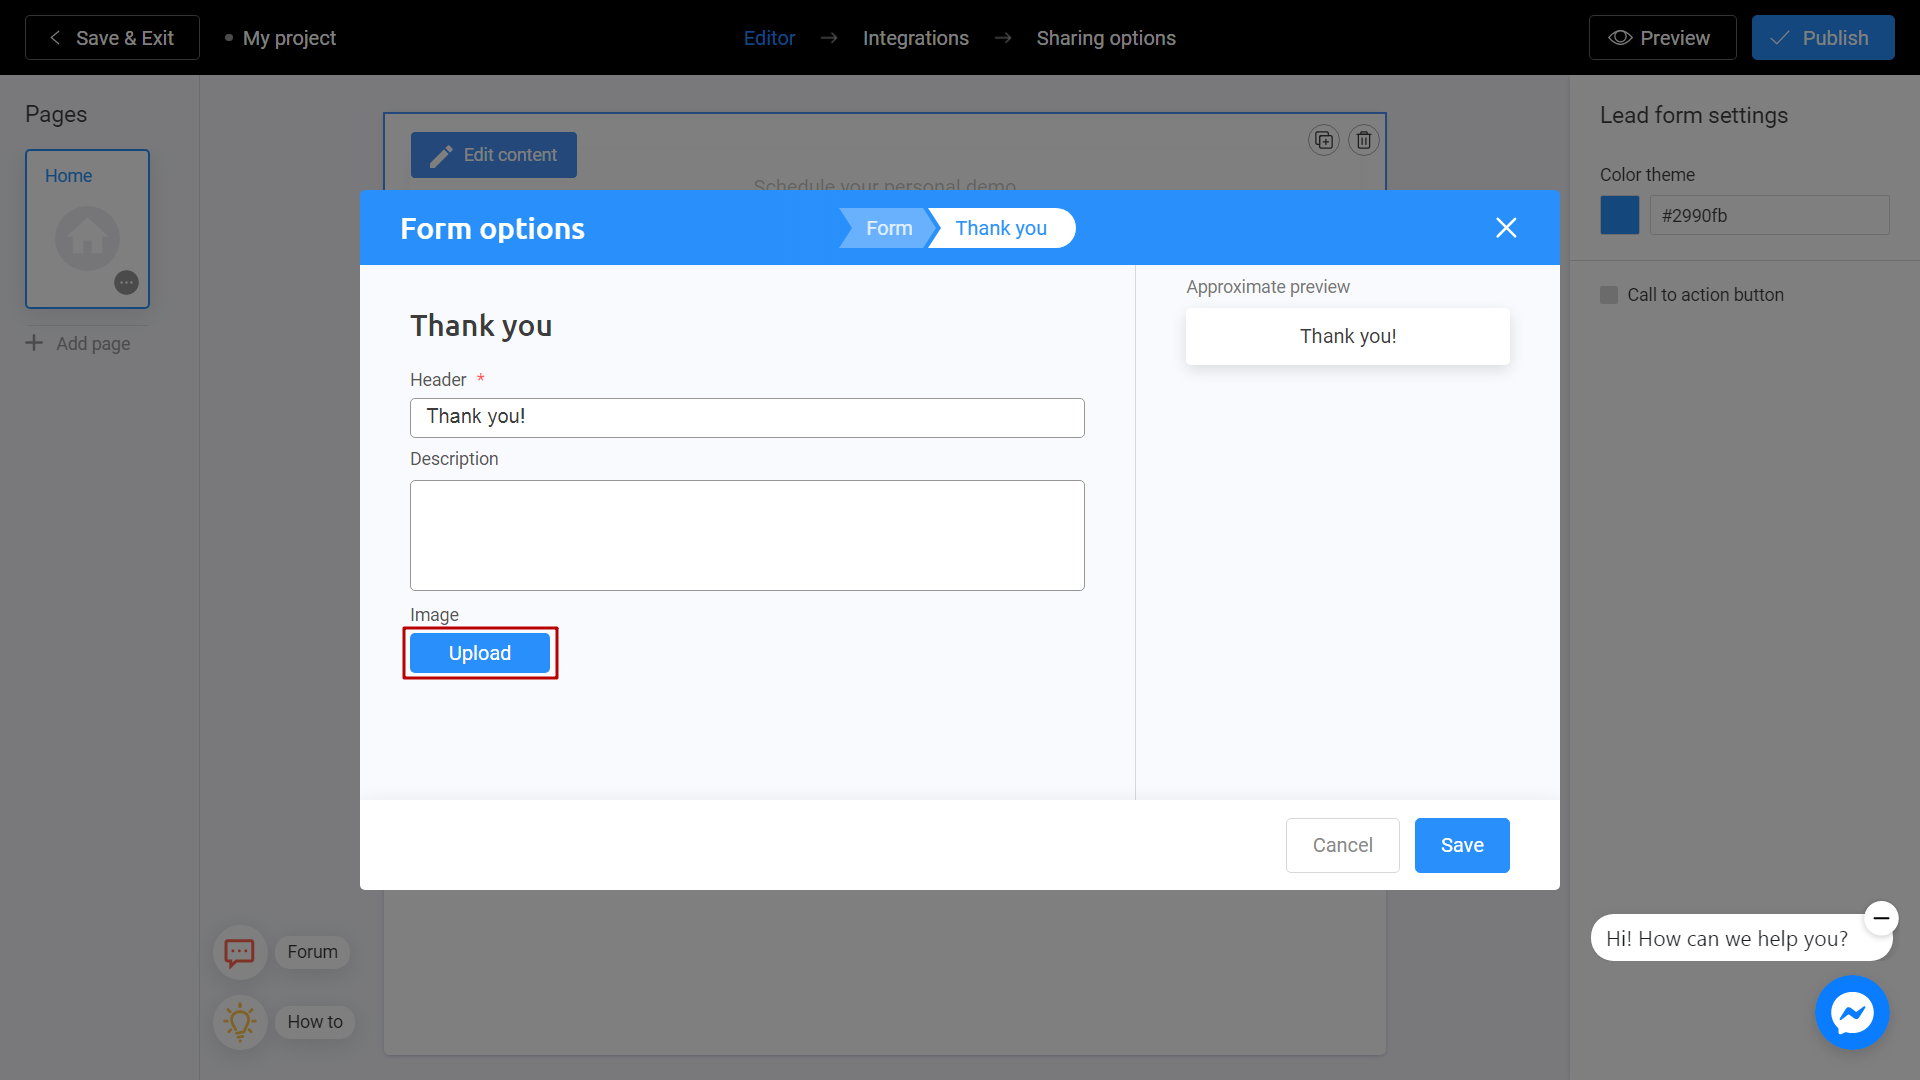
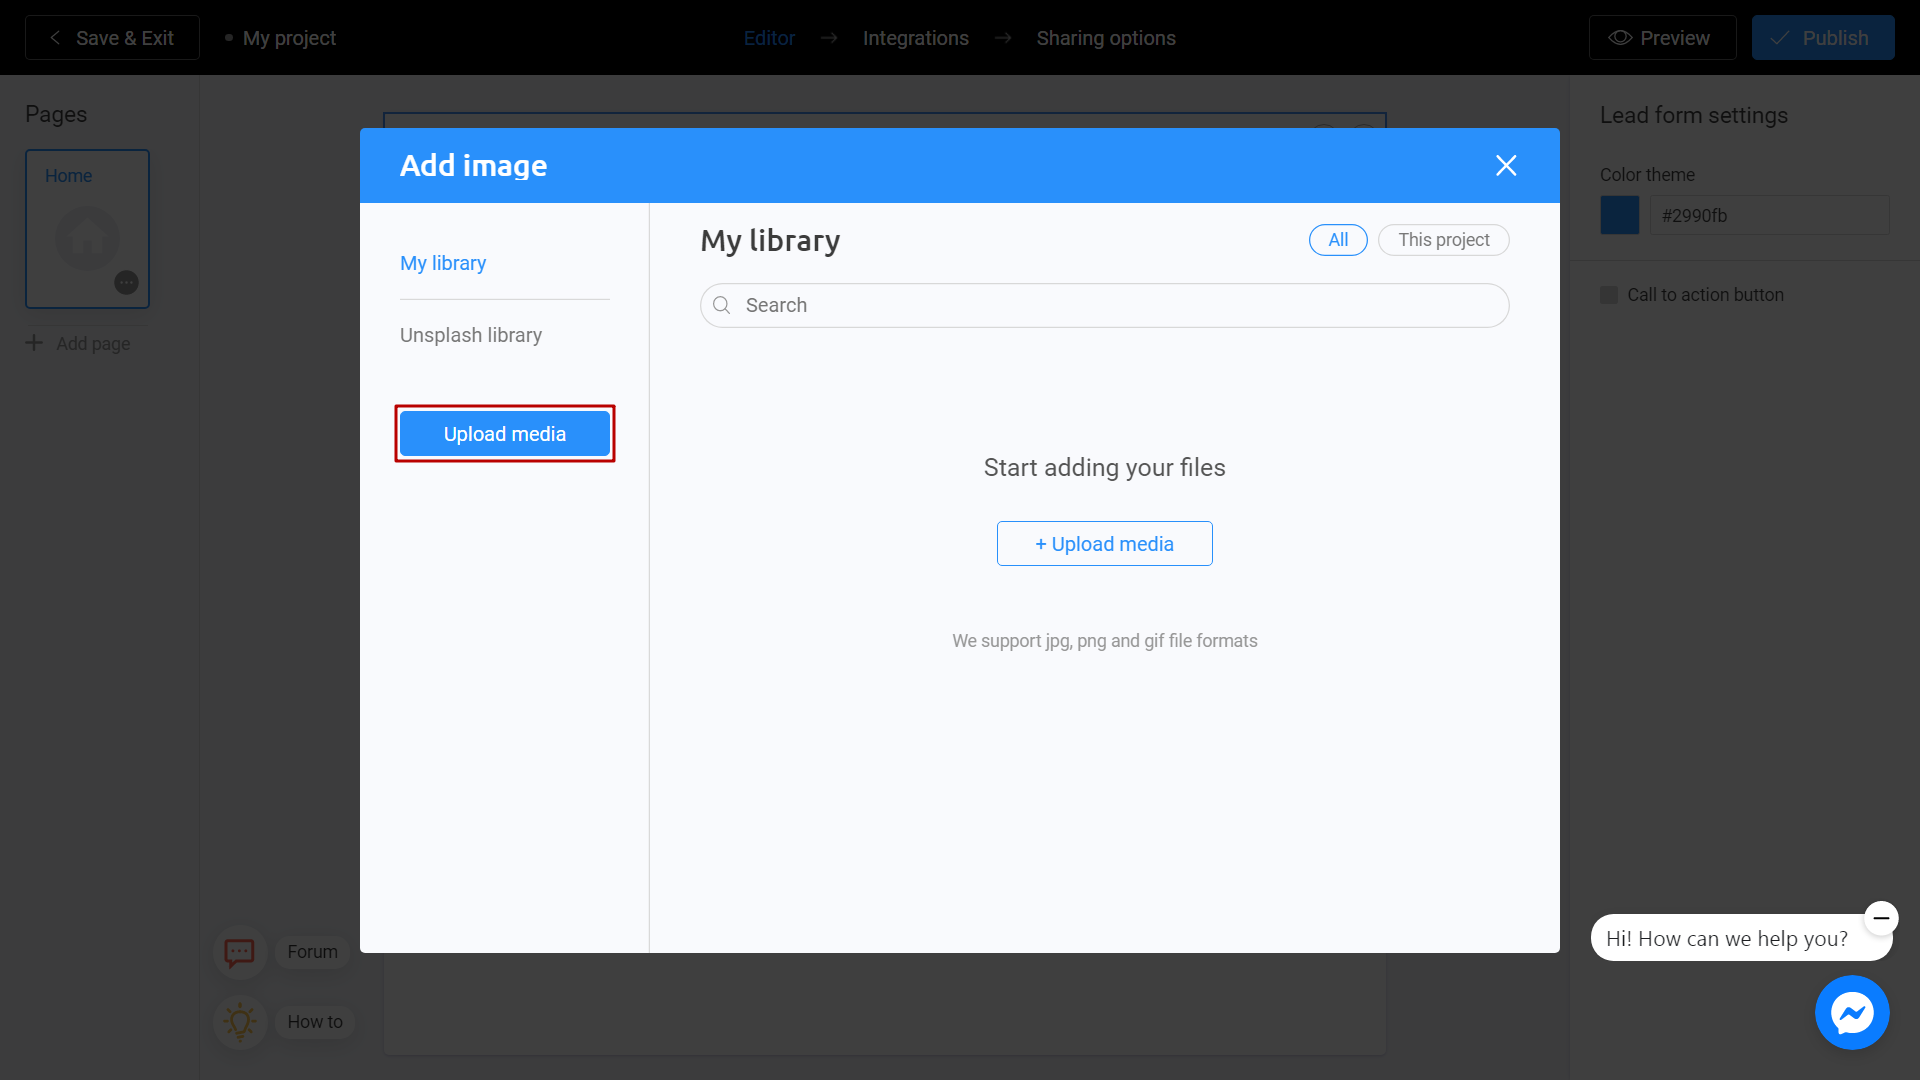
There are 2 ways to upload a new image. Directly from your computer or using the Unsplash Library.
My Library - Images you previously used in other templates. They can be downloaded from Unsplash or from your computer. To add an image from your device, click Upload Media.
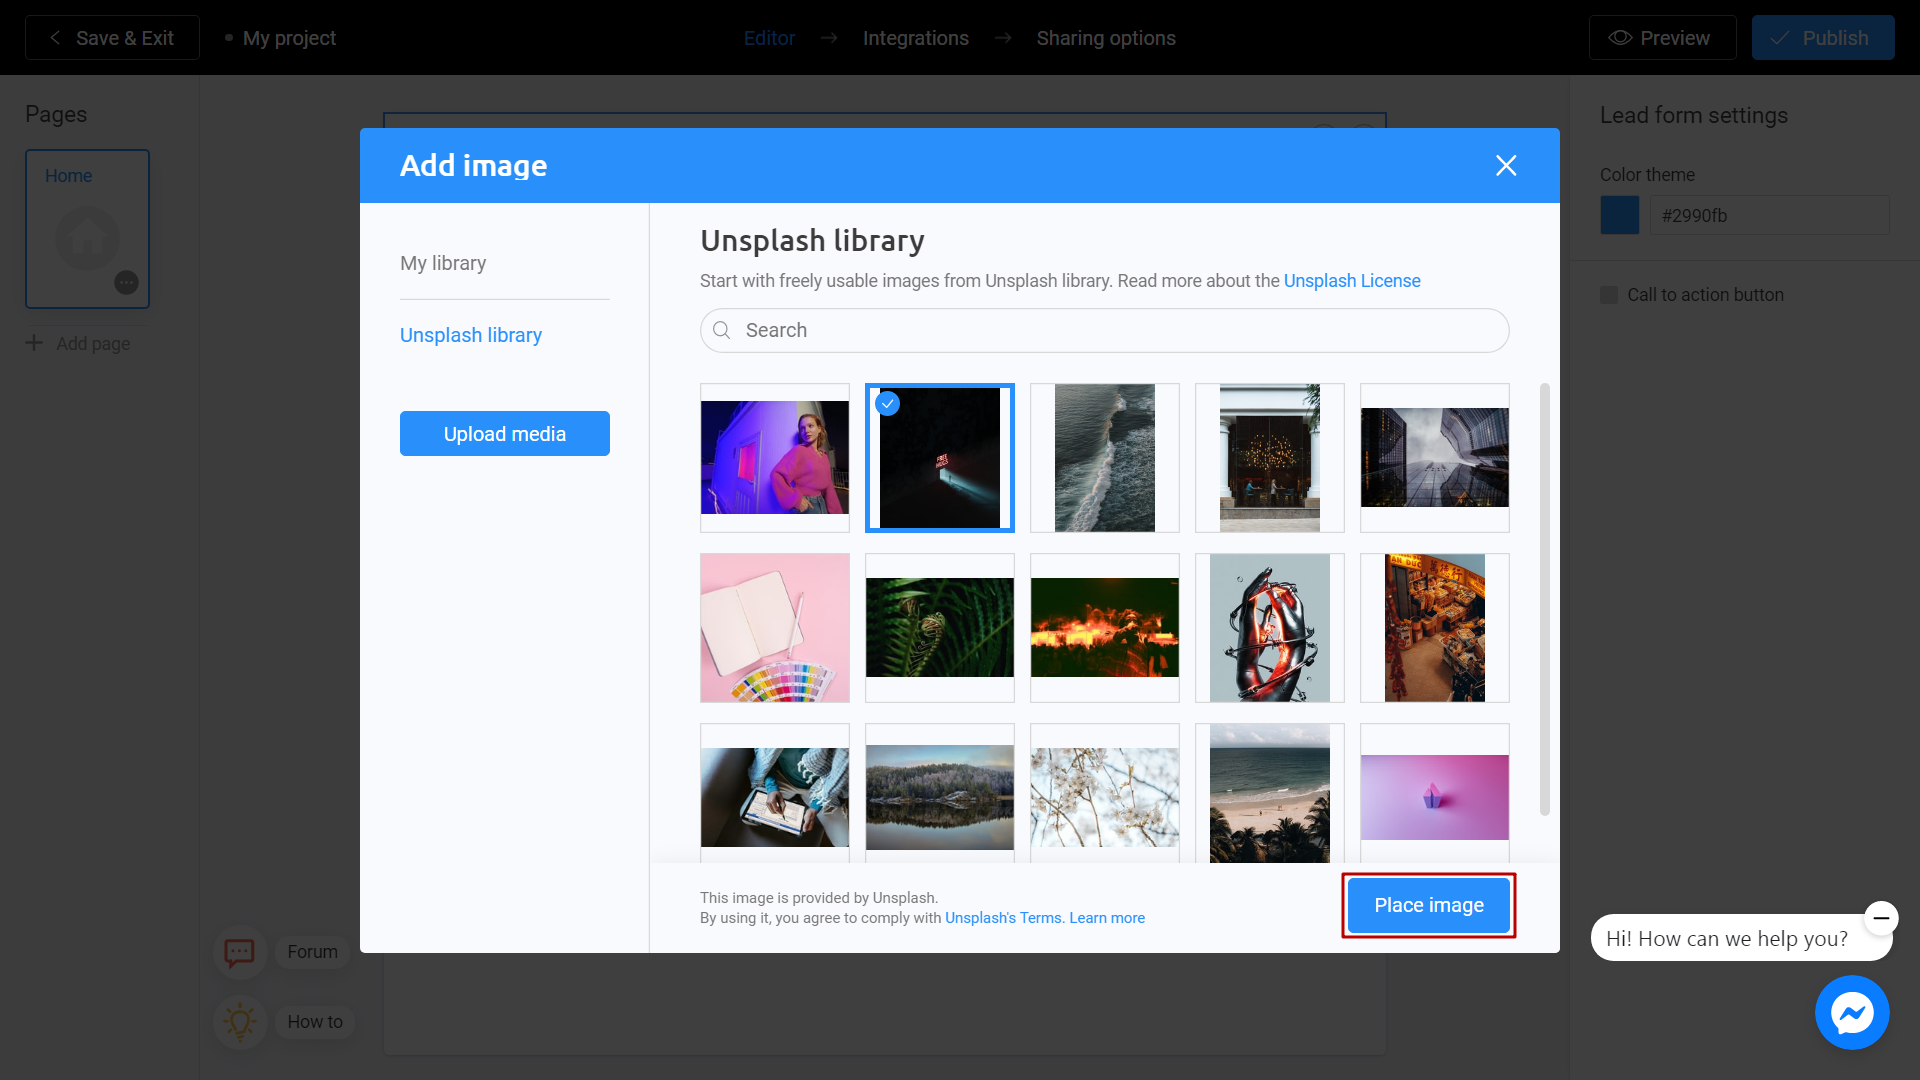
Unsplash Library - Direct access to the Unsplash stock photo service. Enter a subject into the search and select the image you like. Click Place Image.
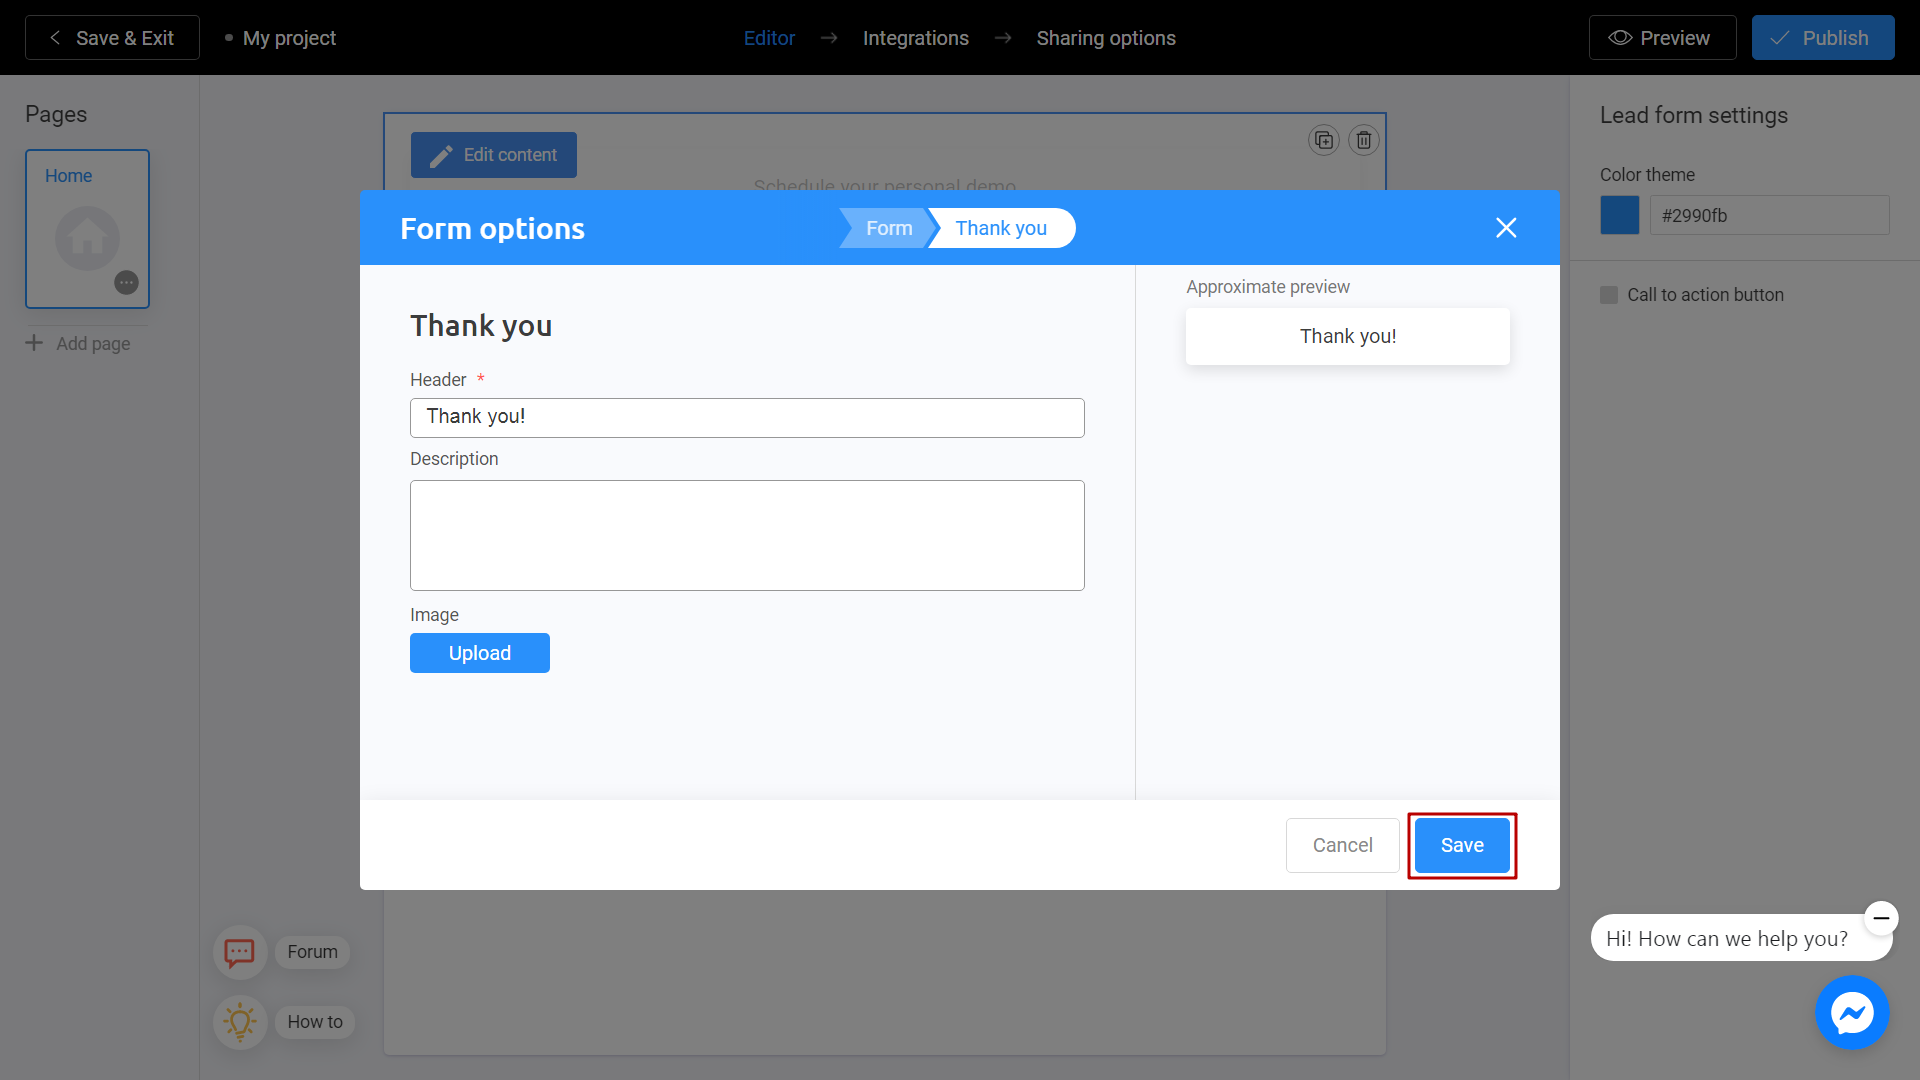
When finished, click on Save button.
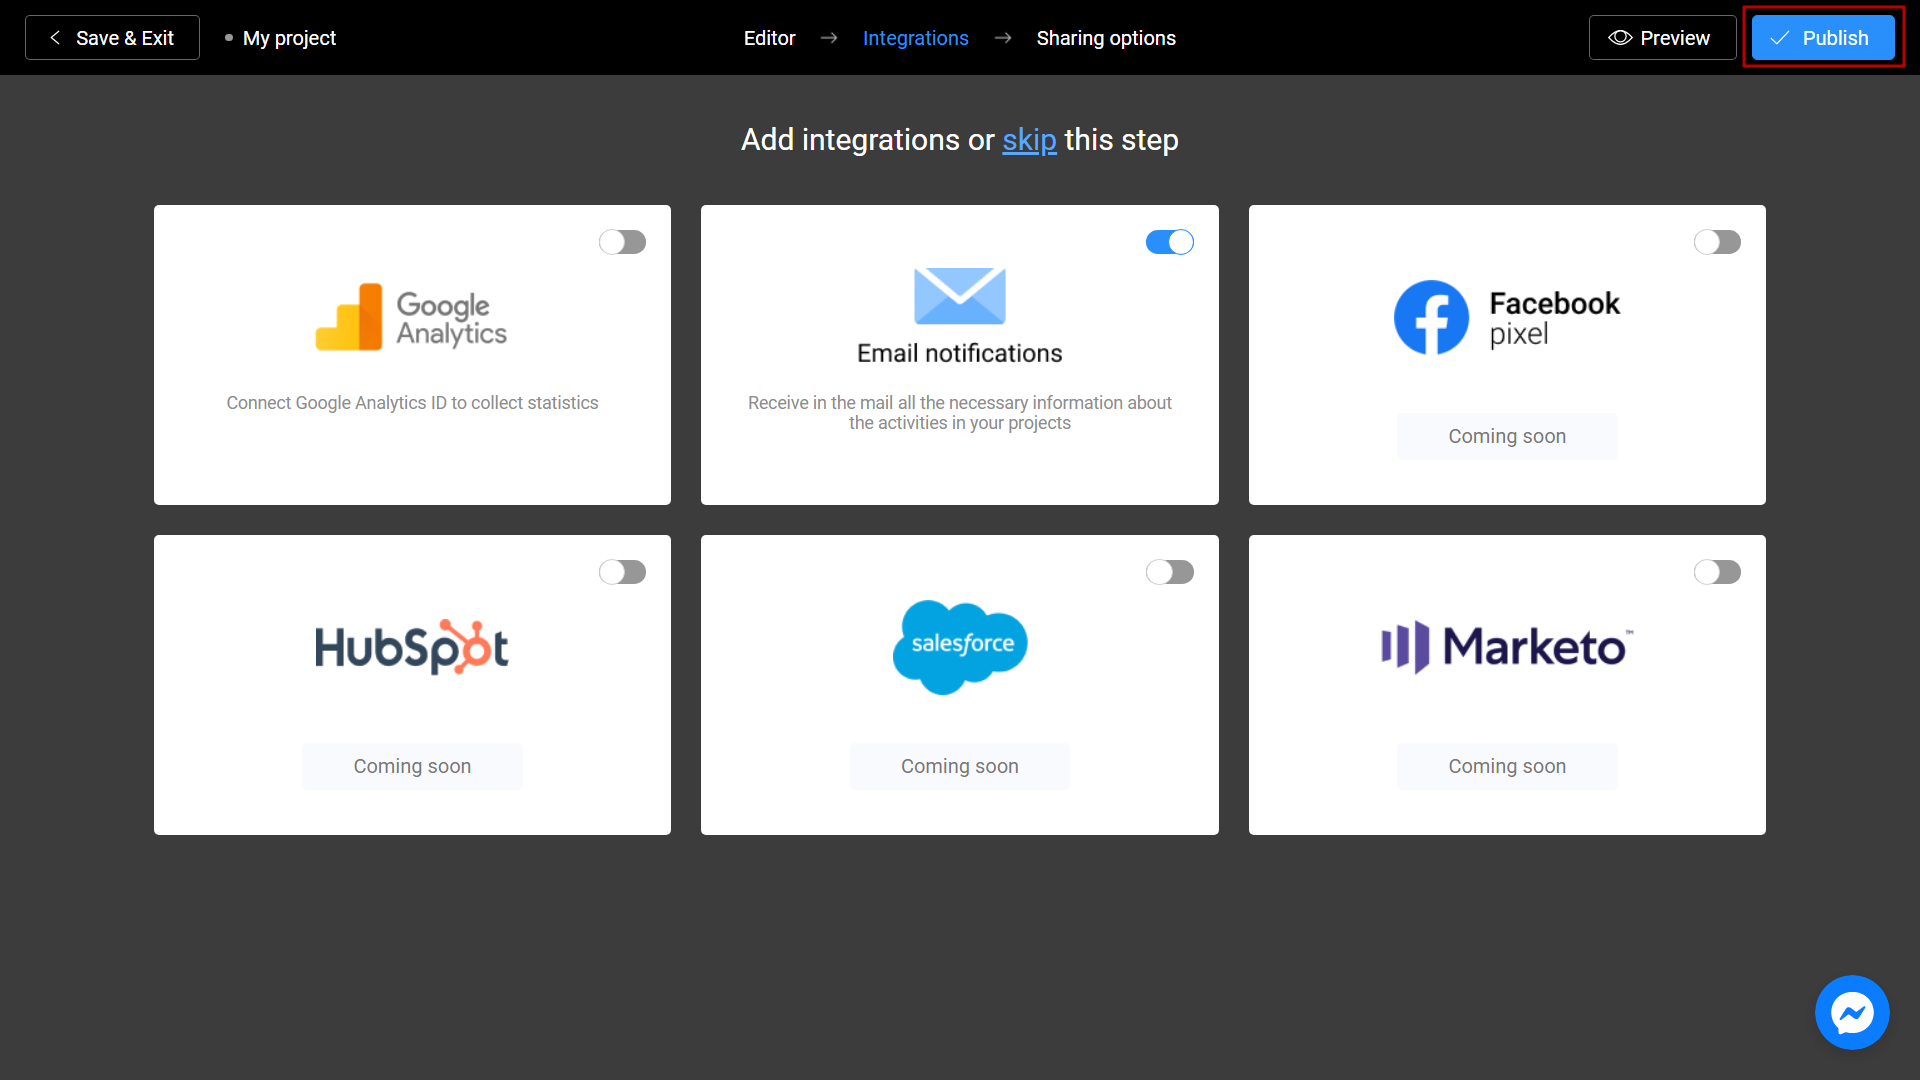
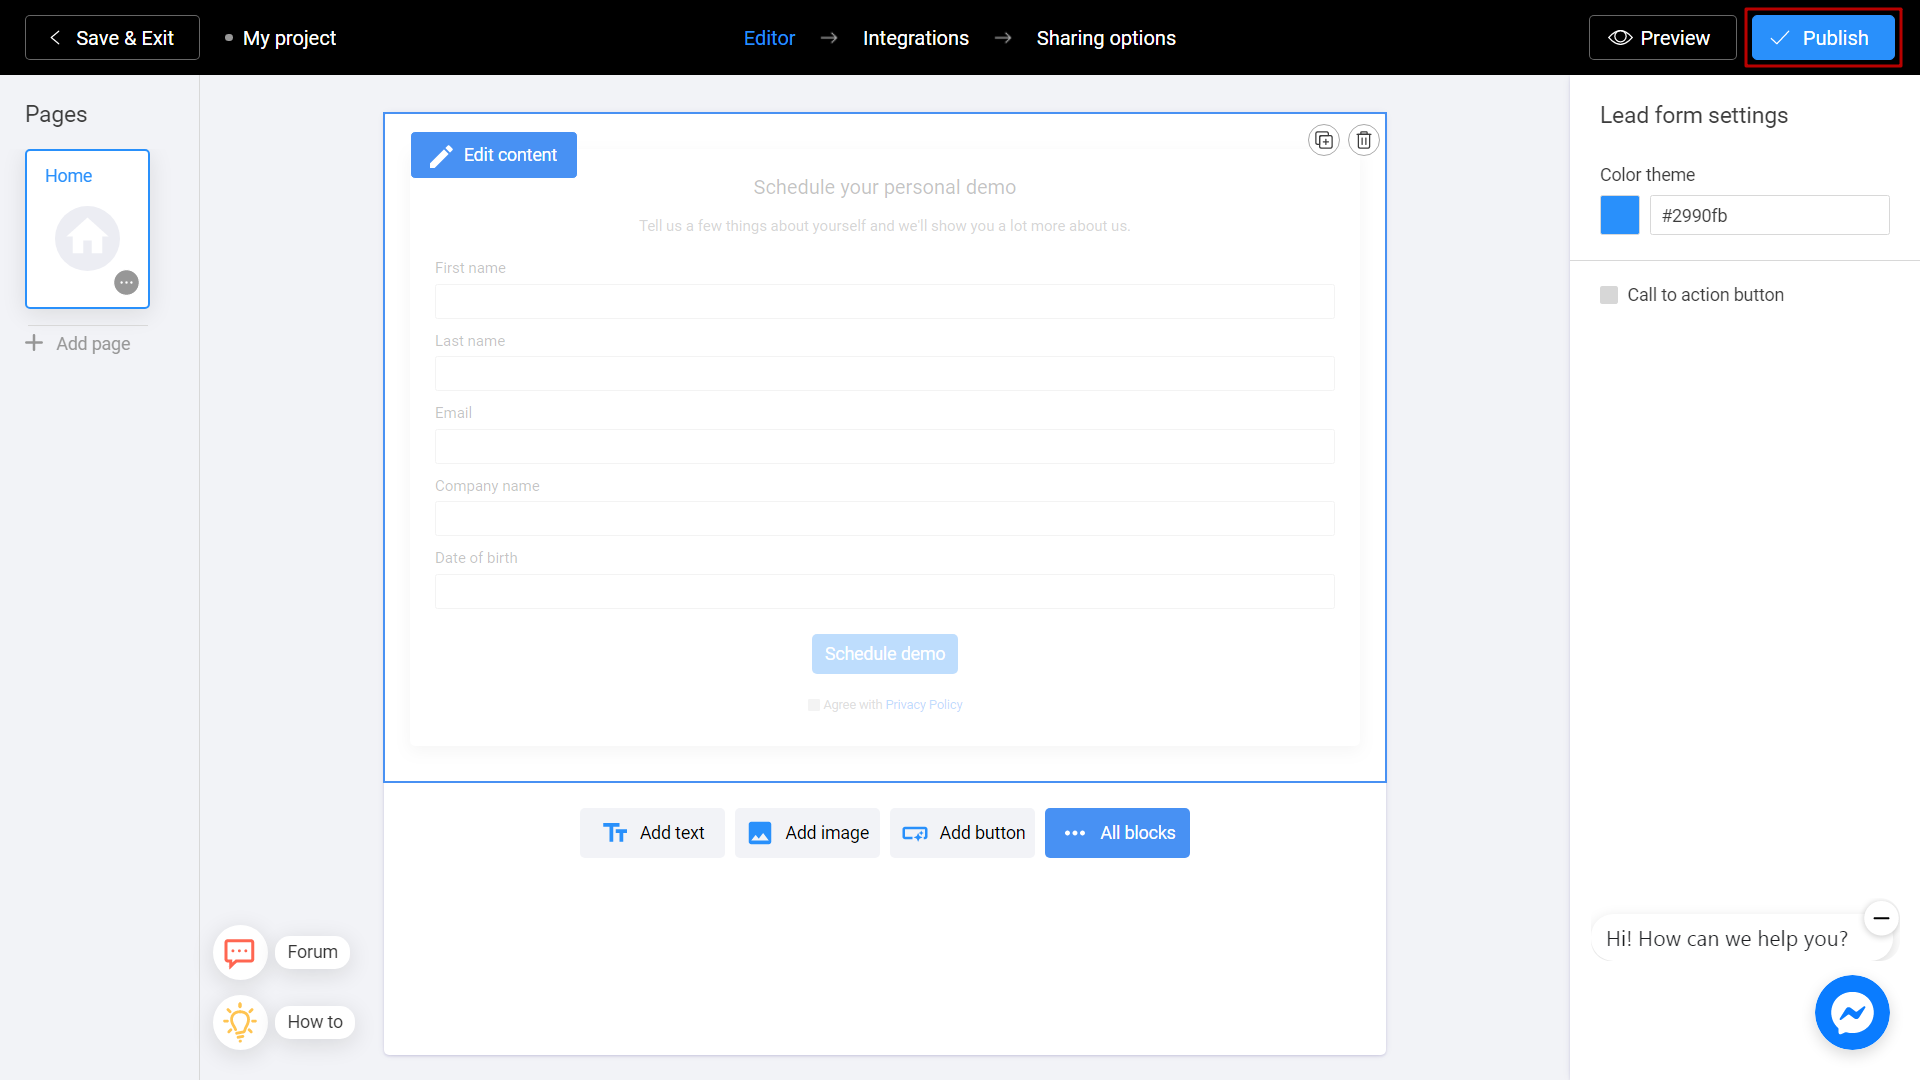
Finally, click on Publish if you want to share your project with your audience.
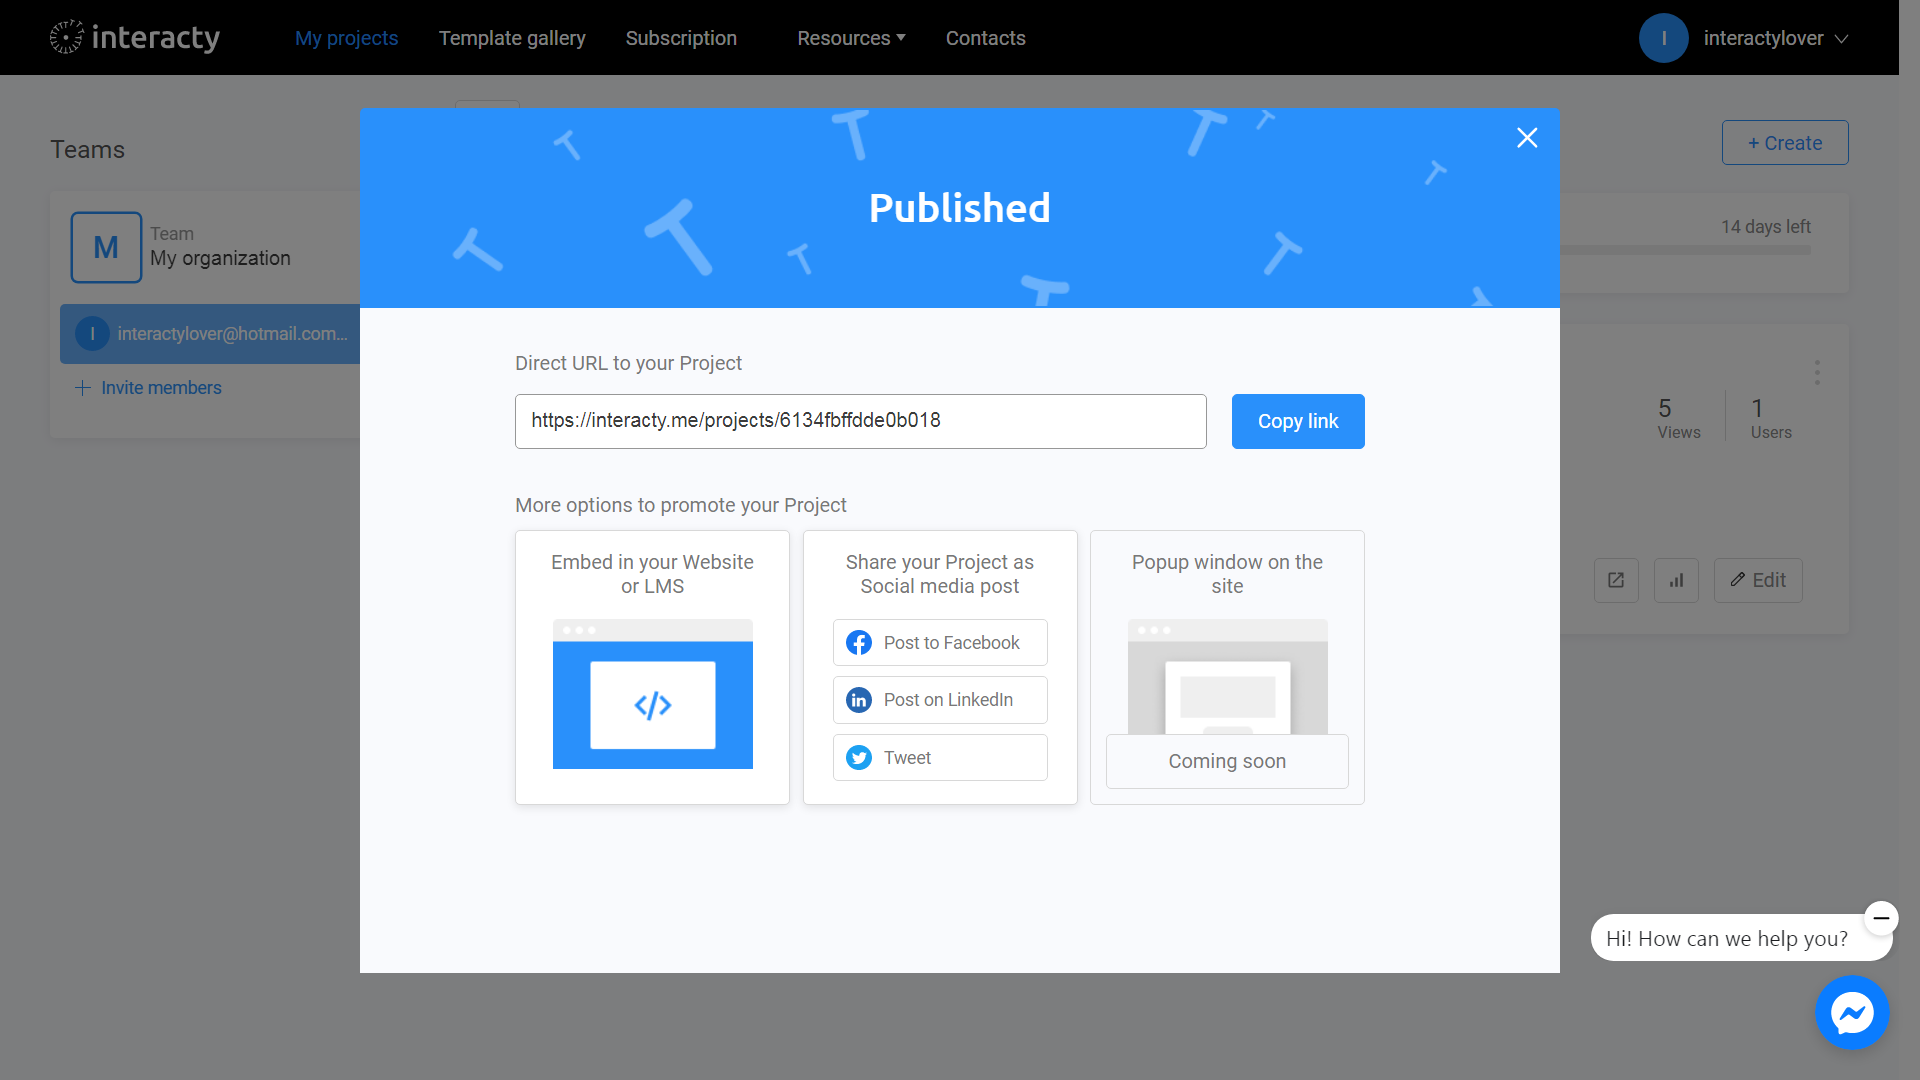
You can share by copy a link or choose any other convenient method.
Note: in preview mode data not collected. Please publish your project and test data collection.
Export Leads
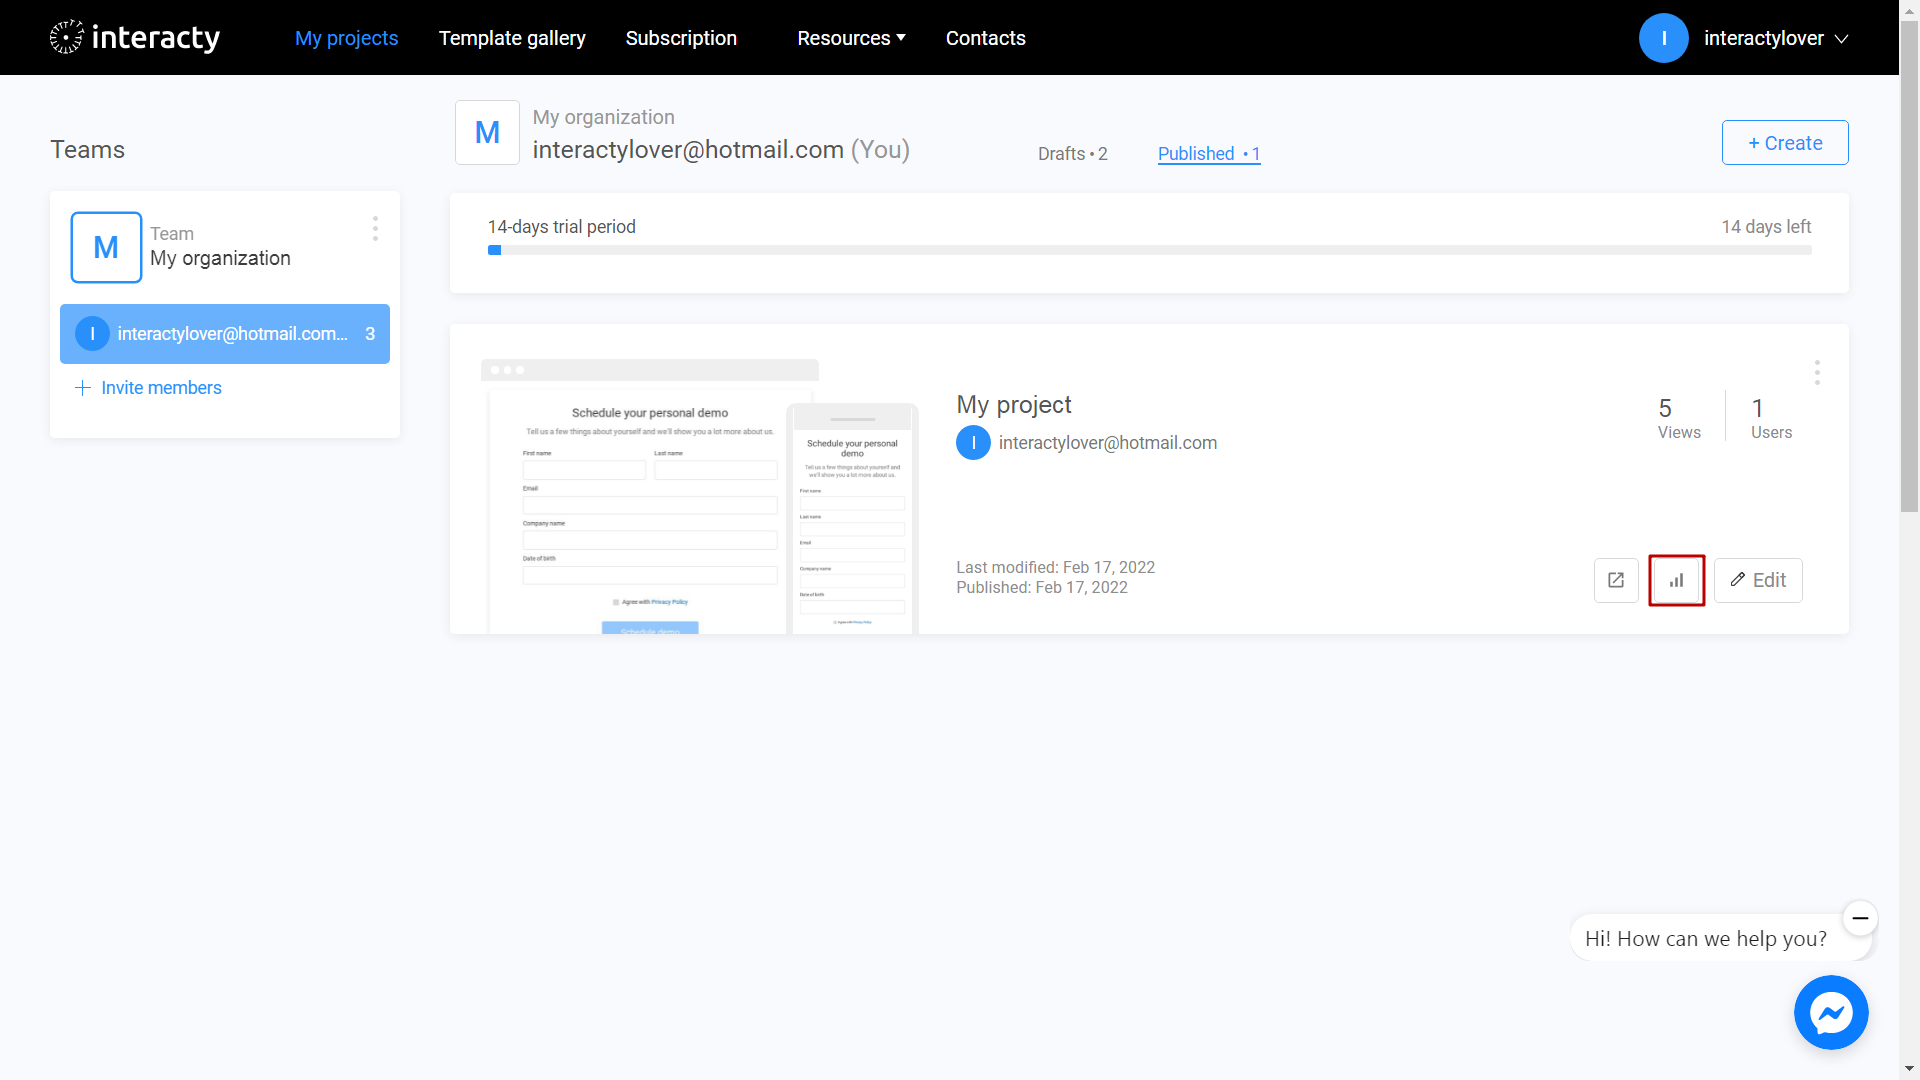
To export your lead, click on Statictics/leads button next to your project.
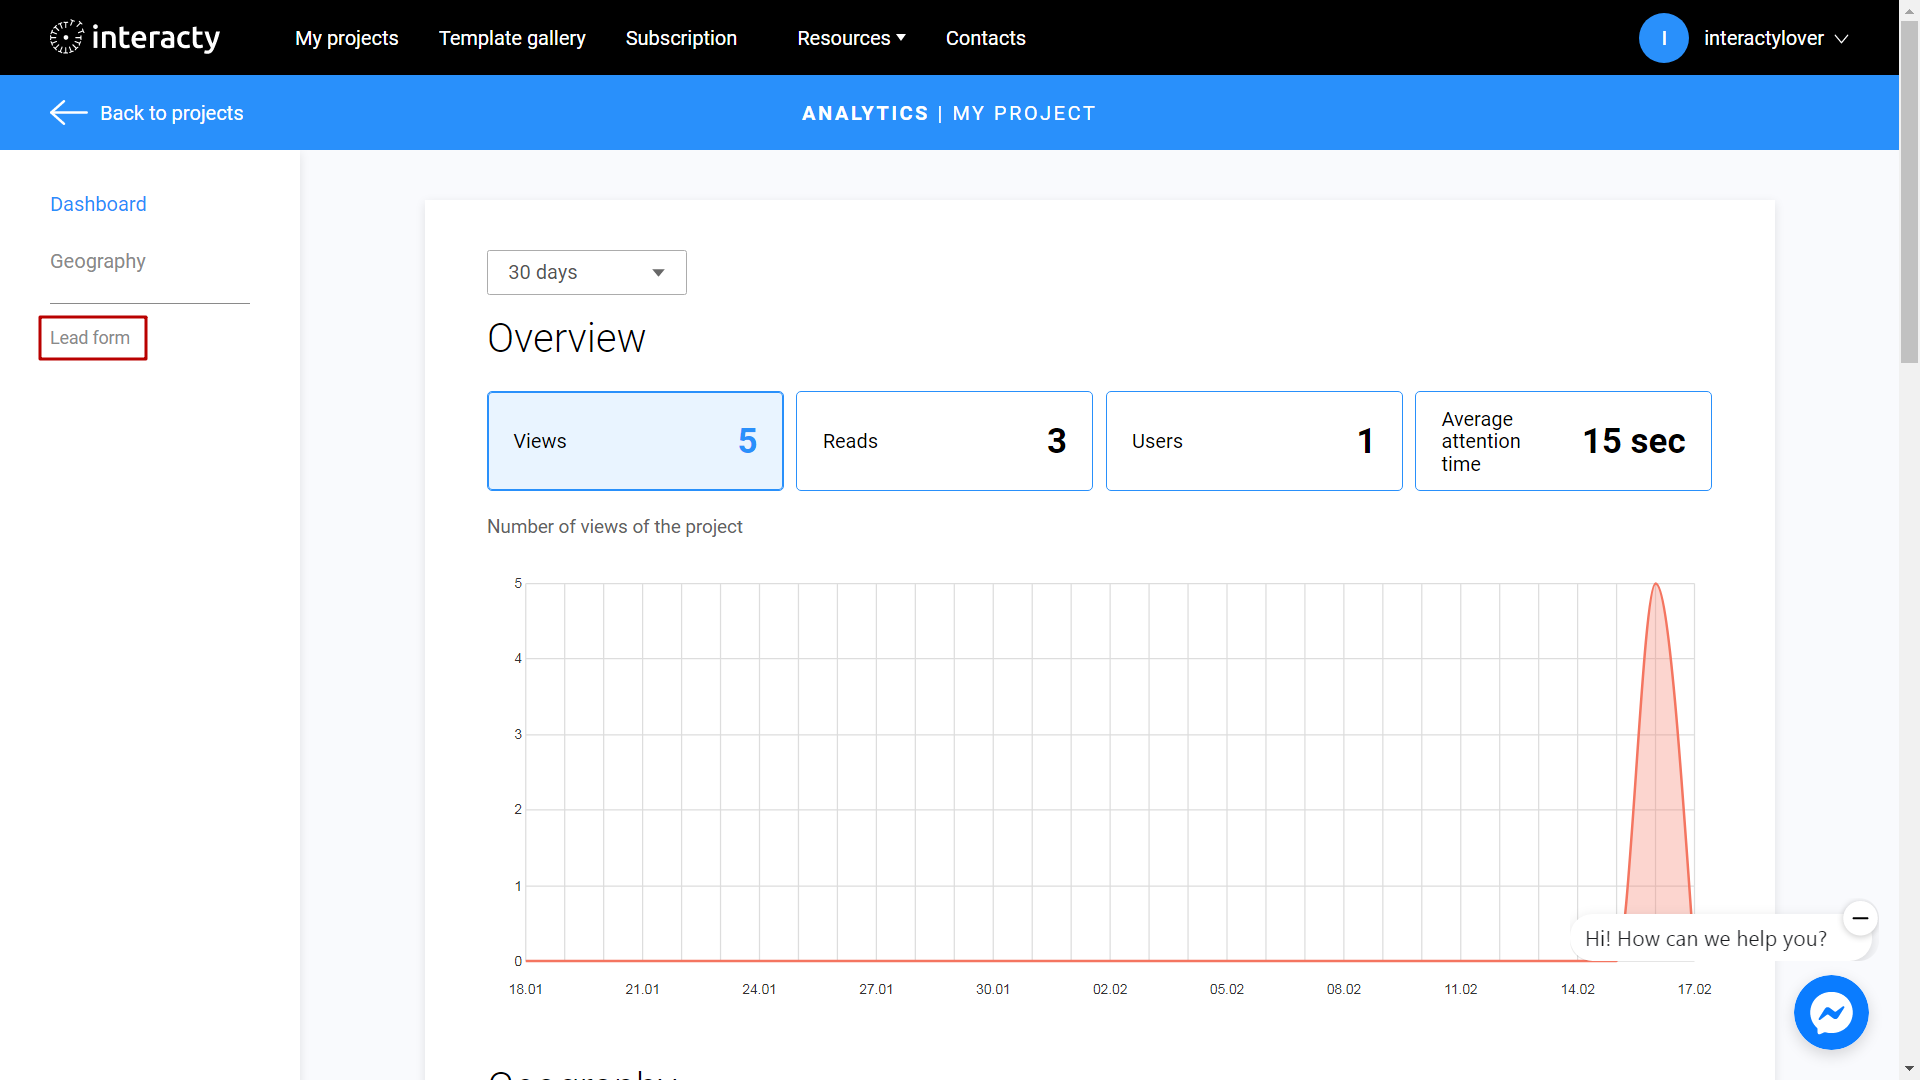
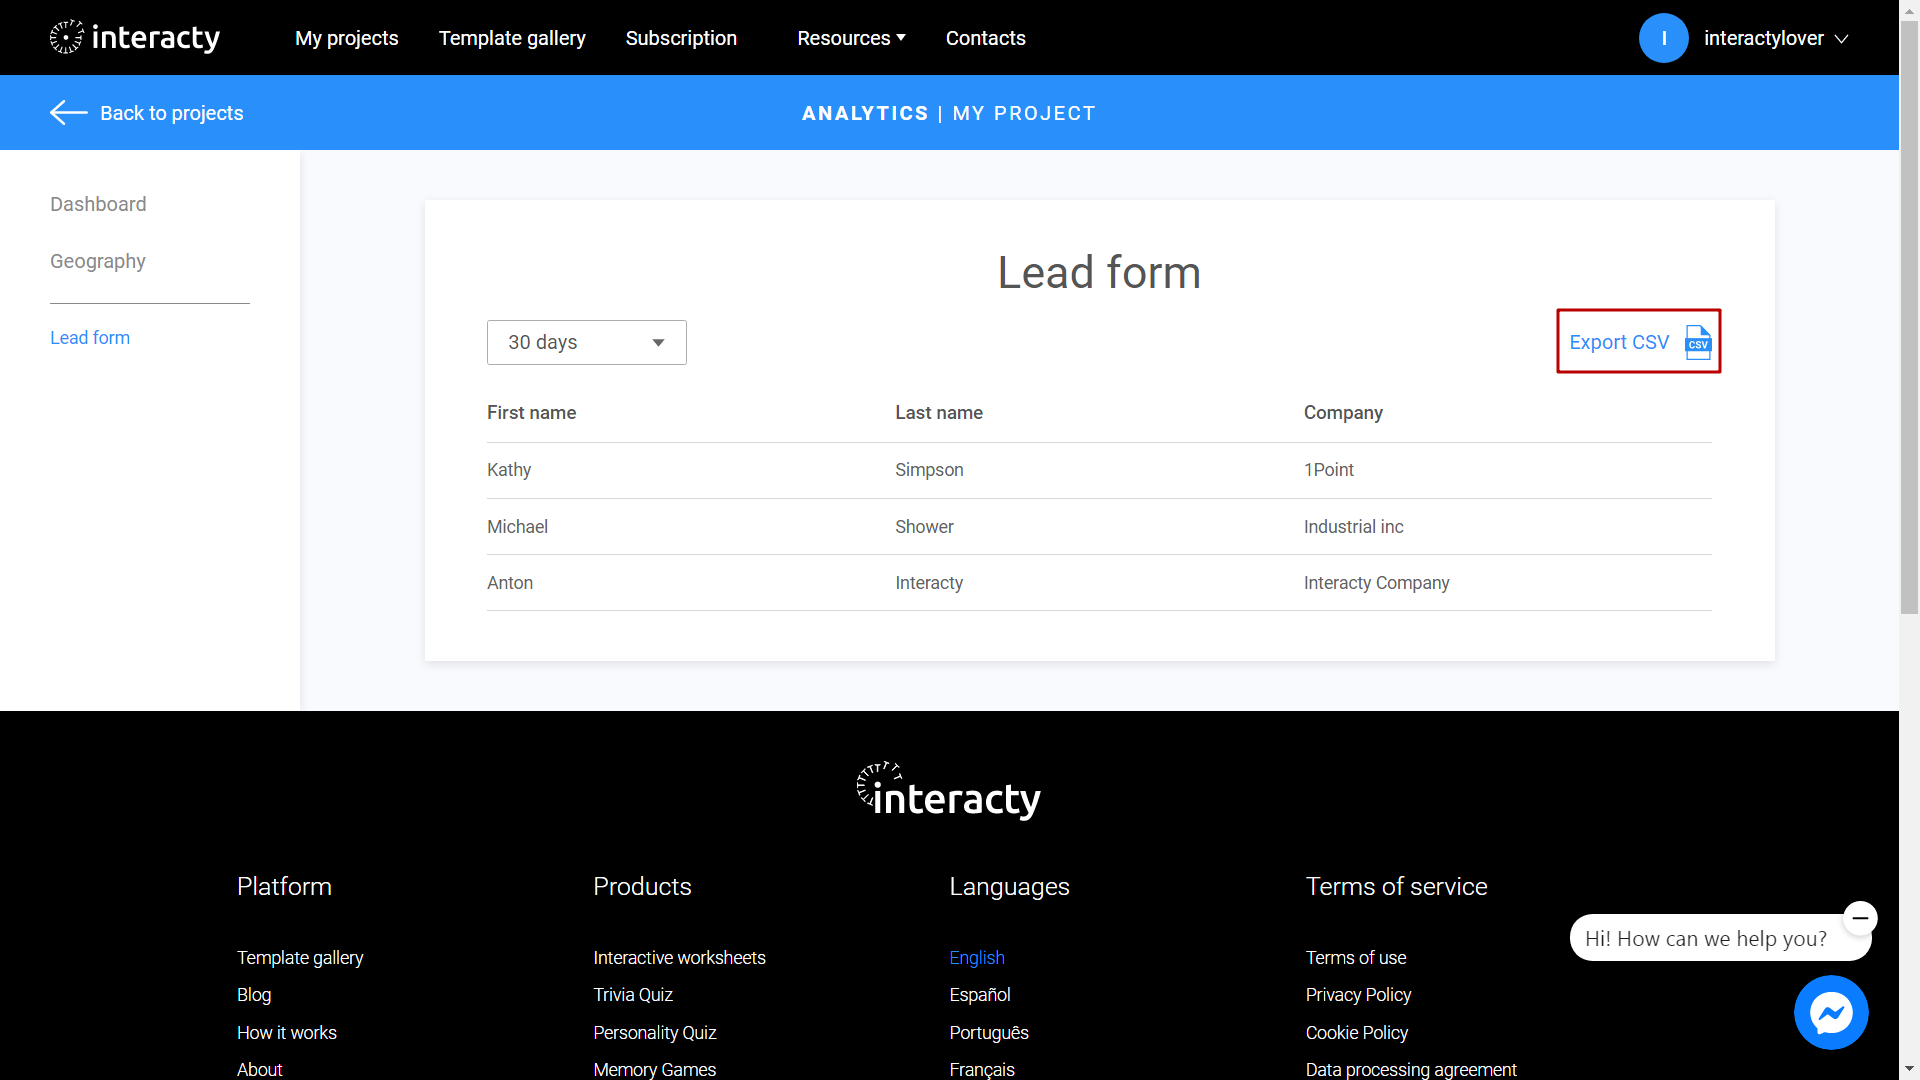
Find Lead Form on the left panel and click on it.
You will see a list of leads. Click Export CSV button to export all data.
Email notifications
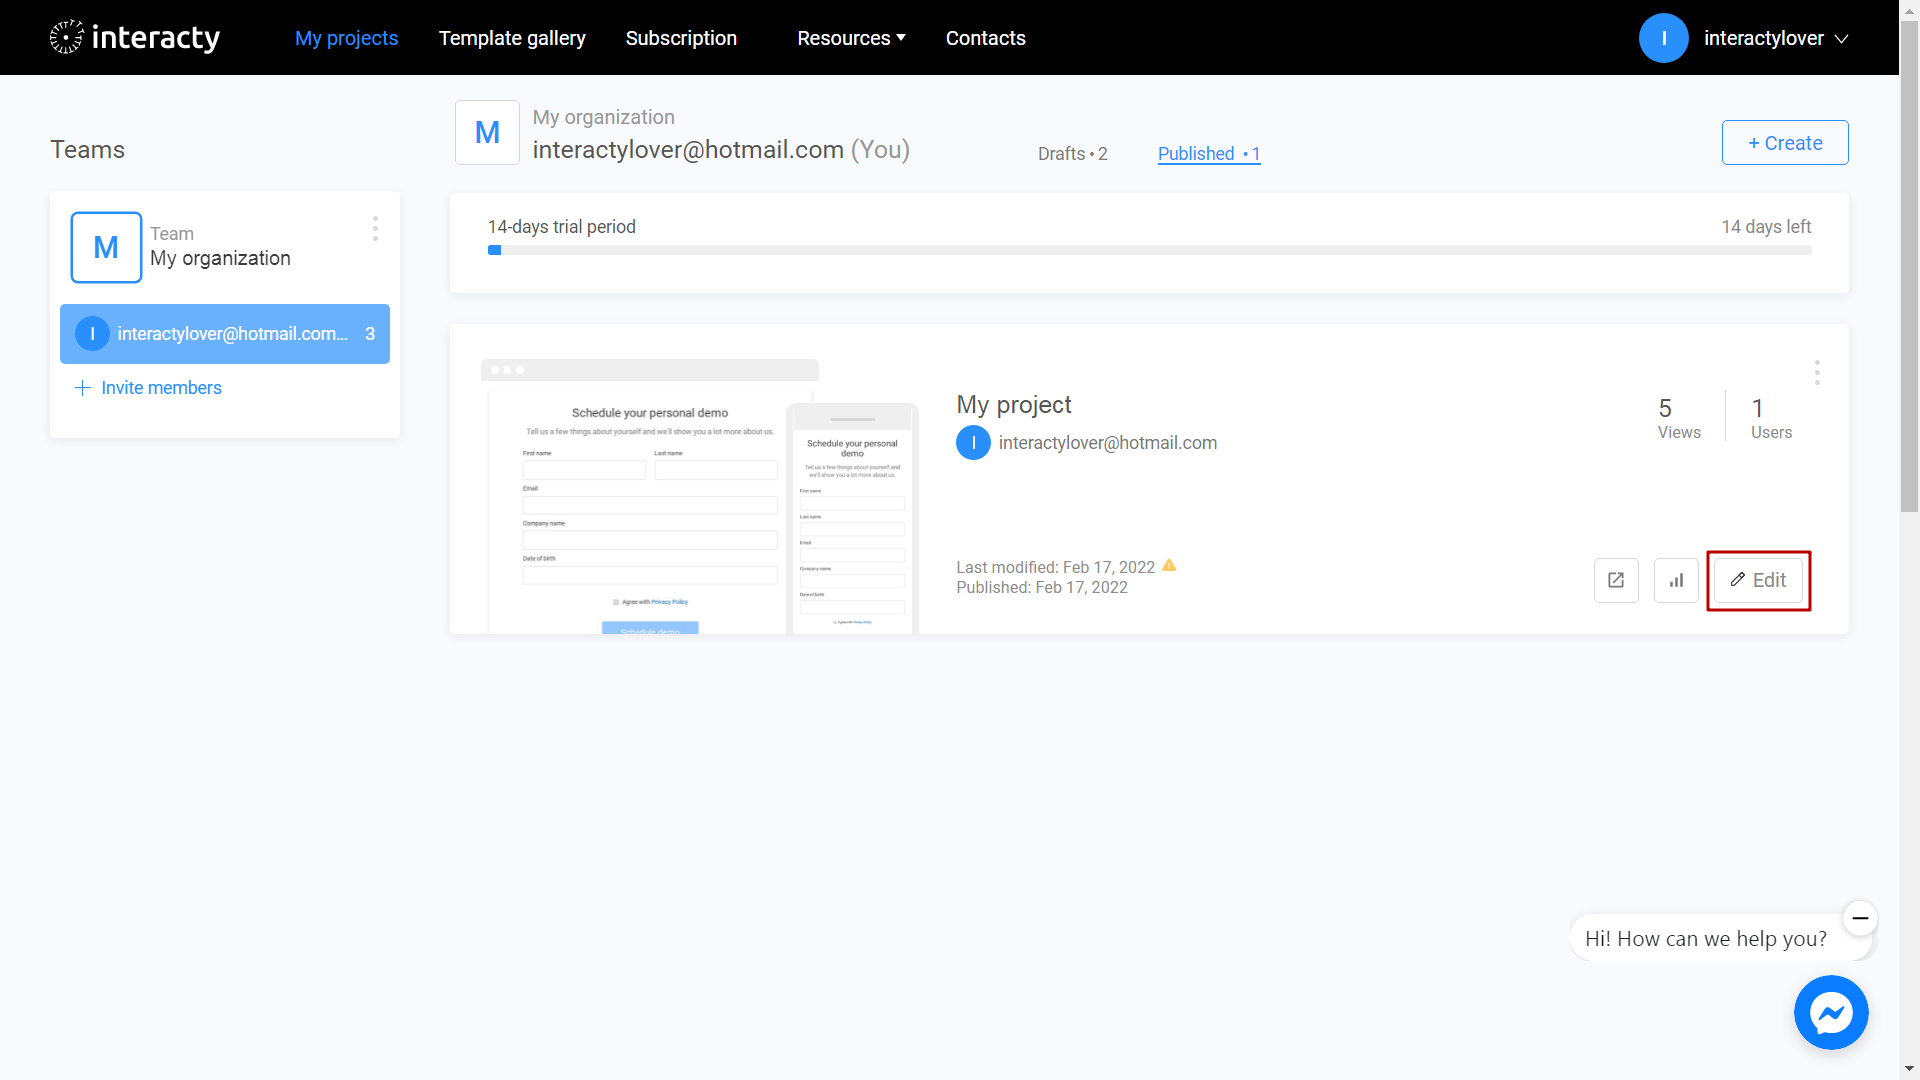
In Integrations section you may set up email notifications. When new data arrive you get an email. To do this on your published project, click on Edit button next to your project.
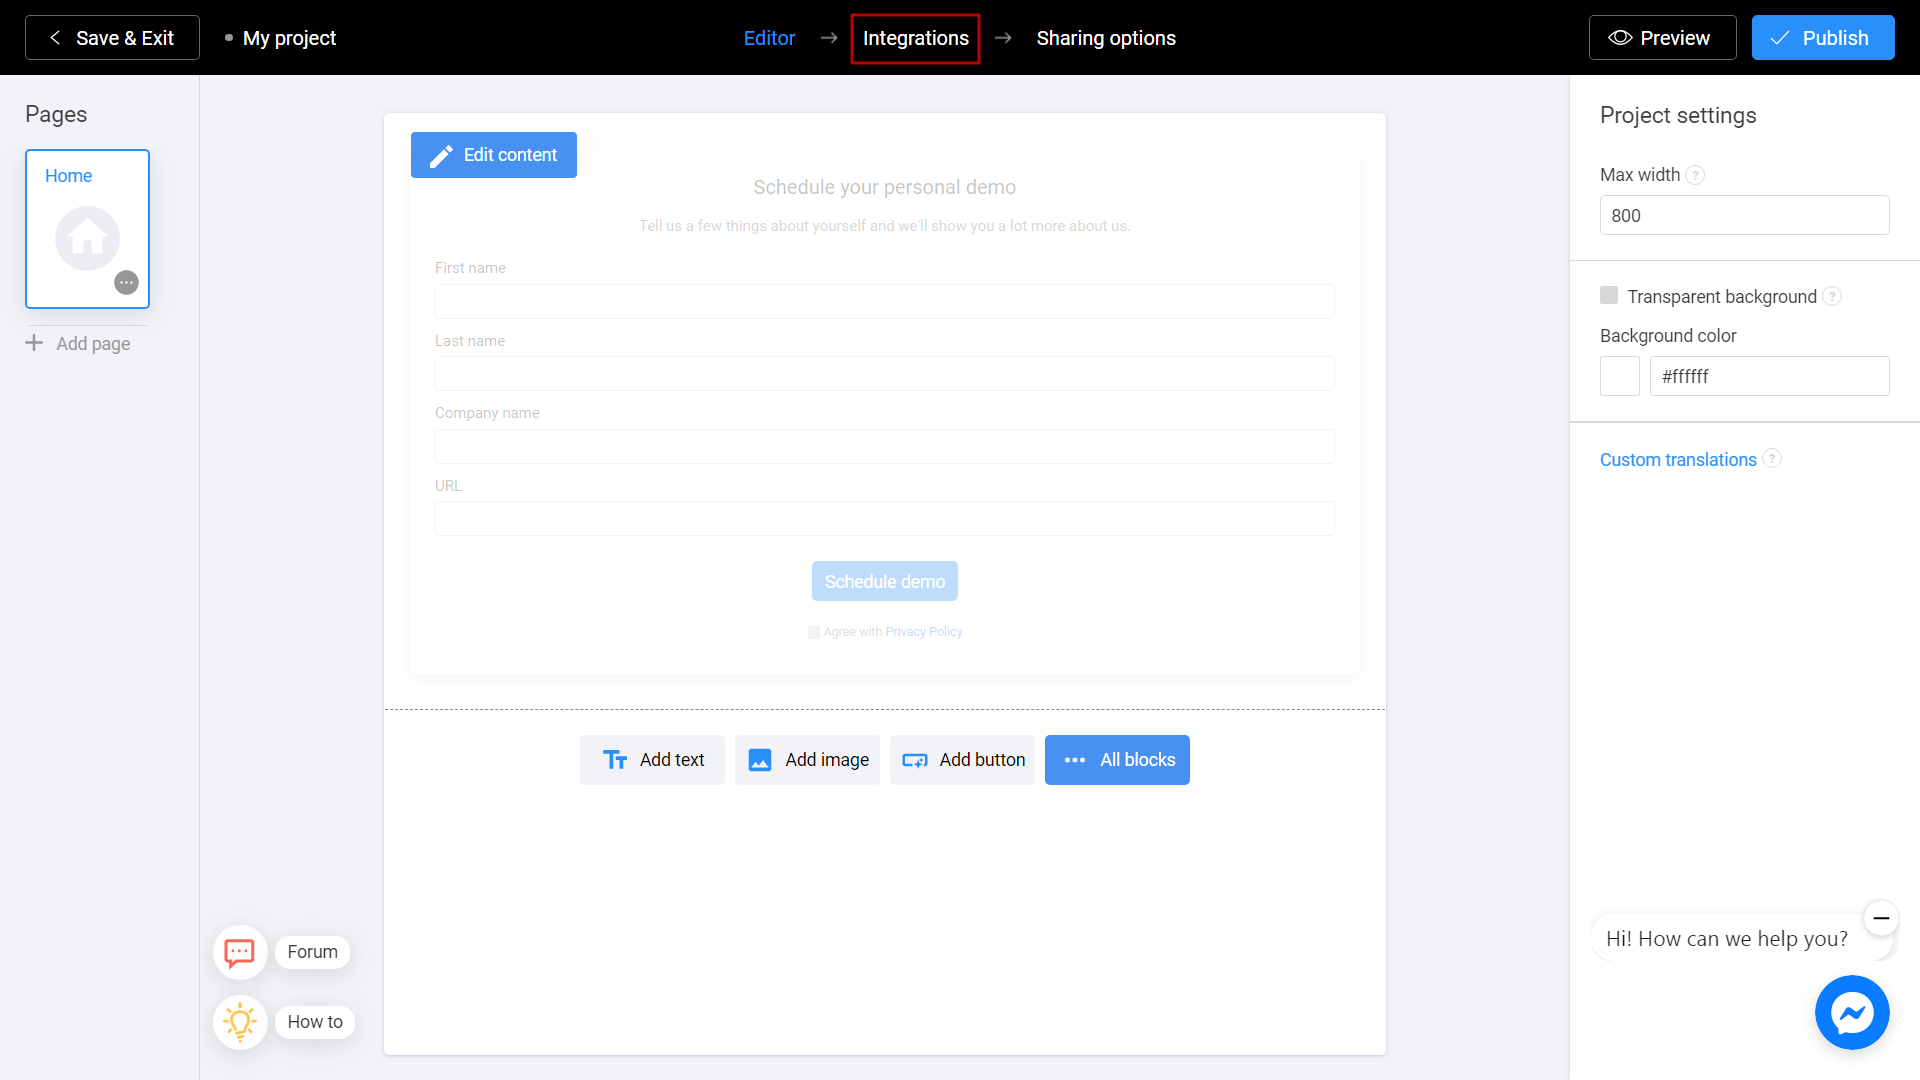
Choose Integrations section.
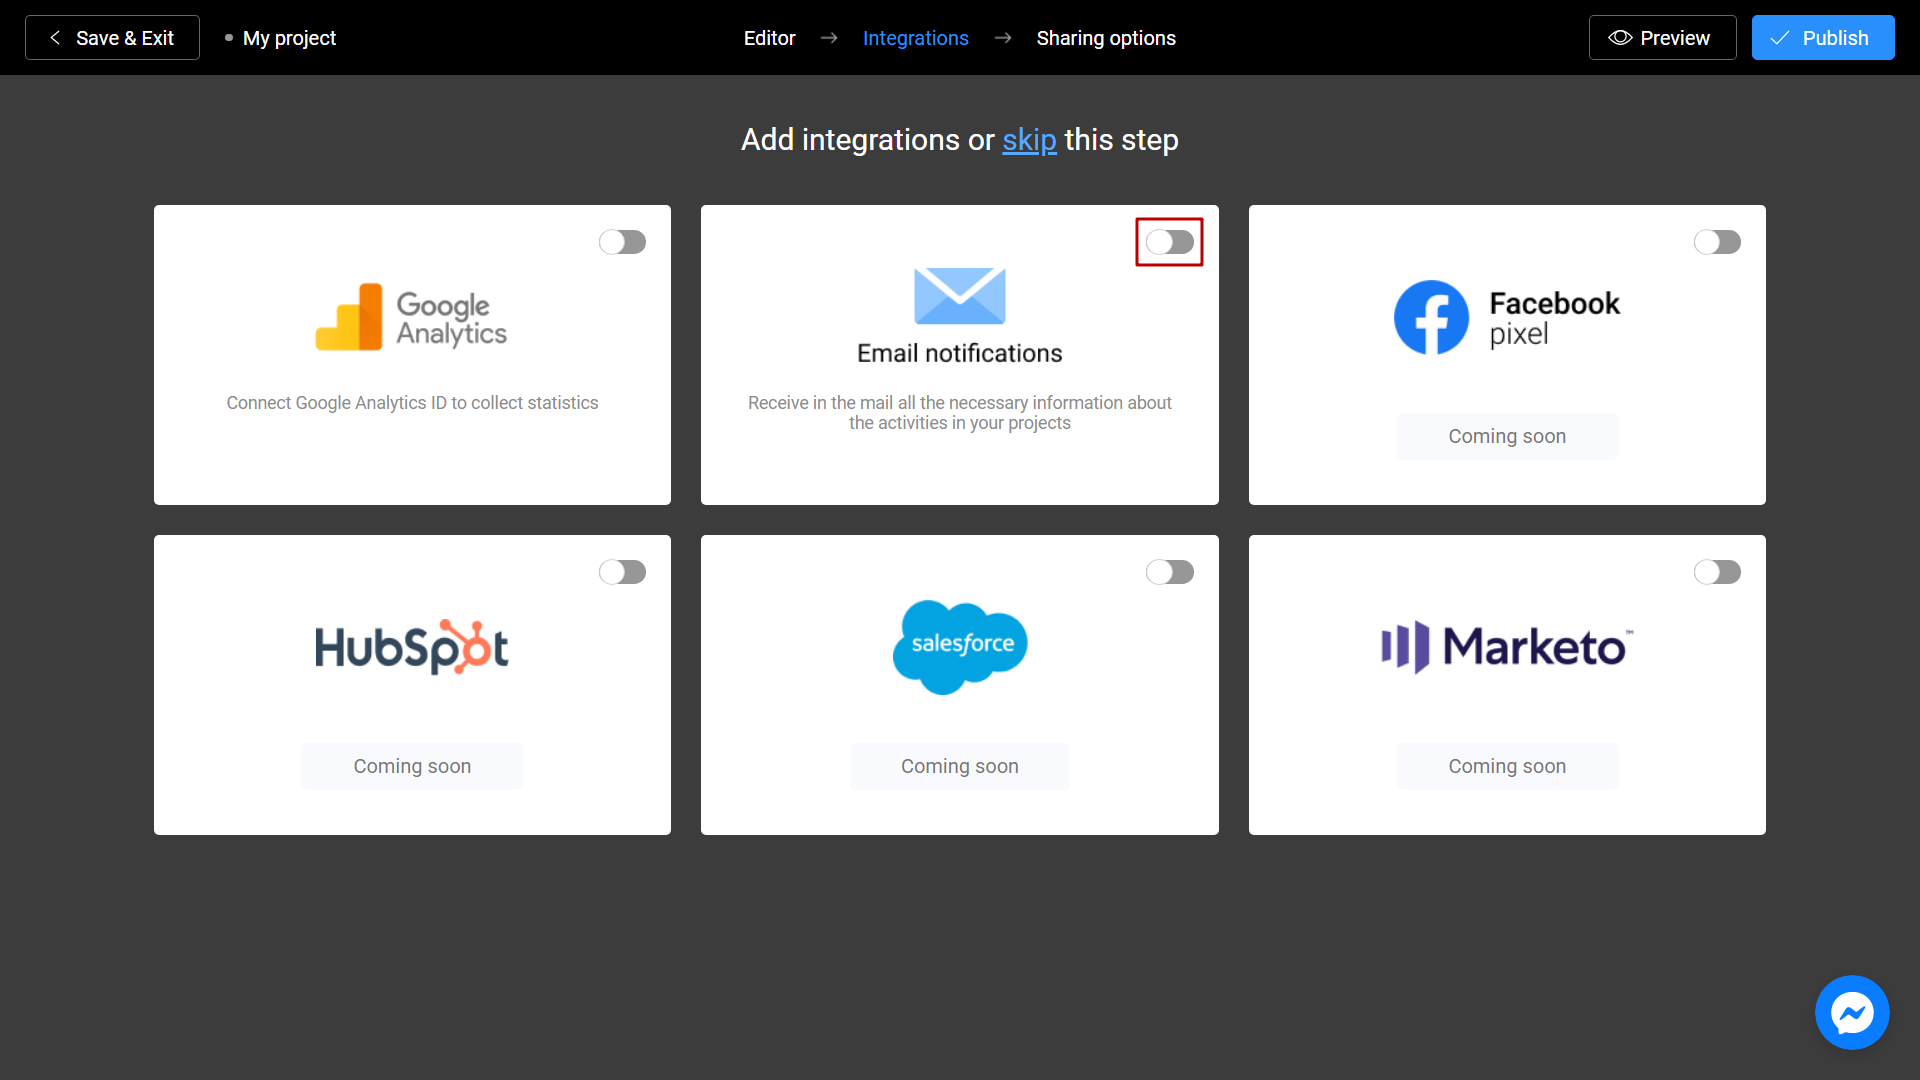
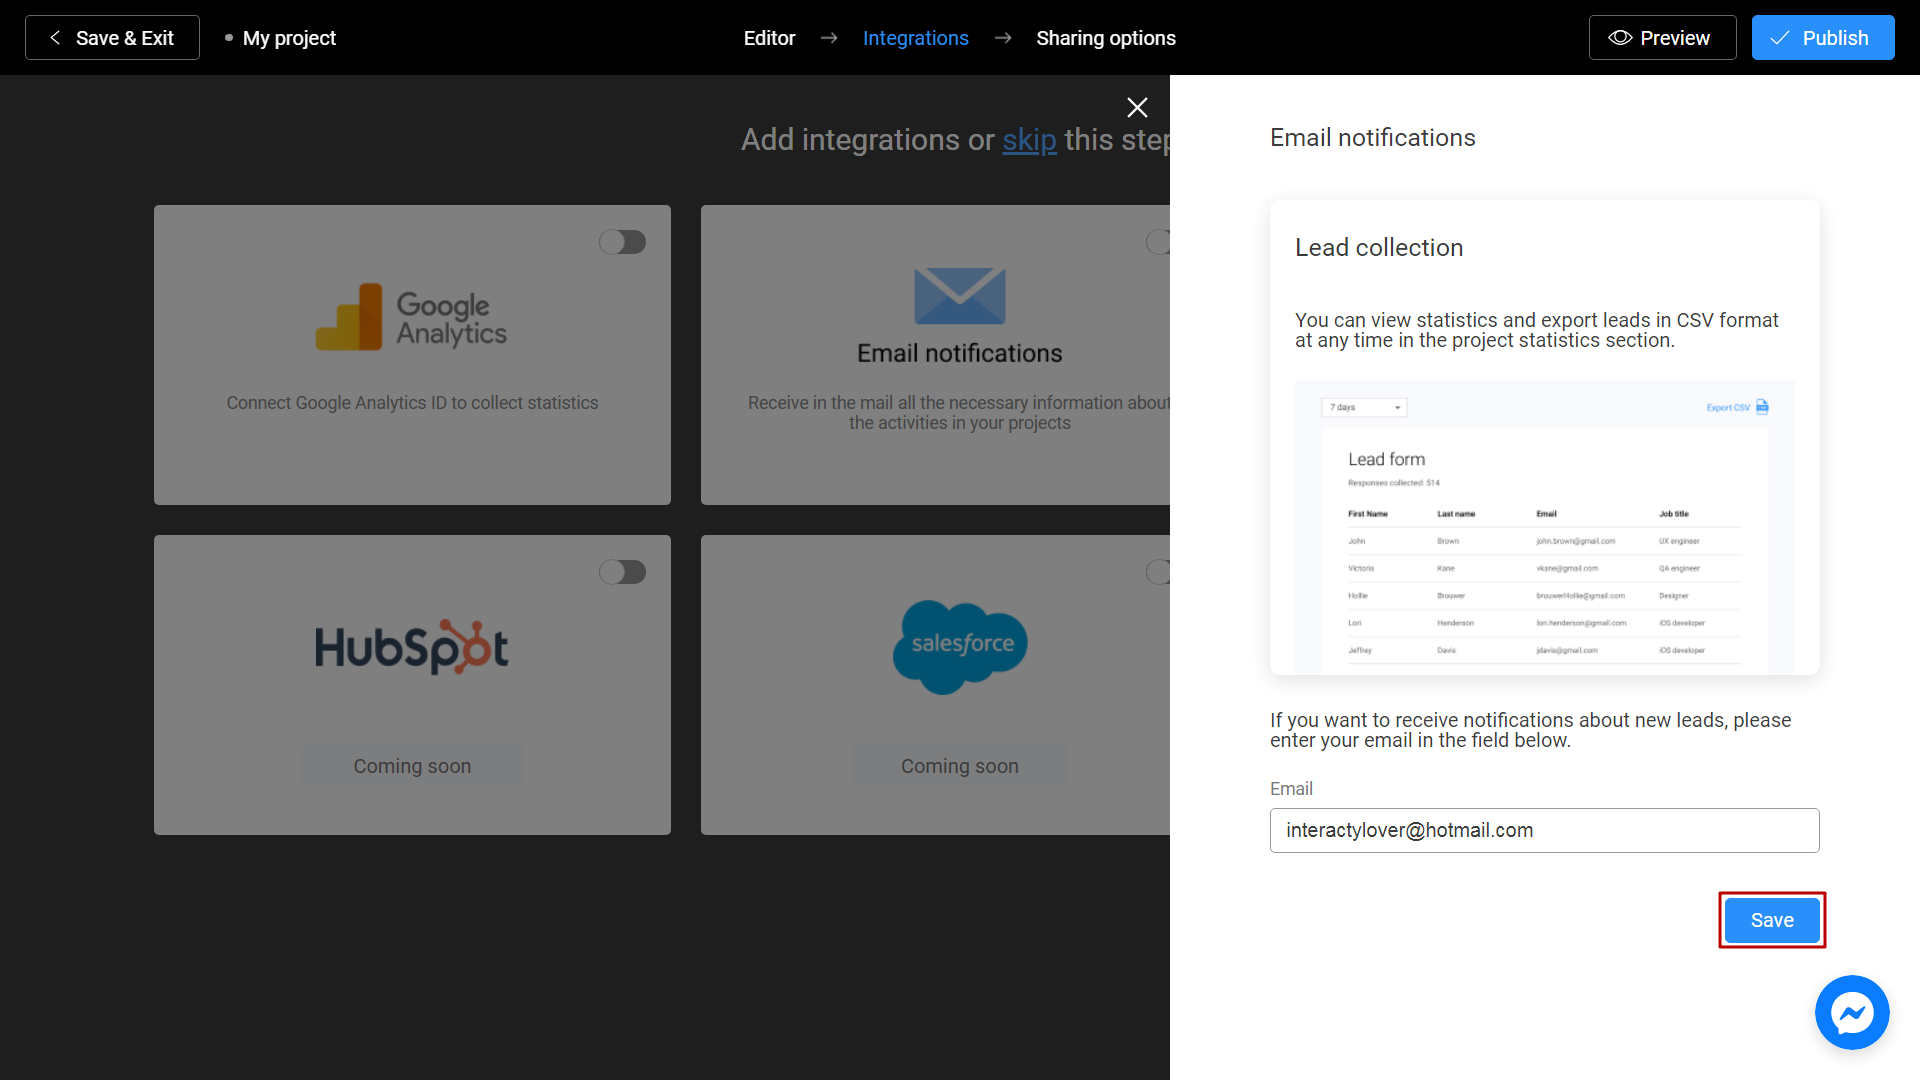
Turn on Email notifications.
Enter your email and click Save.
Done! To save your changes, click on Publish button.
