Turn your image into an interactive map! Tag images with instant access to additional information, close-ups of images (including GIFs), web links and buttons.
Learn to create an Interactive Image with this video tutorial:
Beginning of work
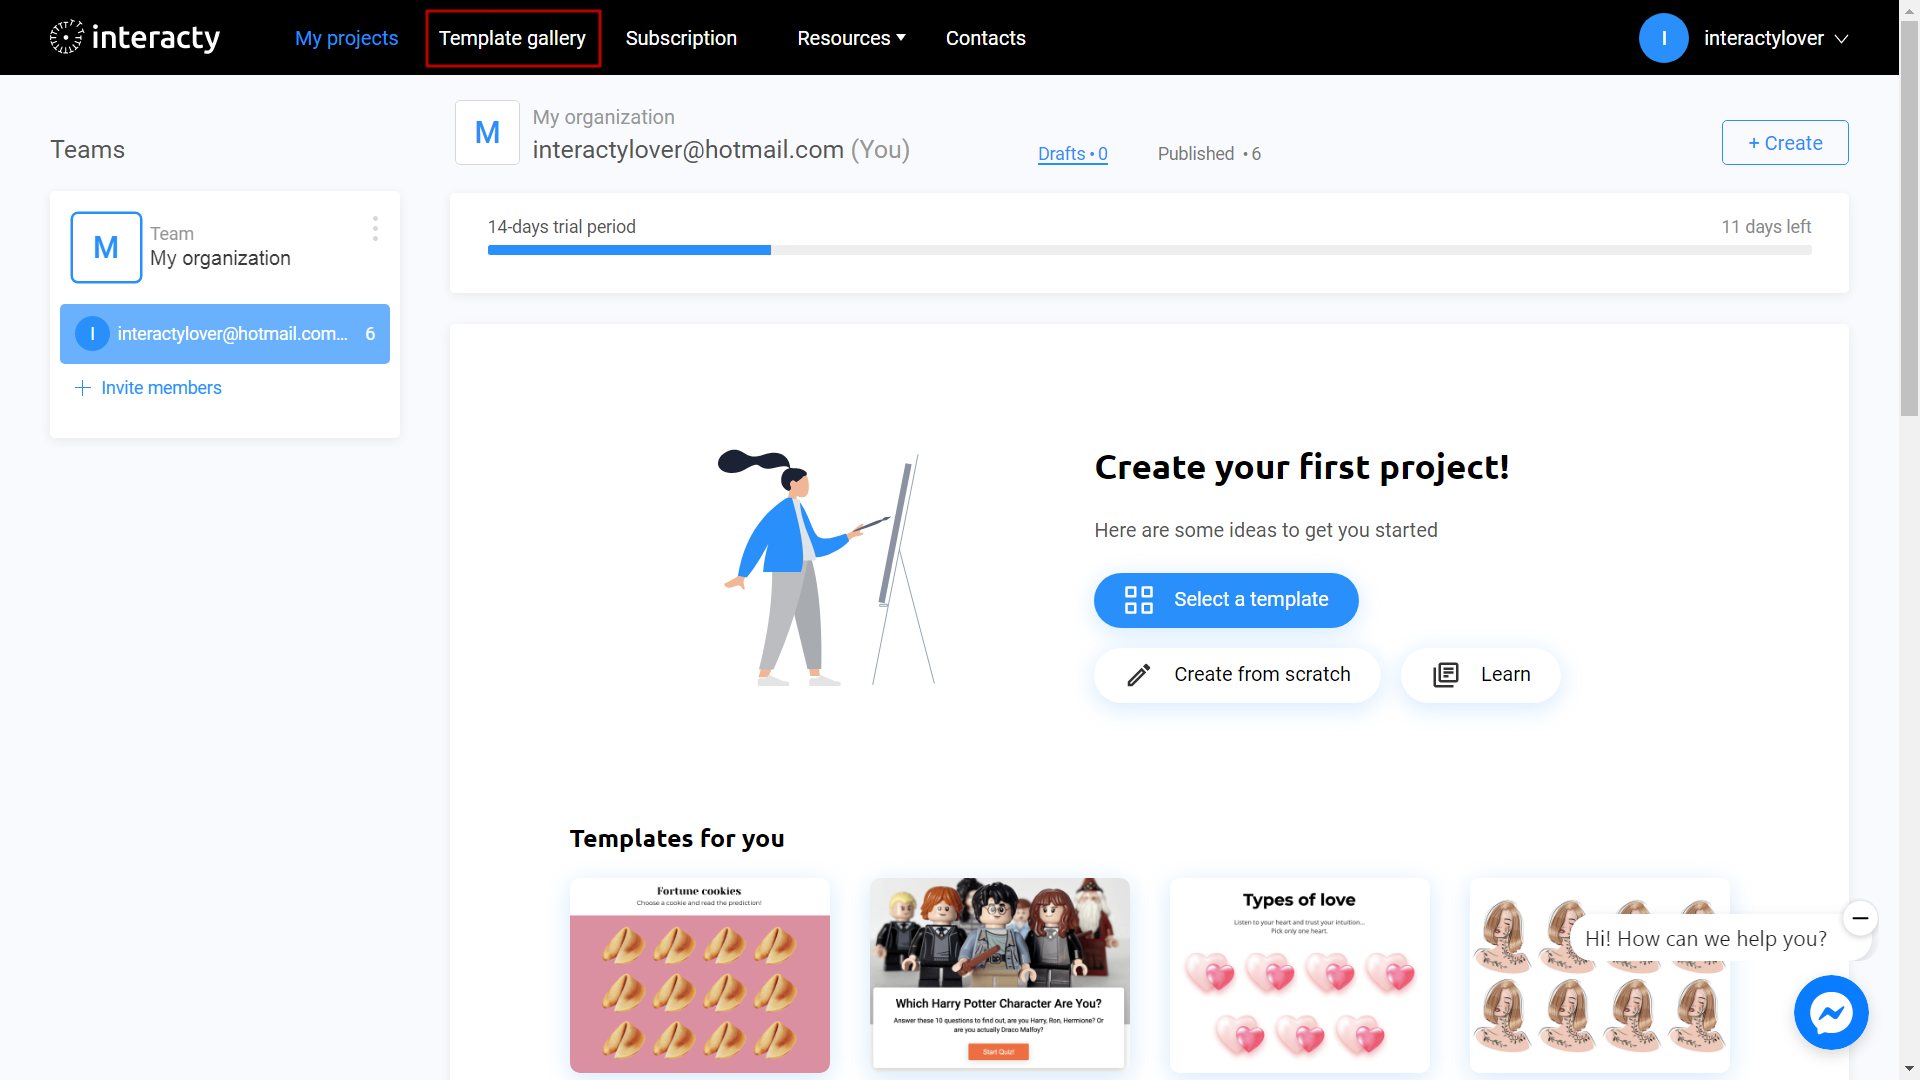
Sign in to your profile on interacty.me. To create Interactive image, click Template Gallery button.
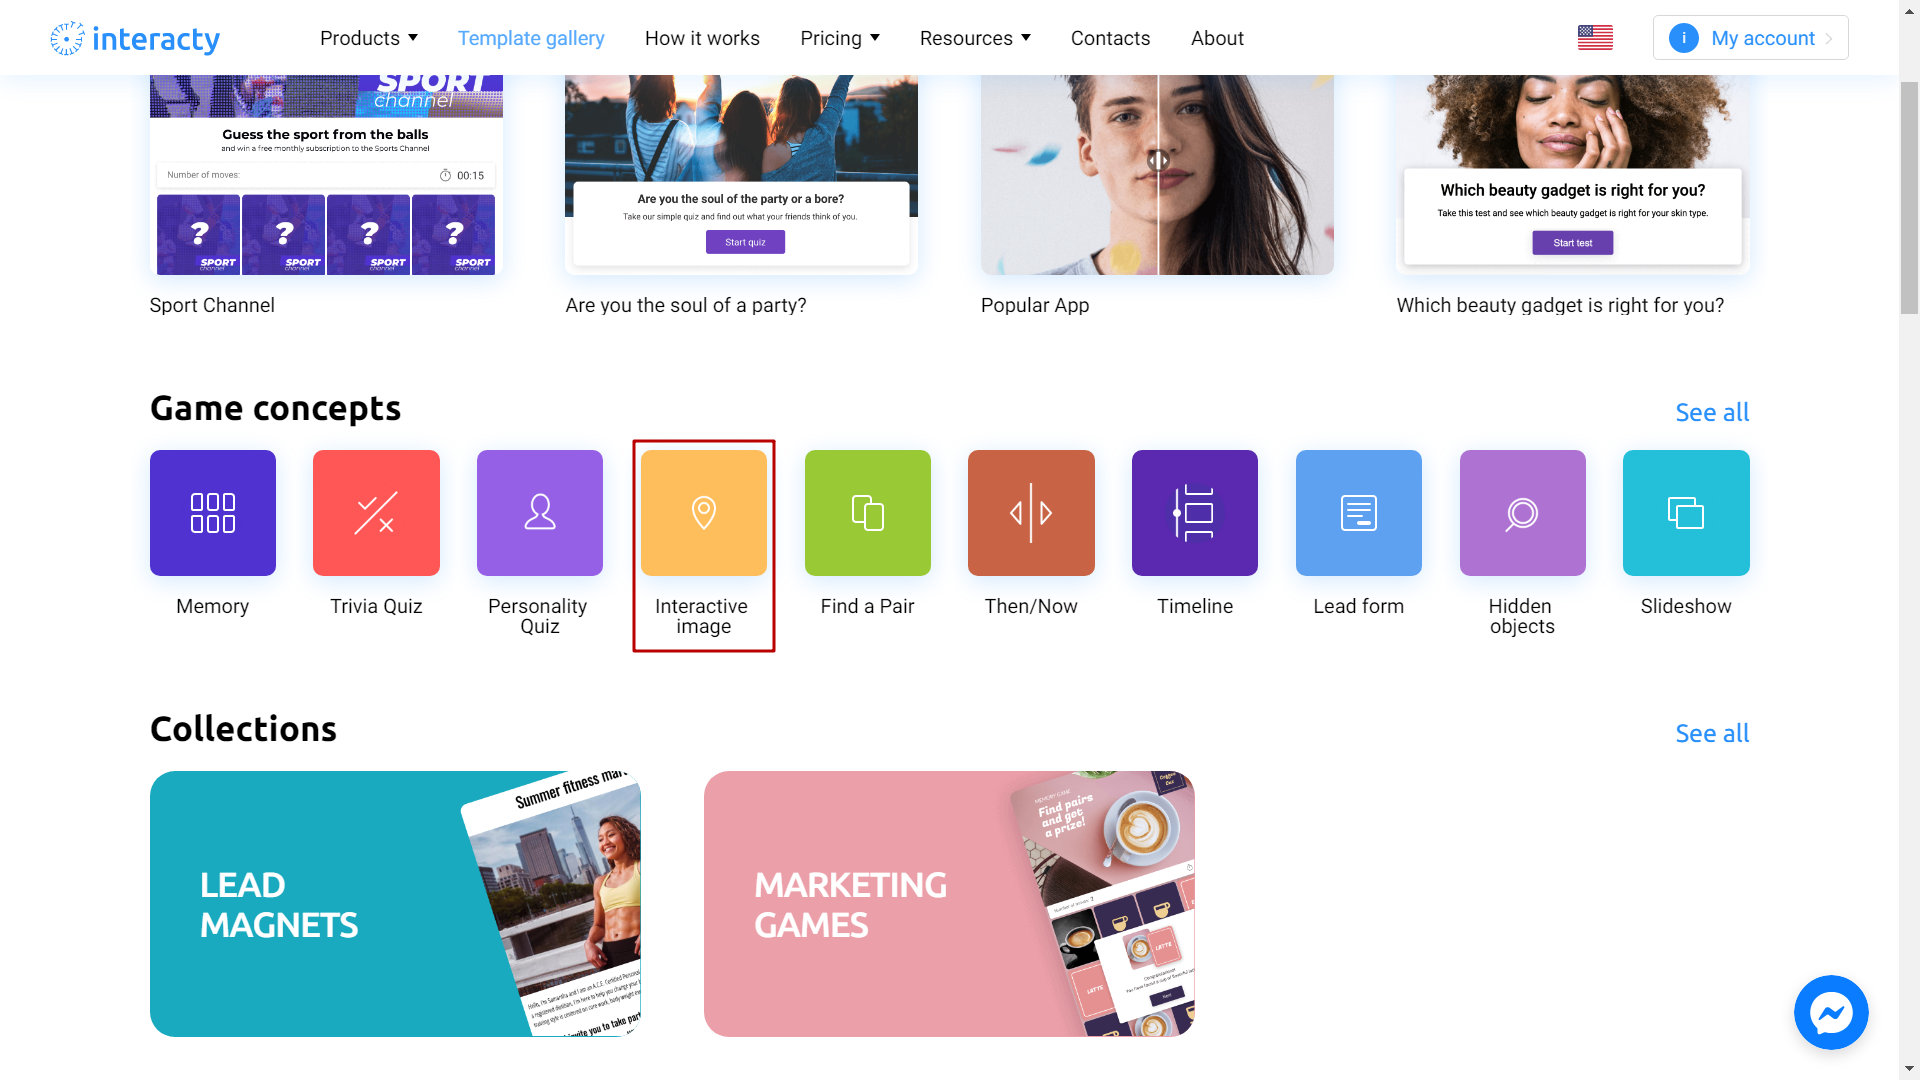
Select Interactive image.
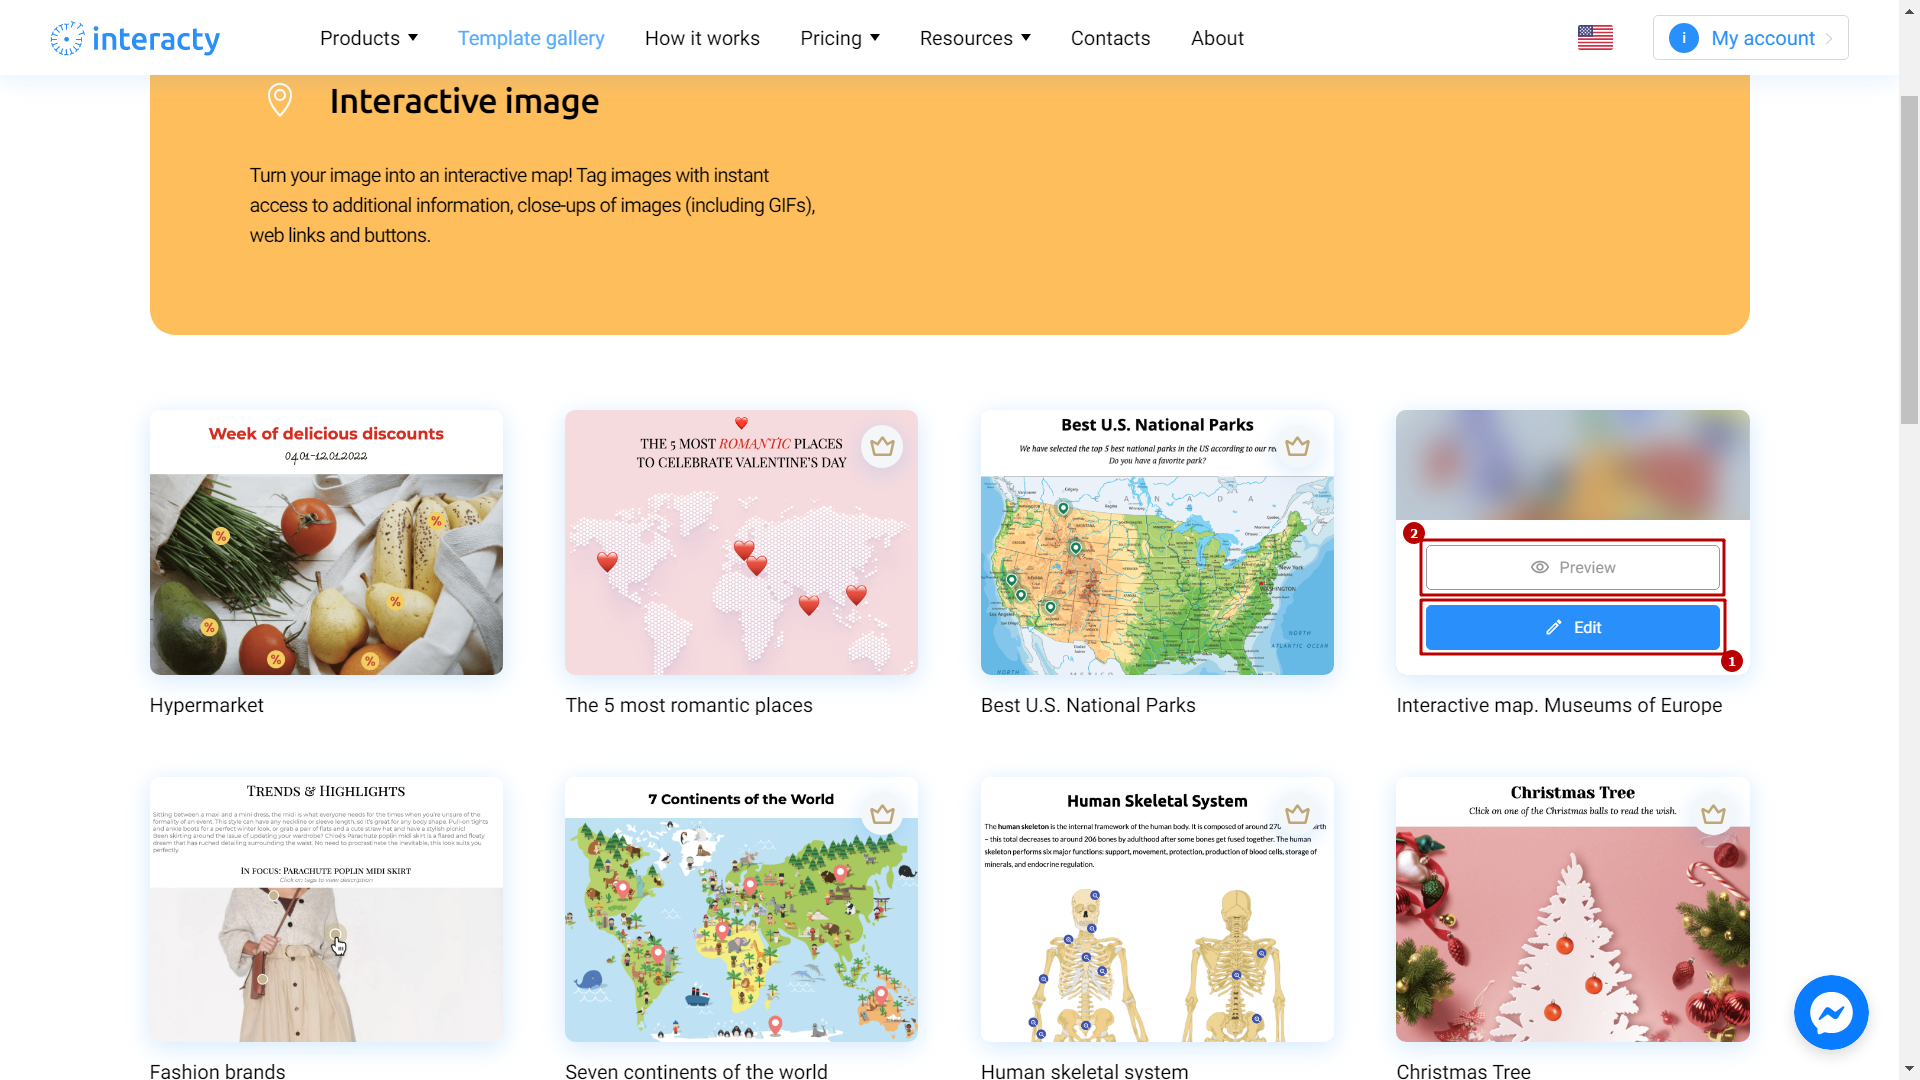
Select the template you like from the list by clicking Edit (1) button. The Preview (2) button will allow you to preview the template.
Template editing
In the template editor, click anywhere in the workspace.
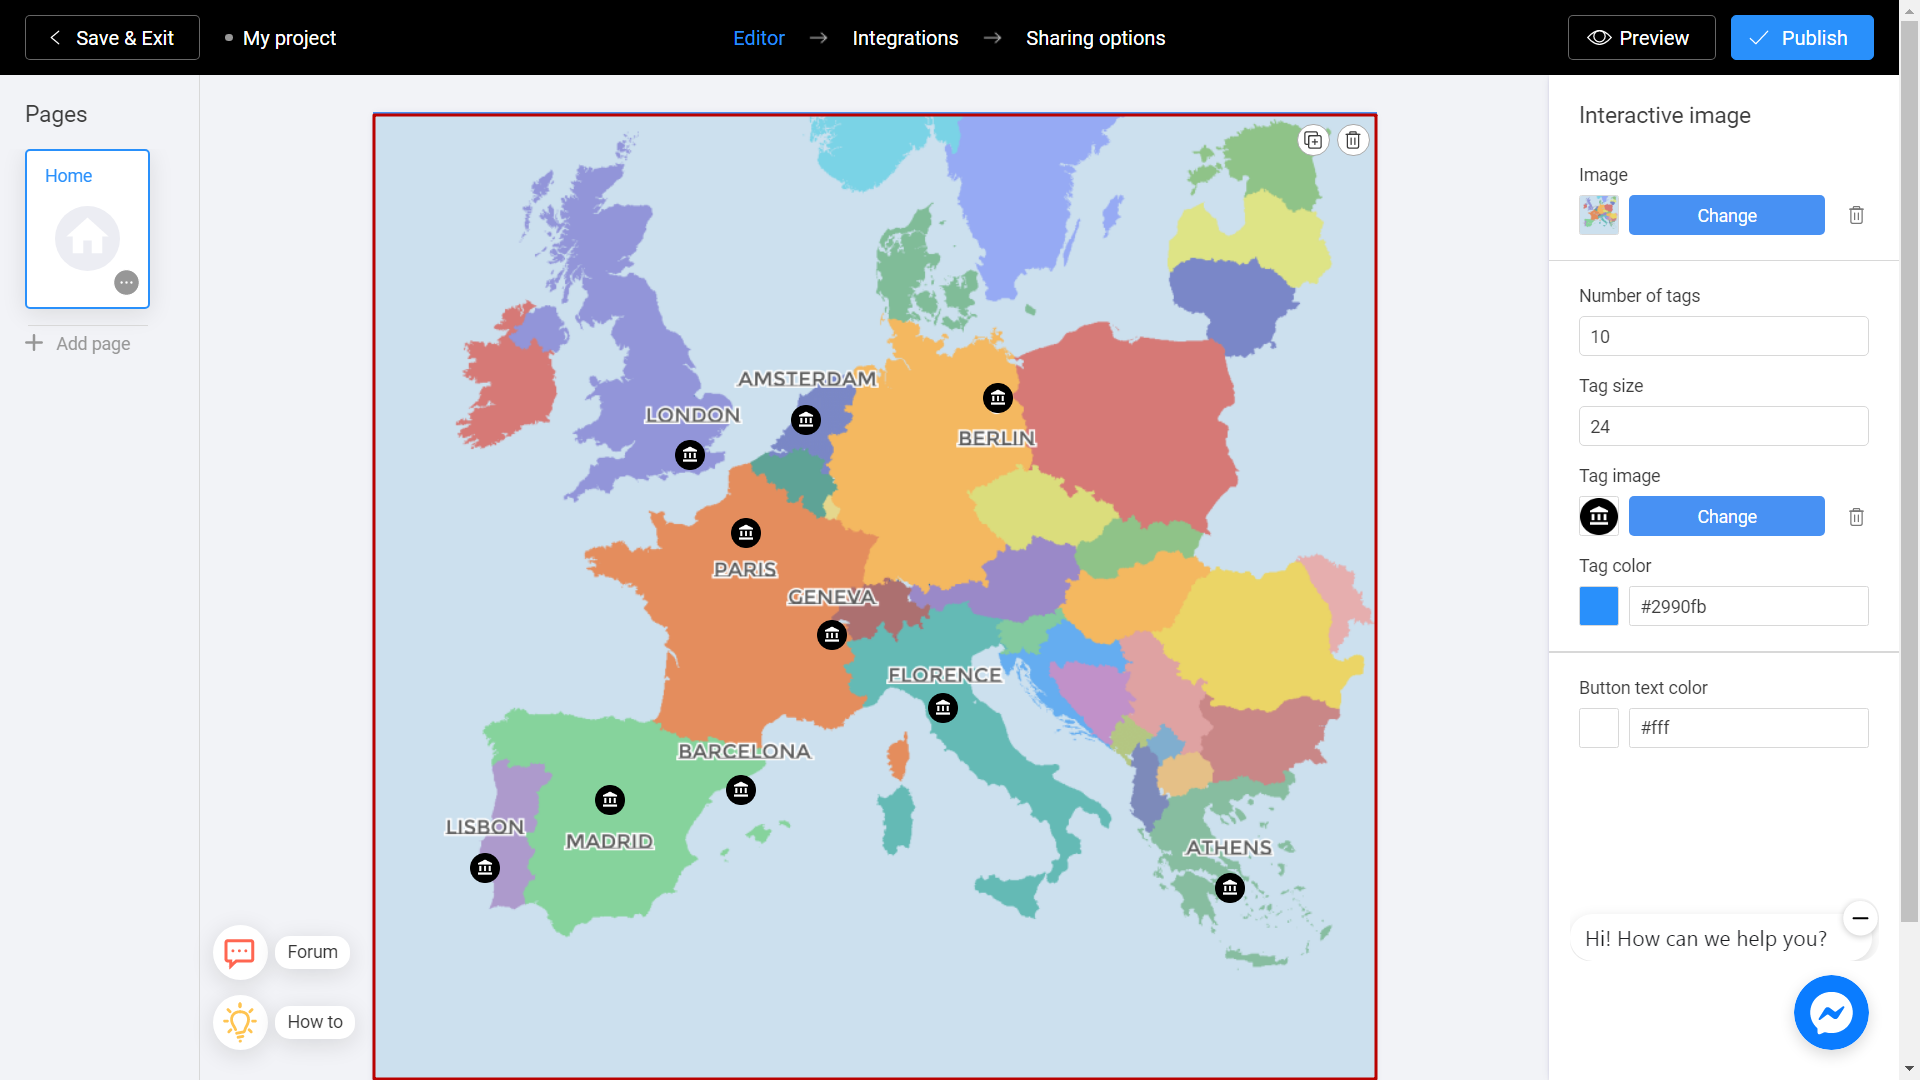
You will see the properties of Interactive image block on the right side of the screen. To place a background image, click Change button.
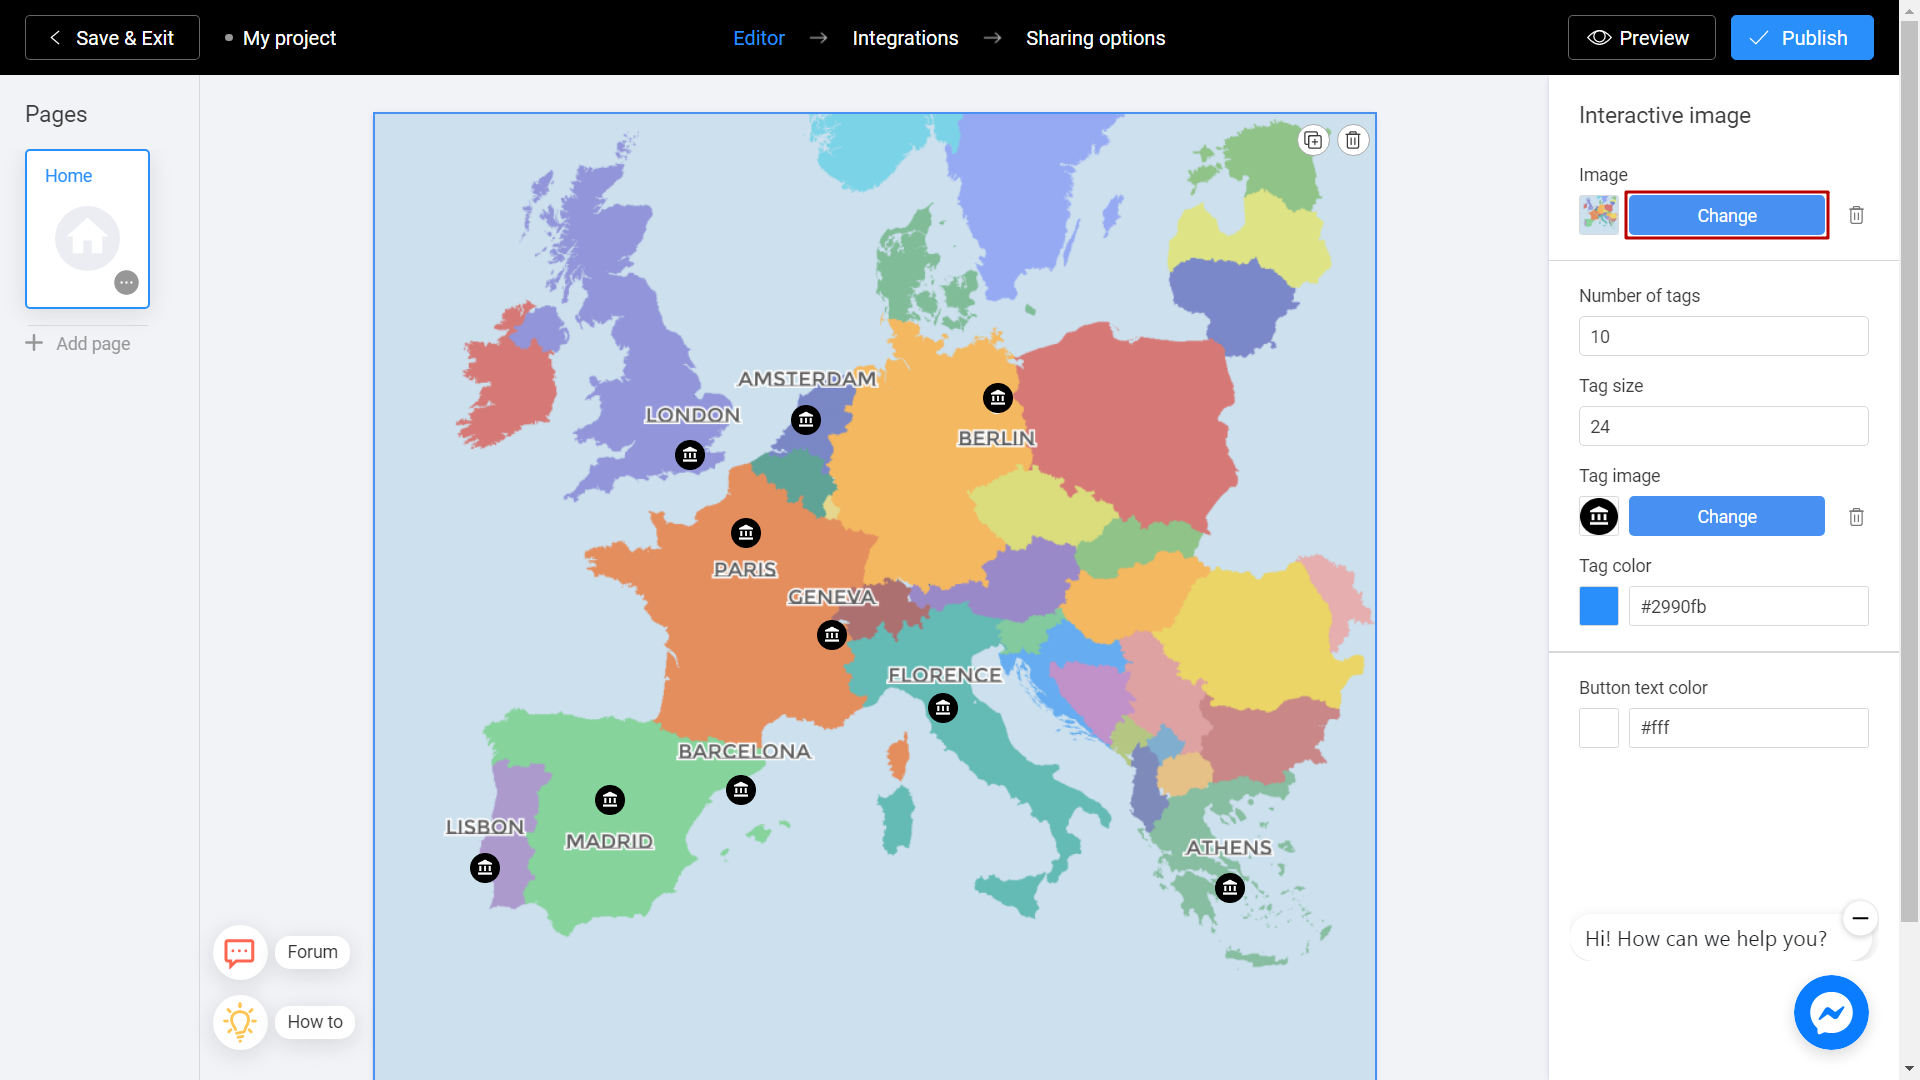
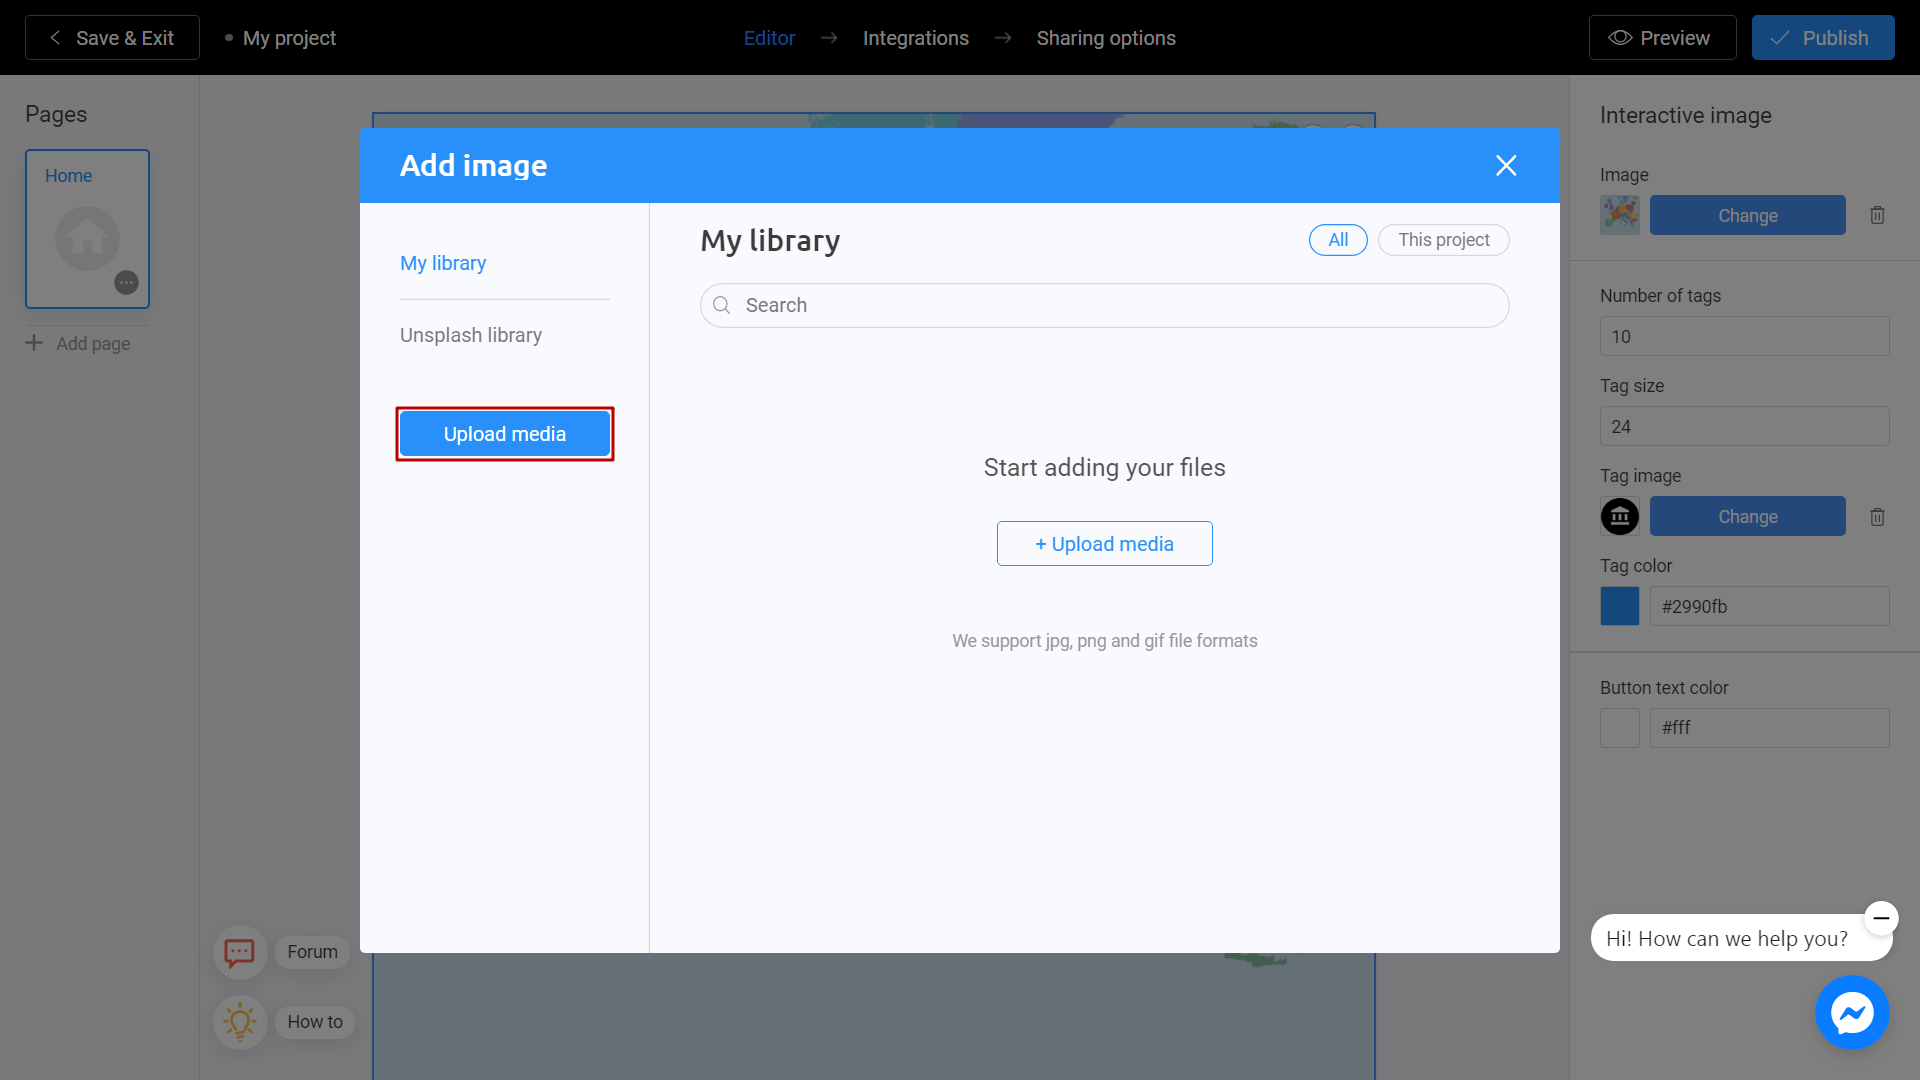
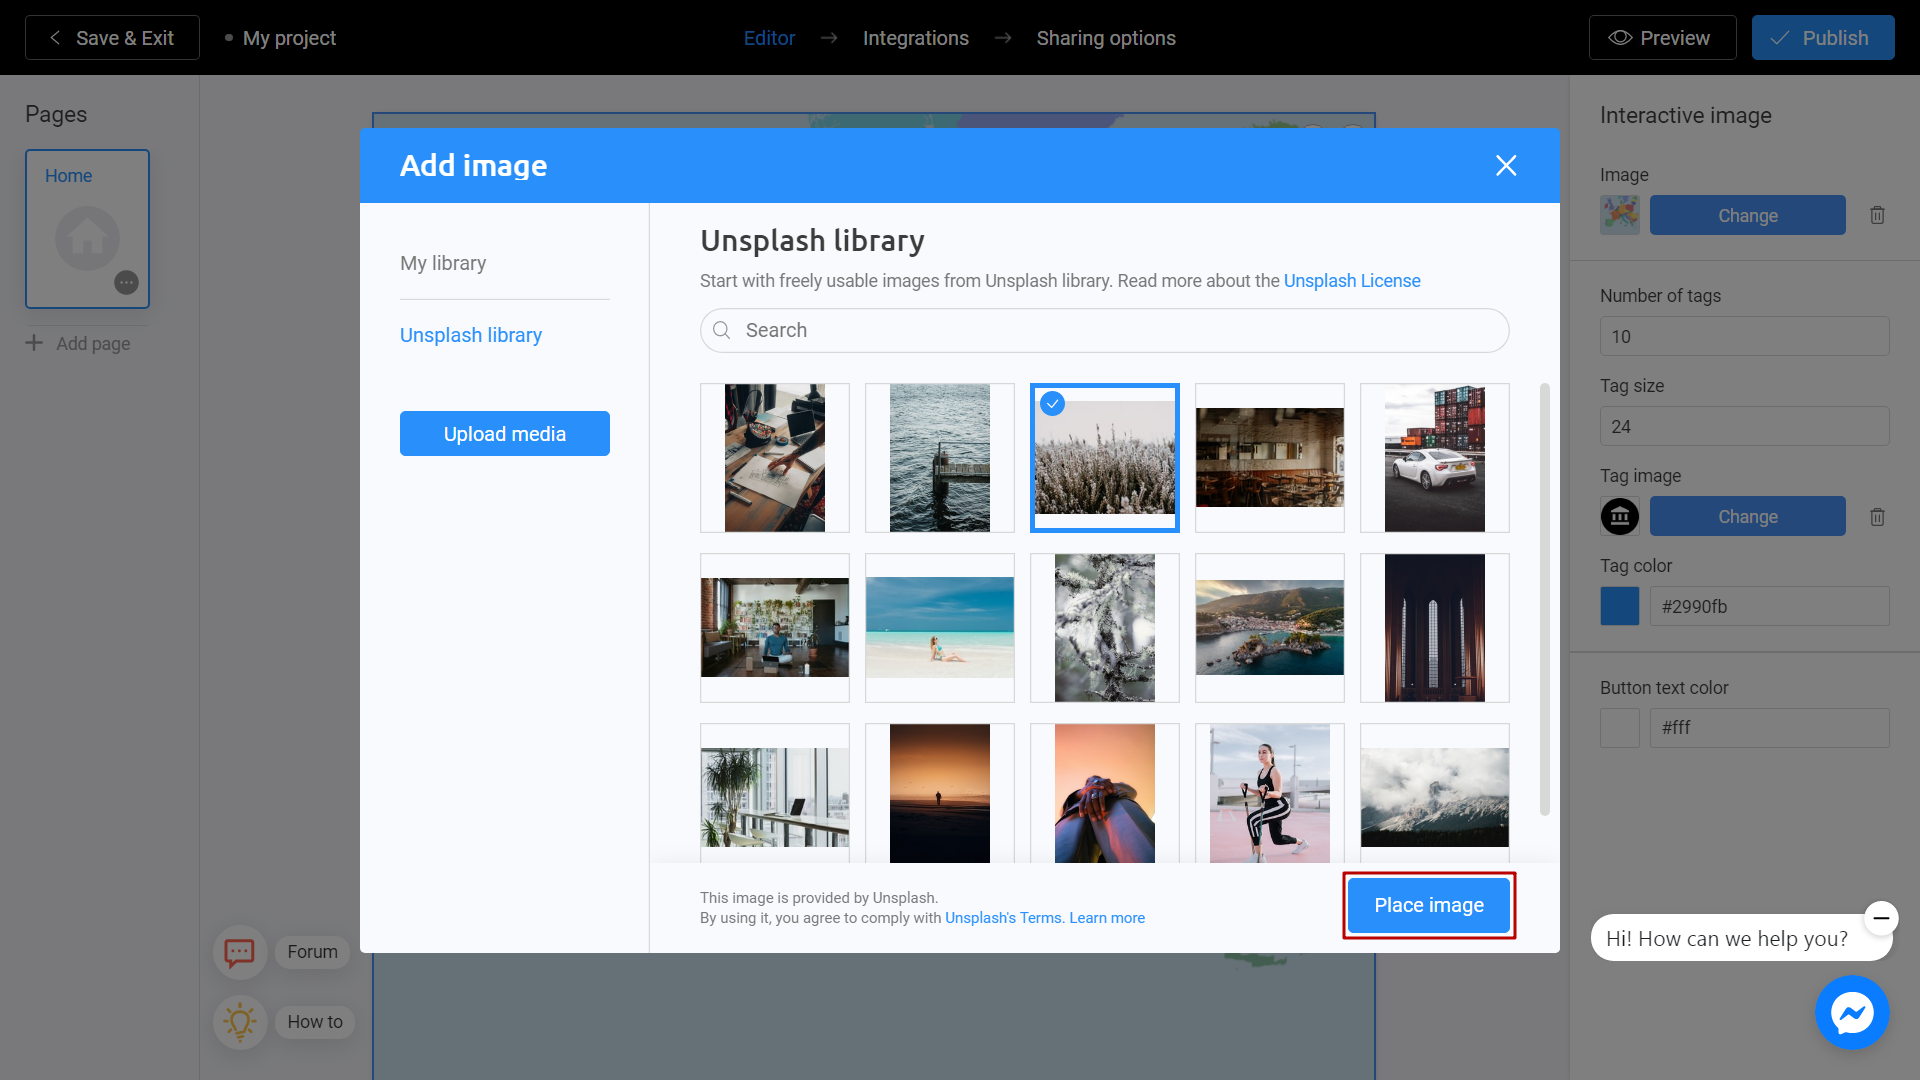
There are 2 ways to upload a new image. Directly from your computer or using the Unsplash Library.
My Library - Images you previously used in other templates. They can be downloaded from Unsplash or from your computer. To add an image from your device, click Upload Media.
Unsplash Library - Direct access to the Unsplash stock photo service. Enter a subject into the search and select the image you like. Click Place Image.
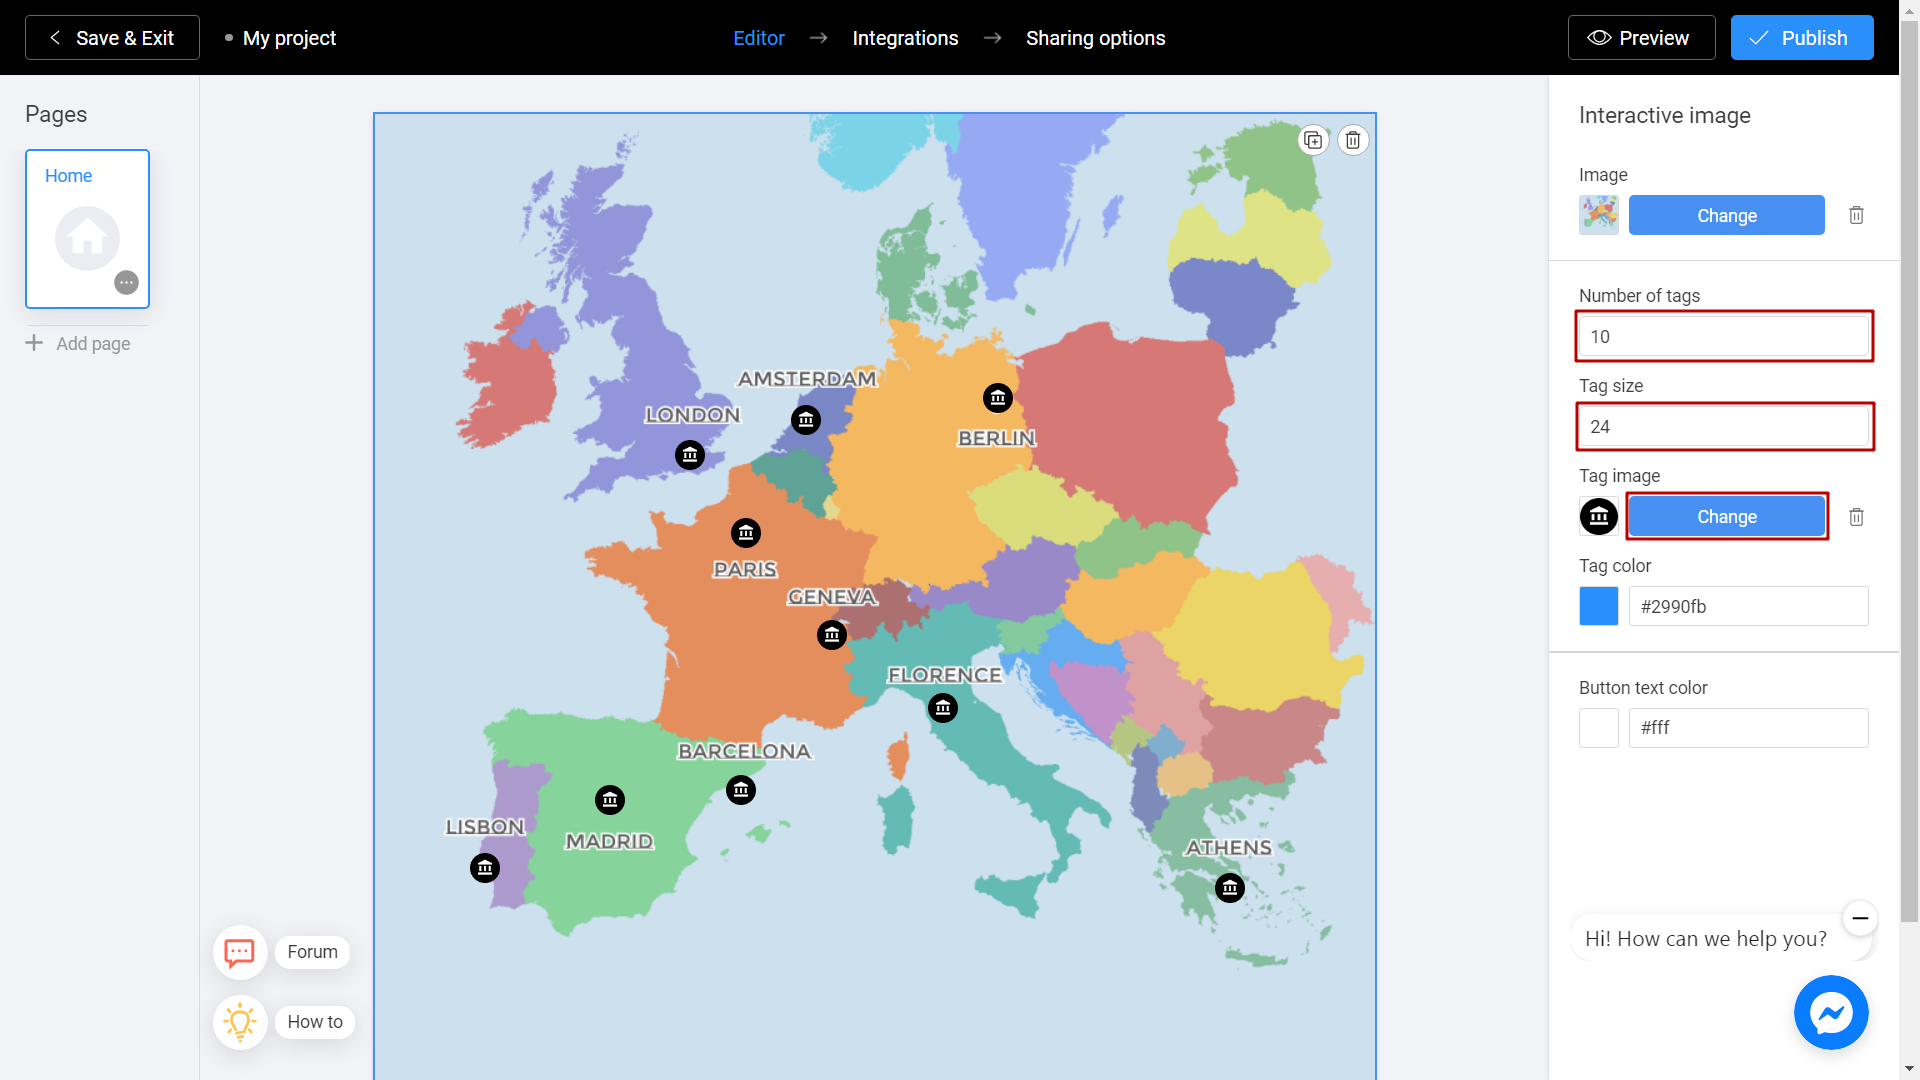
From the menu on the right, select the number of tags you would like to place on your image, and select tag size. By clicking on Change button next to the tag image option, you can change the image of the tag. We recommend preparing them in advance. Focus on the main editor window when selecting the tag size.
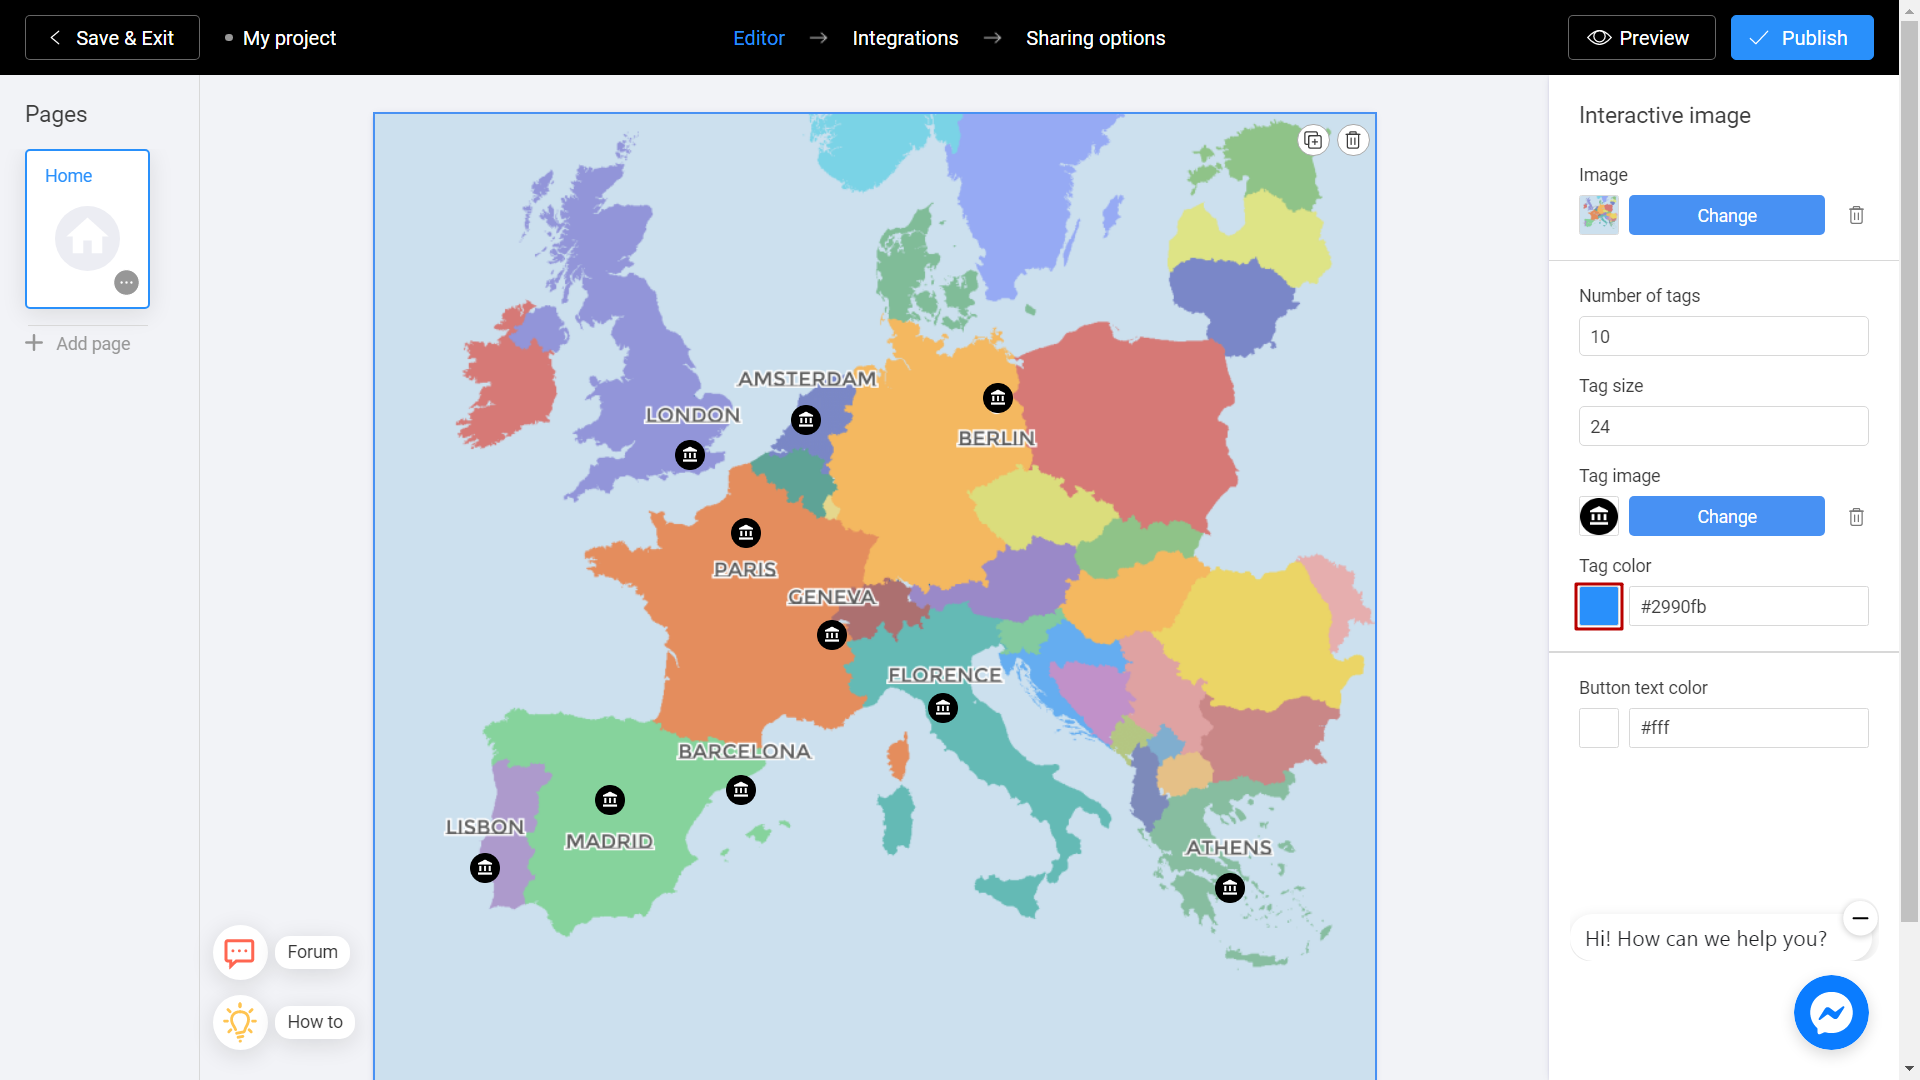
Additionally, you can specify the color of the tag if you do not add a tag image. In this case, tag would be colored.
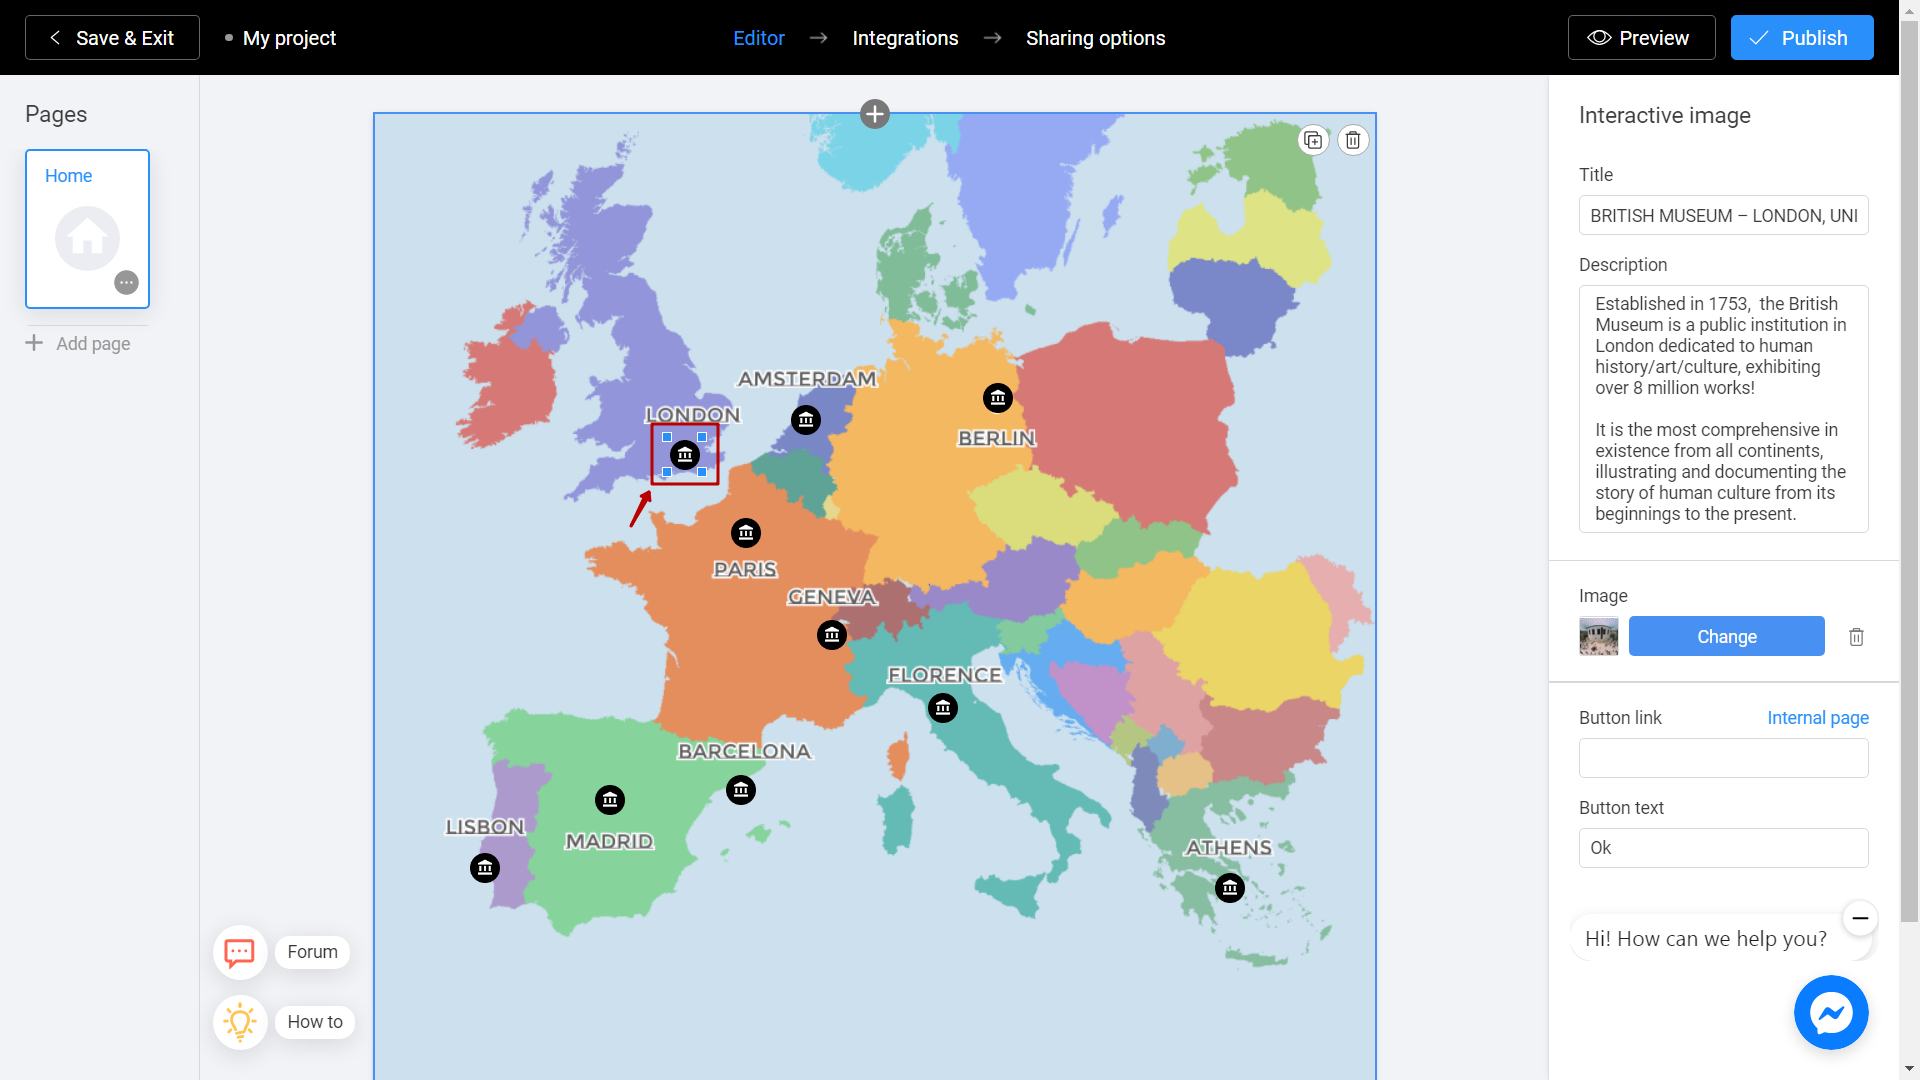
Place tags on the image. To do this, click on any working space of your picture and move it to the desired location.
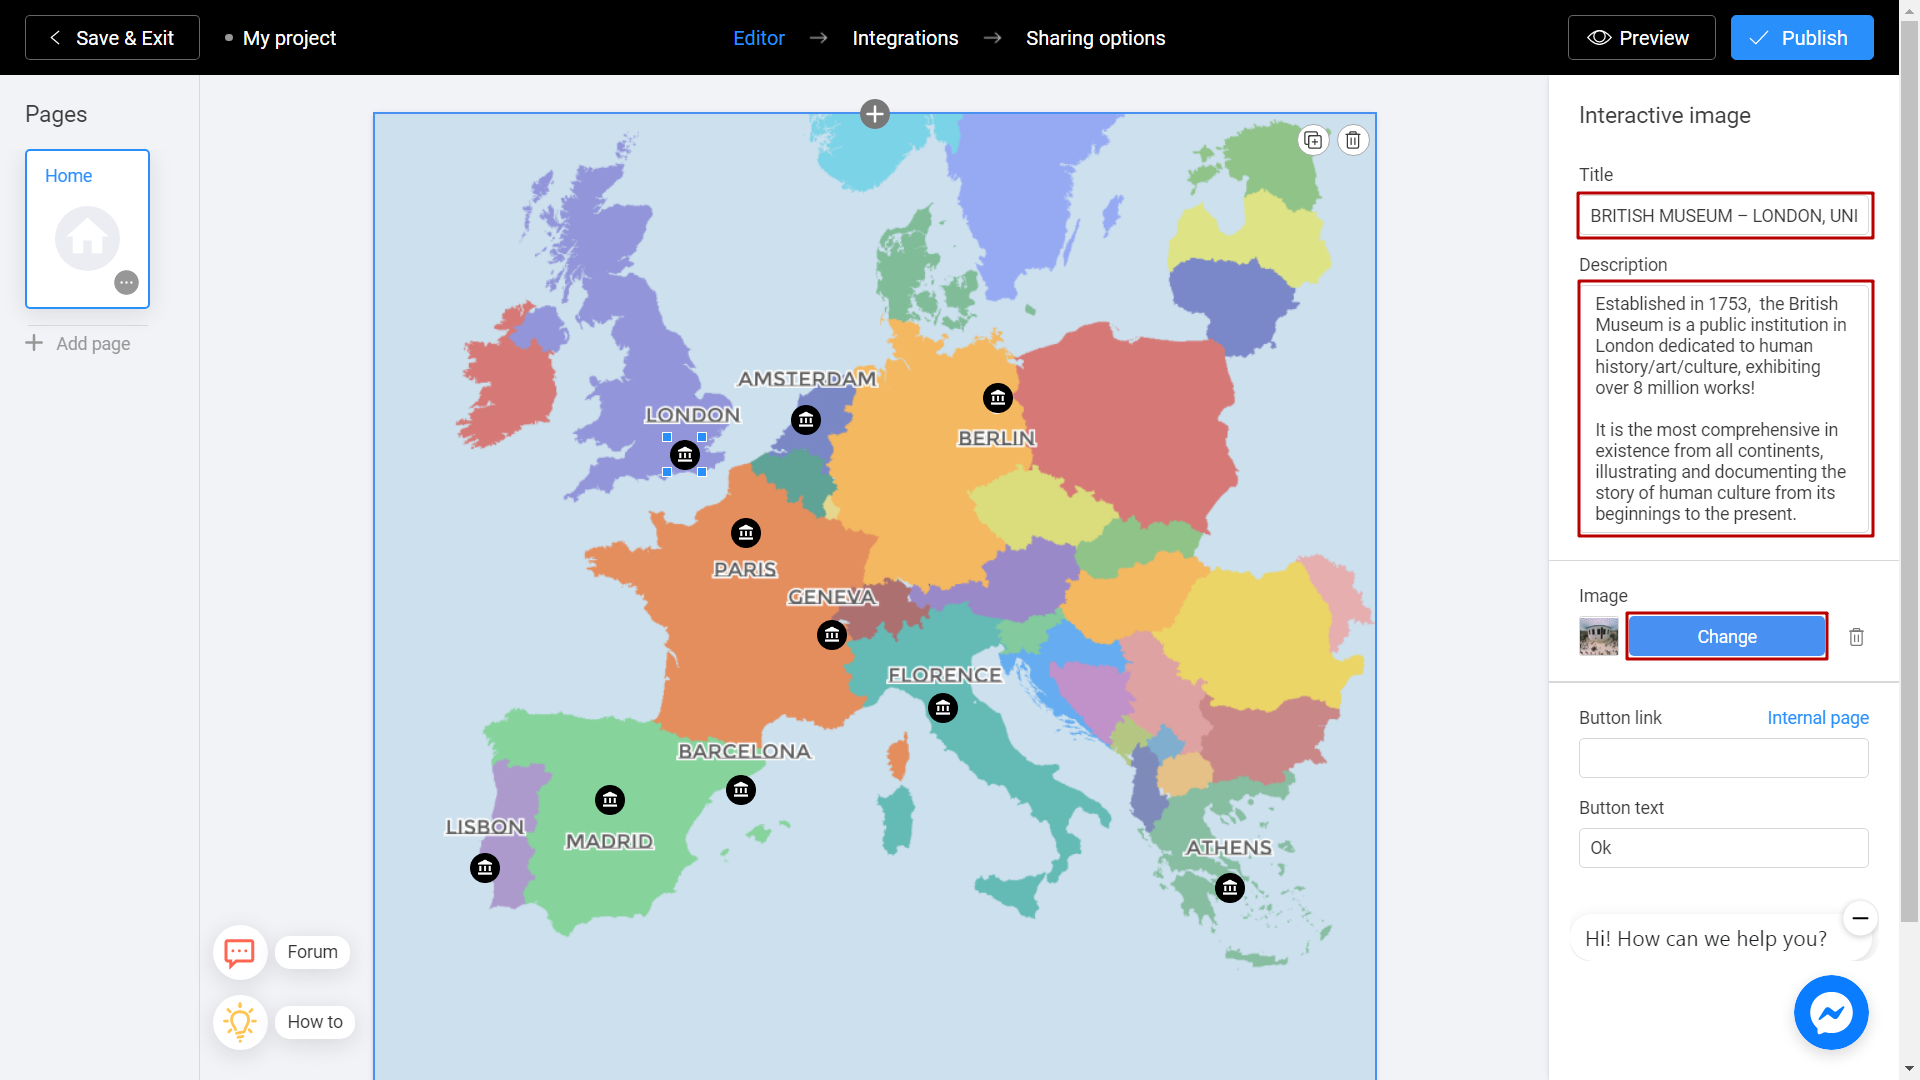
By using right menu, add information about each tag. By clicking on the tag you are interested in, fill in the title and description fields. That's what users will see when clicking on your tag. Insert an additional image inside the description using the Change button, if needed.
Save and Share
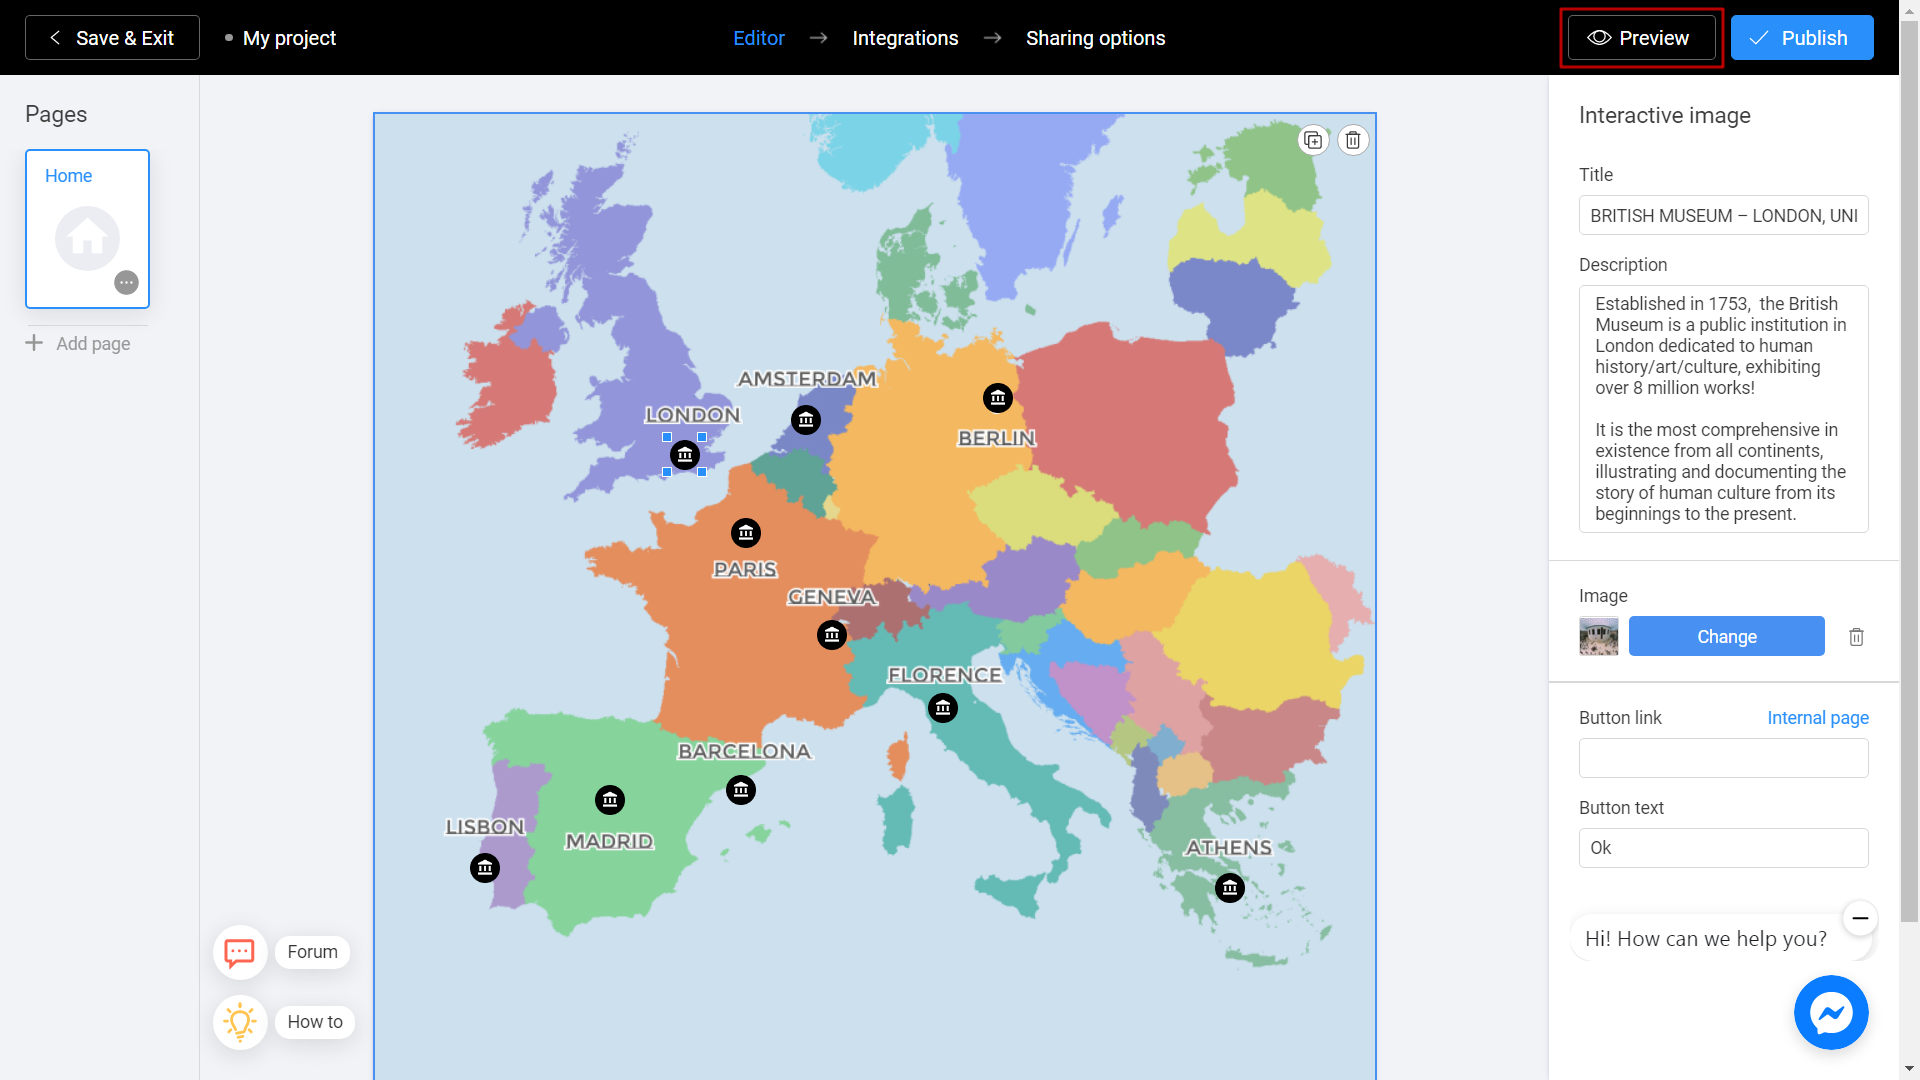
Click the Preview and evaluate the current state of your project.
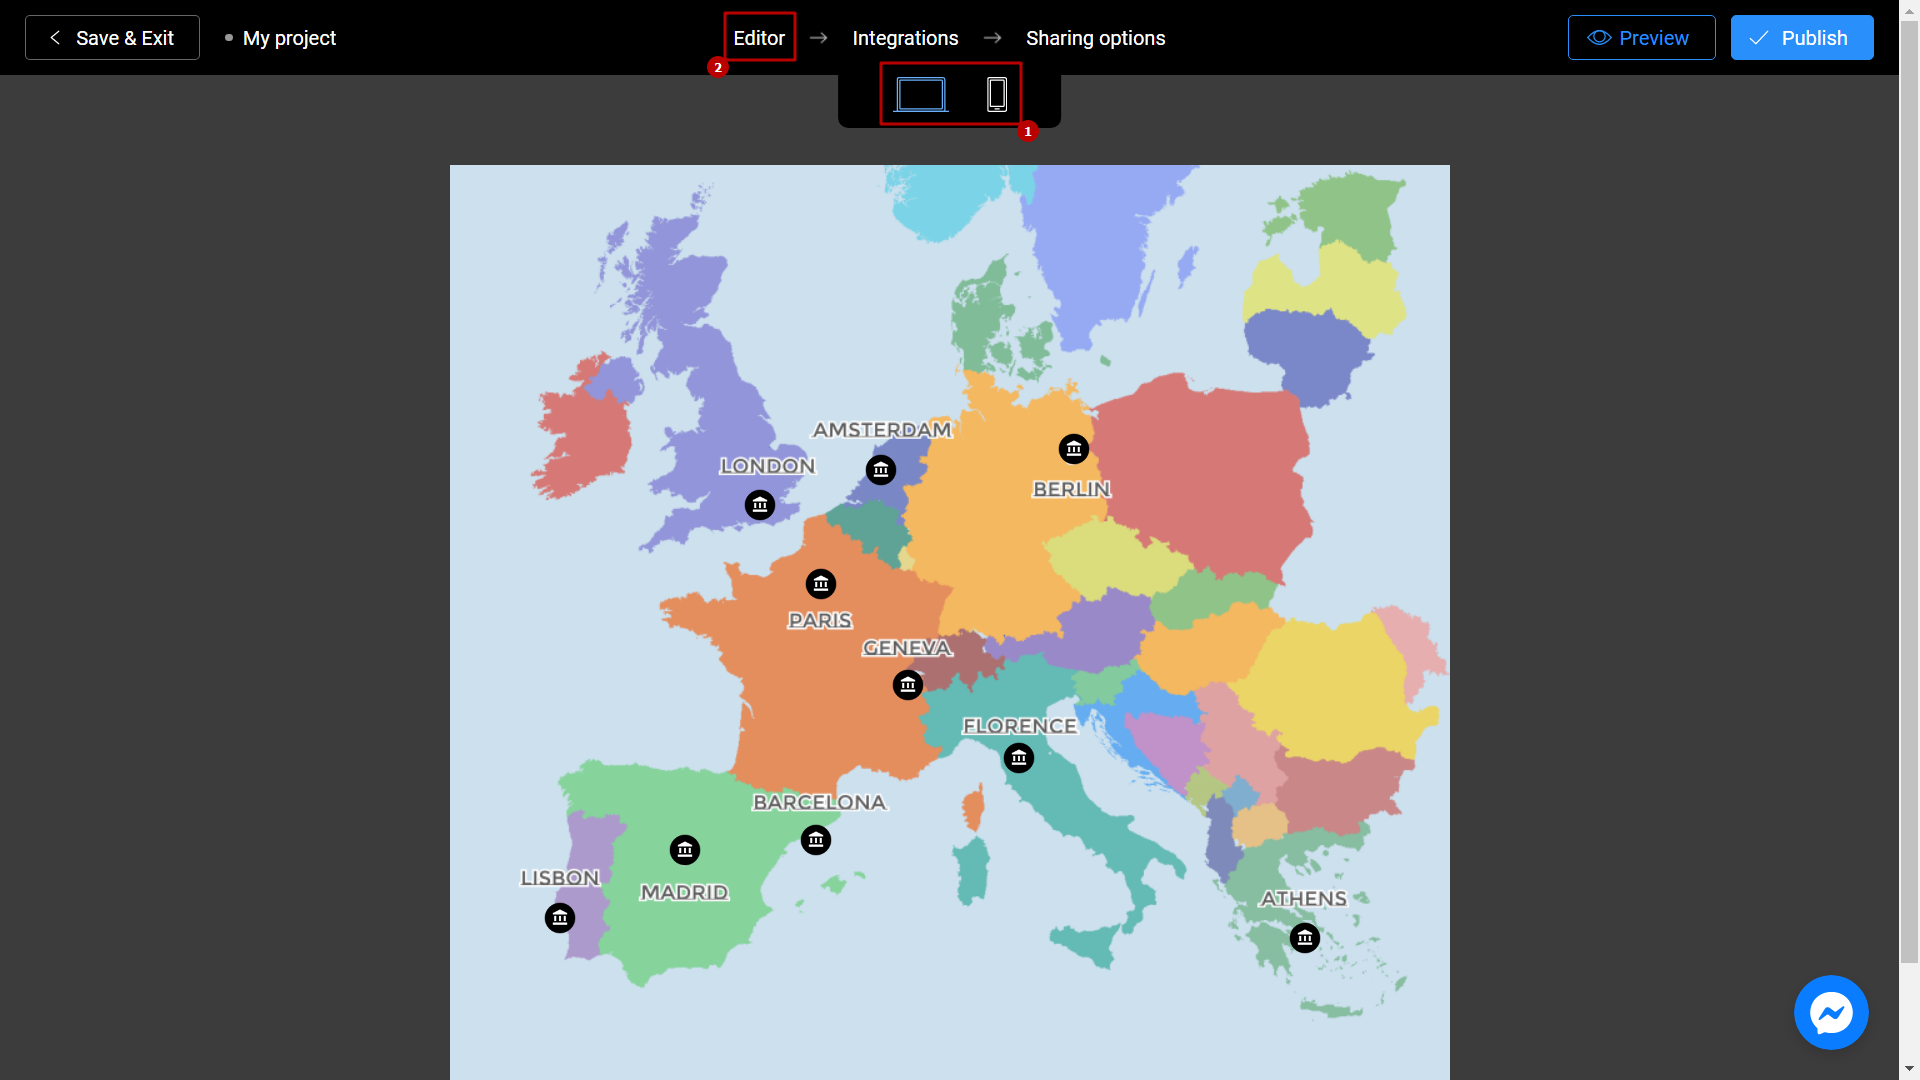
Try your project and don't forget to rate how it looks on different devices. To do this, switch between the phone and personal computer (1) icons. If you notice an error or decide to fix anything, return to the Editor (2) by selecting the appropriate menu item.
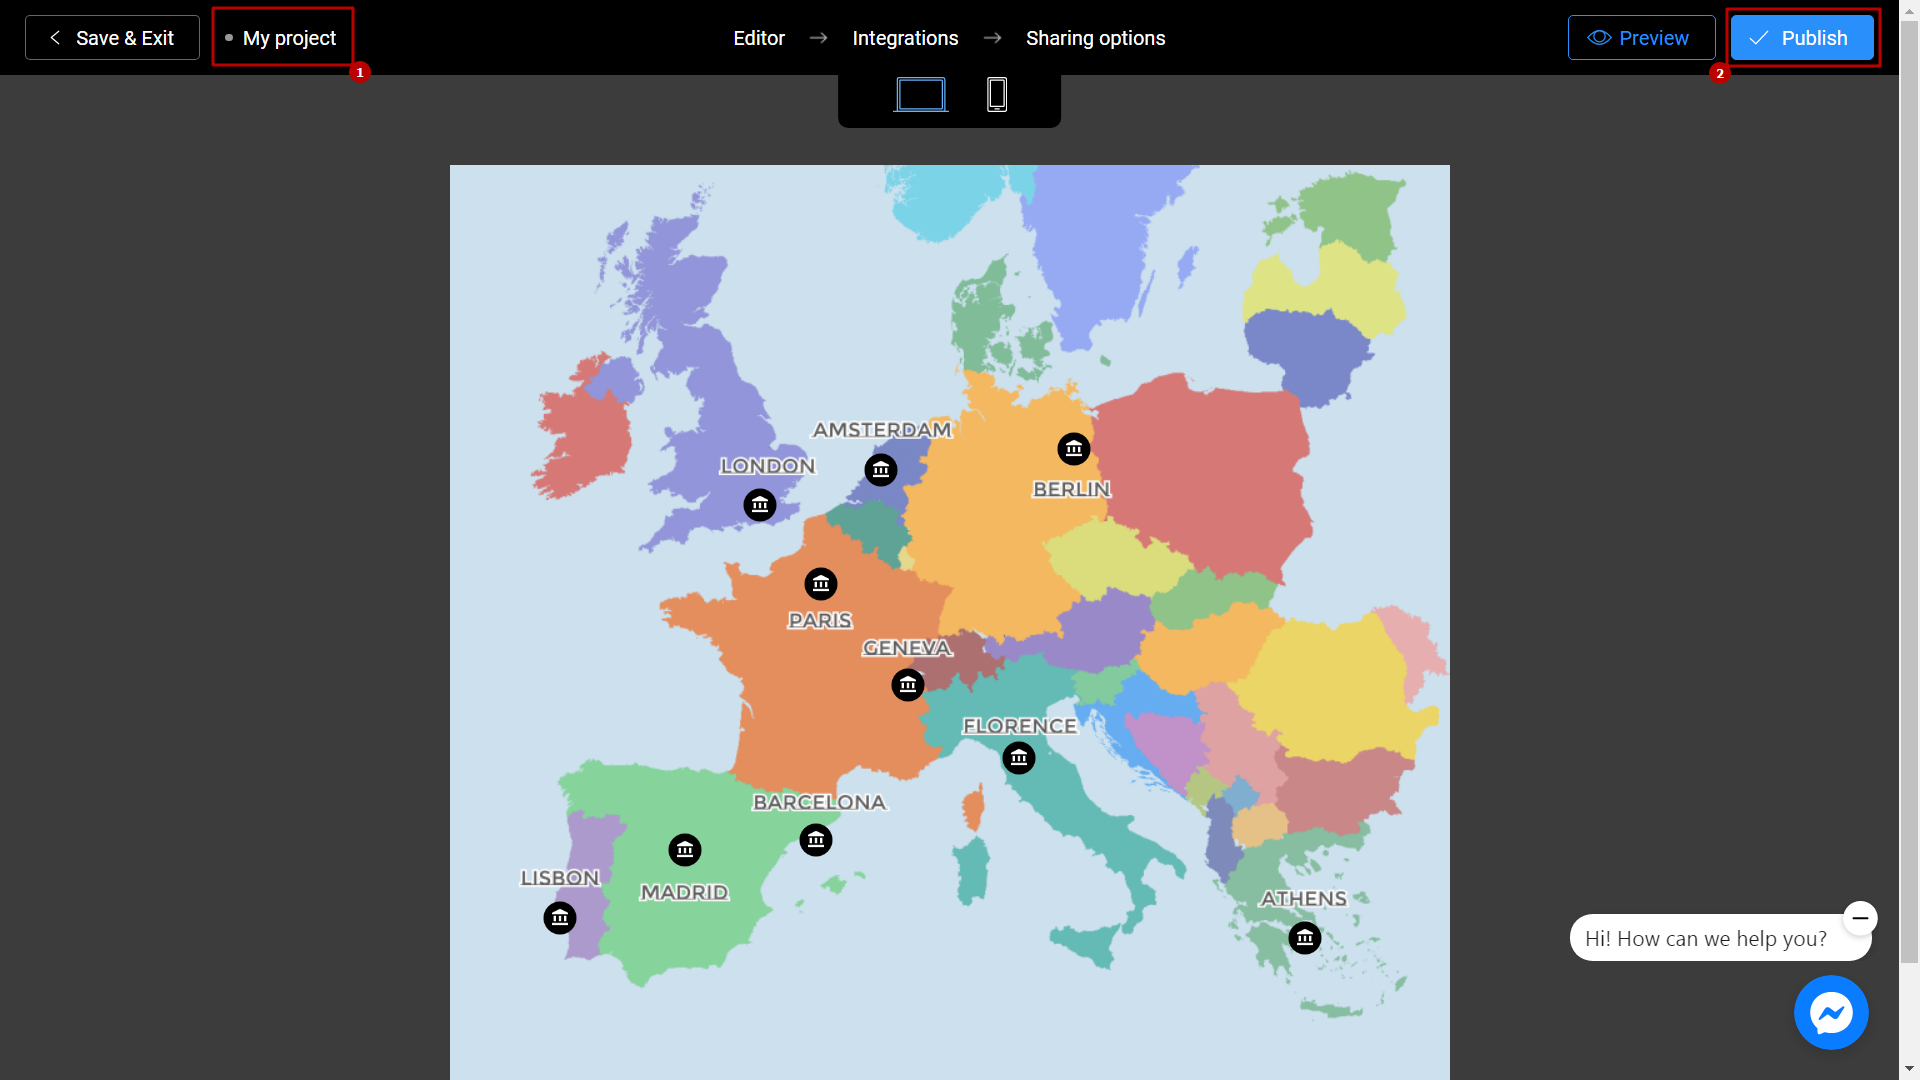
Don't forget to select a Title (1) for your project. This will make it easier to find him. After that, you can safely click the Publish (2) button.
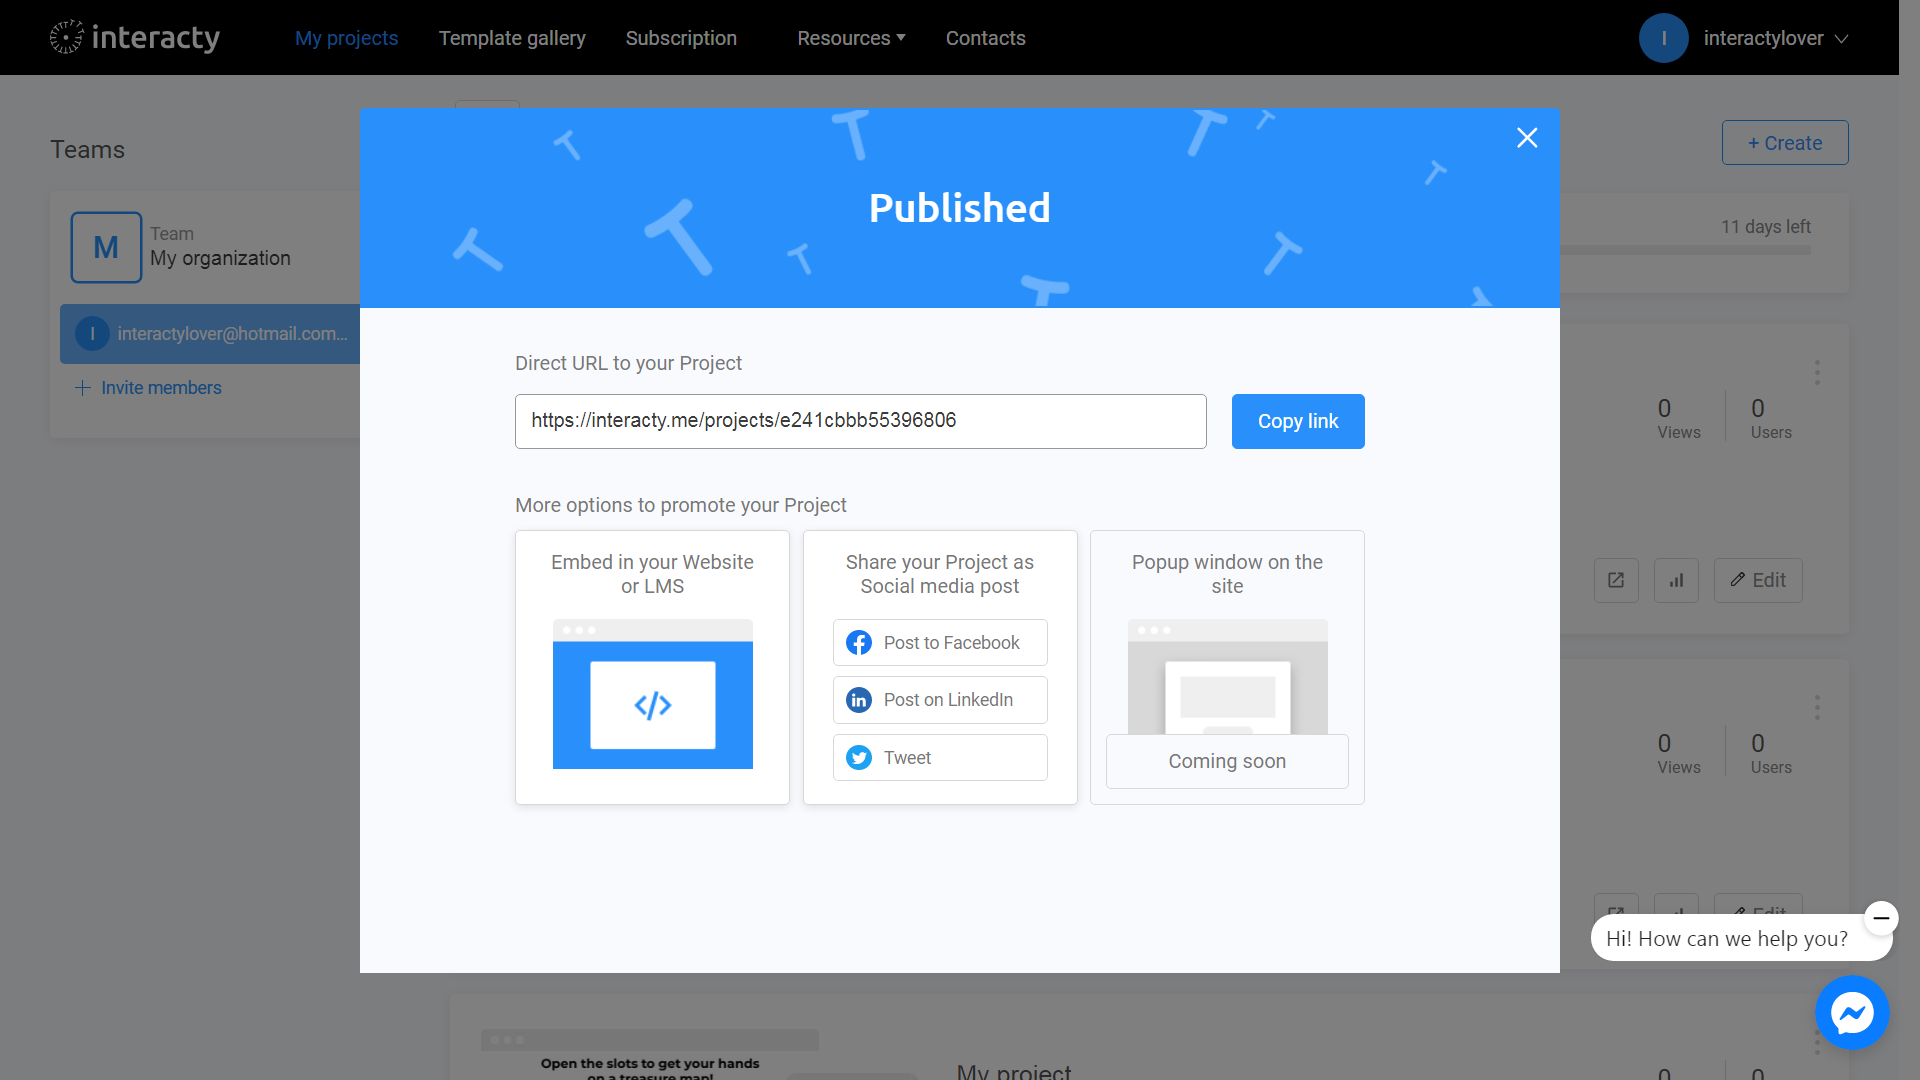
Your project is ready! You can share with your friends by sending a link, or choosing any other convenient way.
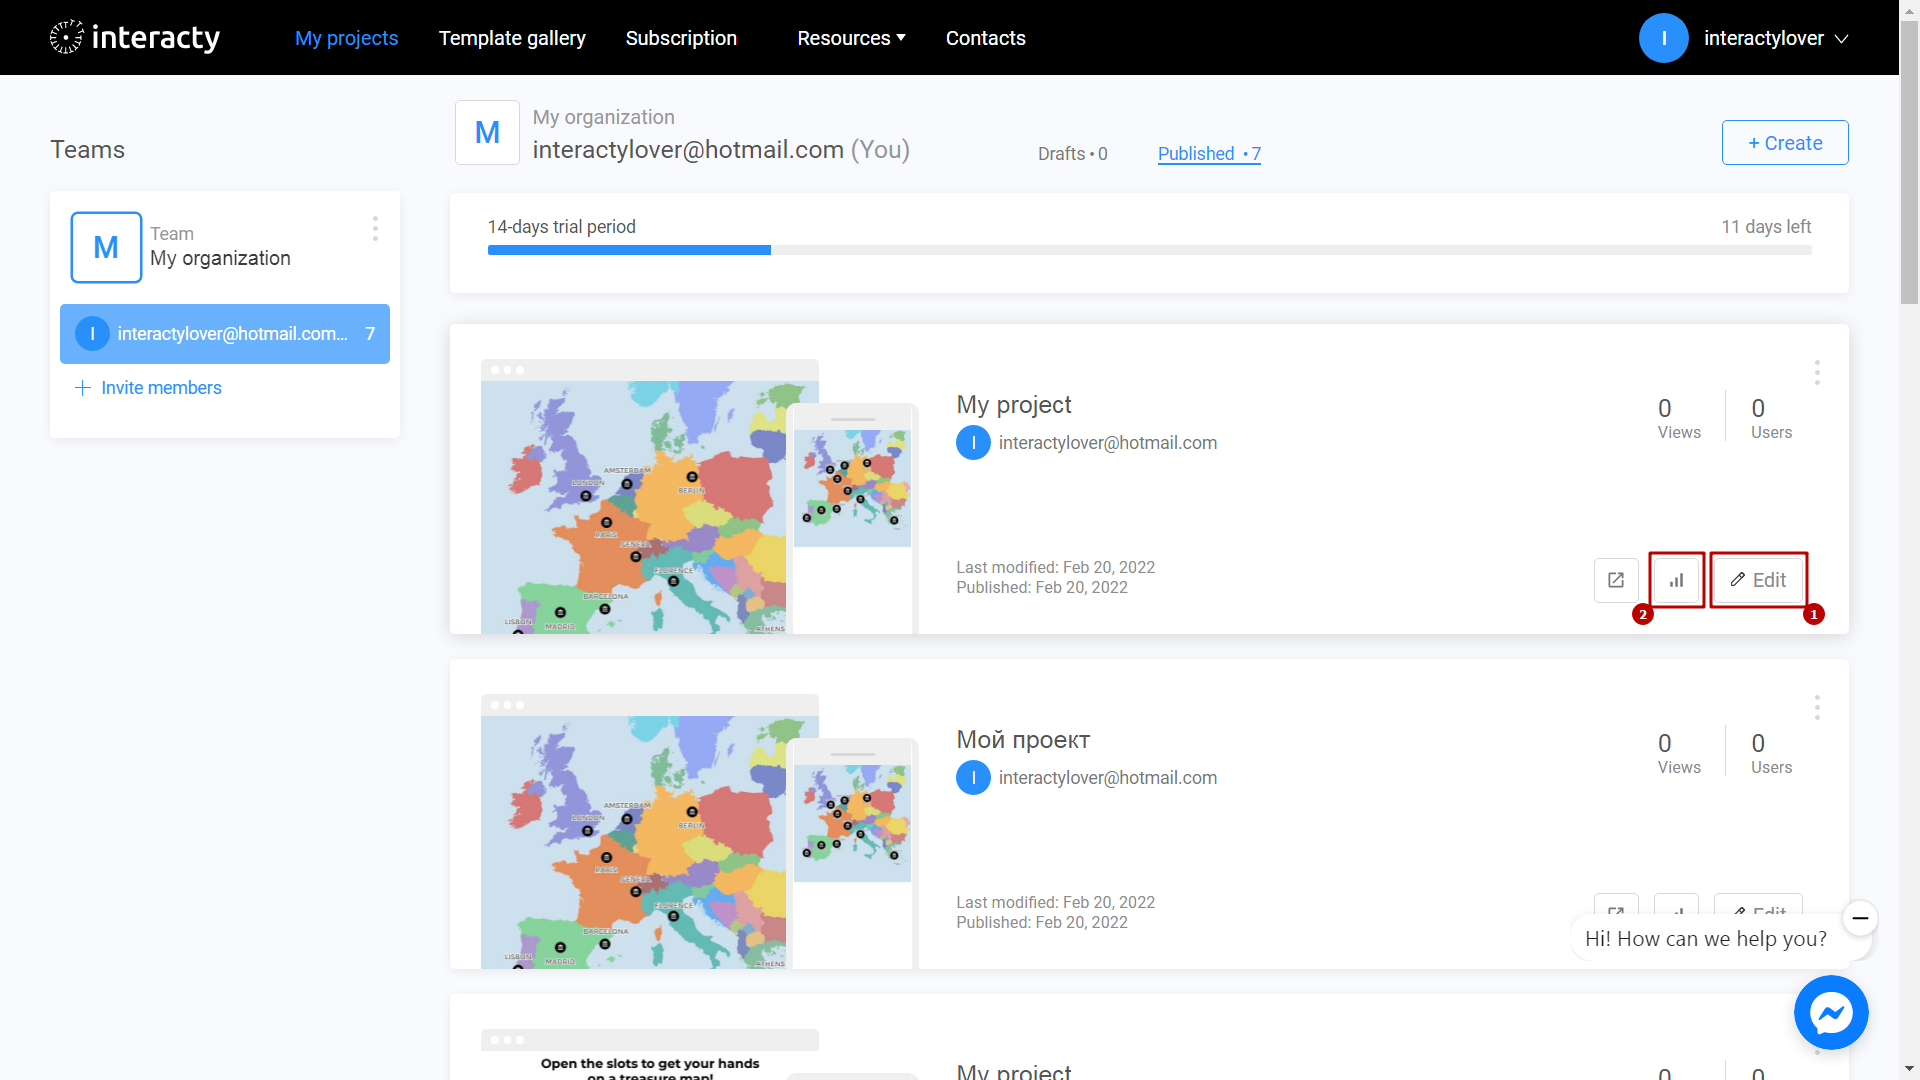
You can always return to editing your template again by clicking the Edit (1) button in the list of profile projects. You can also check Statistics (2) by clicking the corresponding button.
